Back Corner Of Van

This van got a nasty knock from behind, the black plastic bumper was squished and the back arch was also dented. The door hinge also needed some attention. With some wiggling about to get things back into alignment it was then just a matter of body repair. The black bumper was repaired first, then the white metal on the wing and door was tackled. Once it was completed nobody would ever know, one happy van driver again.

Van Damage Back Corner Repaired


Car Make Over

Spent a day going over this car and giving it a make over. It had damage on the front wing, at the bottom of both doors and other various scuffs around all four corners of the bumper.

door-damage

back-door-damage


As it was the value of the car would be severely impacted, not to mention that look was not good. After a days work the car is looking 100% better! Both doors and the back wing where repaired as well as bumper corners, wing mirror casing scuffs and various other marks, some of which could be polished out.

End Result

back-door-damage-repaired

door-damage-repaired

back-door-damage-repair


Jag Interior Upholstery Repair

As we use special plastic paints that can flex and will not peel we can also repair the inside of a car such as the upholstery. This works in a similar fashion to a repair made to a plastic trim found on doors and bumpers. Using this technique a repair was made to this handbrake upholstery module which had something nasty split over it.

The colour can also be tweaked to take into account ware & tear as well as colour fade.

As you can see from the after photo, the inside now looks much better and inviting so the driver can continue to enjoy their ride.


car interior upholstery repaired


1936 Ford Austin

Worked on a classic 1936 Ford Austin to repair some rusty areas specifically around the trims. As we use cellulose based paints we could easily match the colour and also spray a shiny coat on without the need for lacquer. This helps keep the car as original as possible.

As you can see the trims have started to rust and bubble causing paint to flake away.

ford austin rusty trims

After some sanding, and a little bit of filler the area was primed and rubbed down a few time to get a nice smooth finish.

ford austin rusty trims mid repair

Once the main coat of paint was applied and blended out the look was as good as new.

ford austin rusty trims repaired

Work was also done on the front wings, again rust was appearing on the trims.

ford austin rusty wing

The rust scabs and bad areas were grind out to reduce the chances of rust coming back and to stabilise the area for a bit of filler and primer.

ford austin rusty wing mid repair

A final black coat of mainly thinners was applied to give a nice shine and the area blended out.

ford austin rusty wing repaired

After a clean up, some black polish and various touch-ins this classic Austin was ready to go to events and be presented for all to enjoy.

1936 ford austin finished


Blue Van Door & Arch Repair

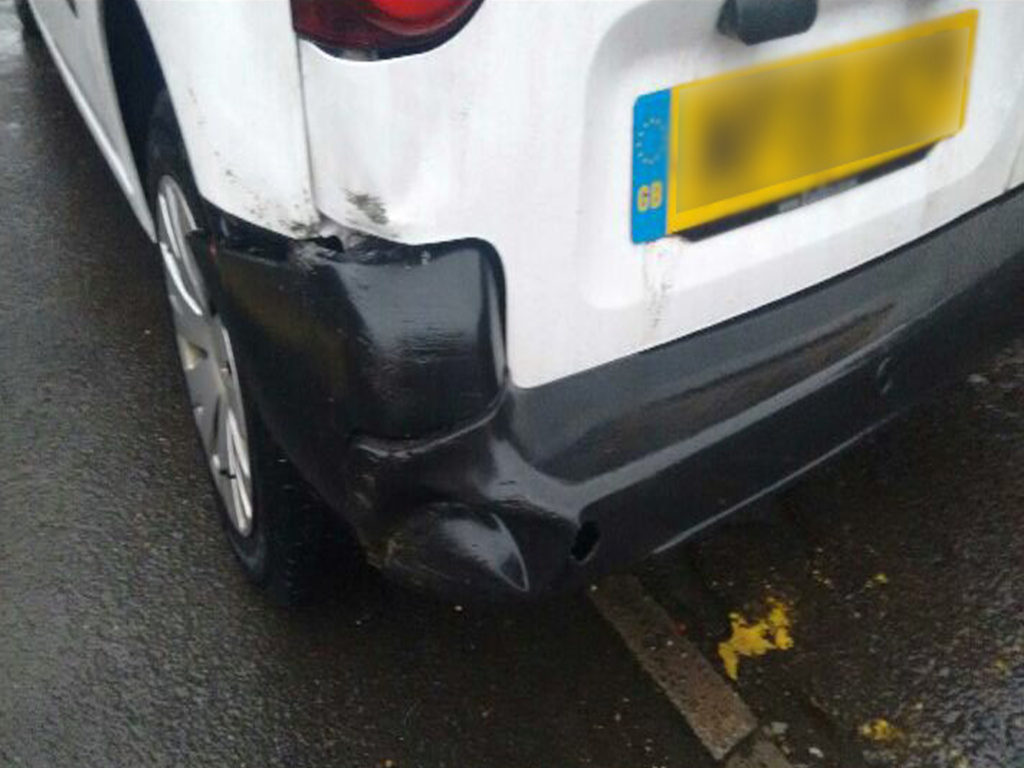
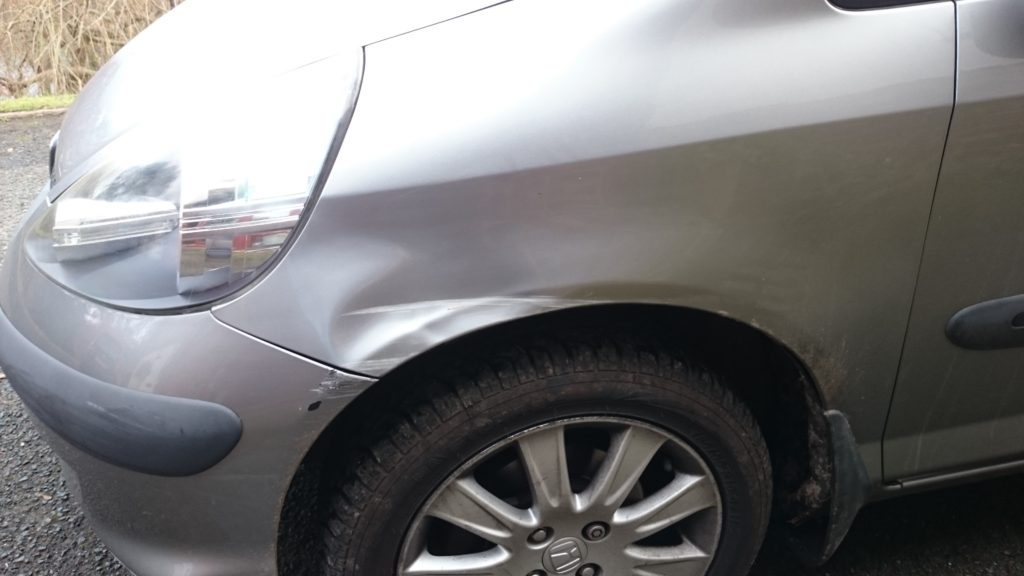
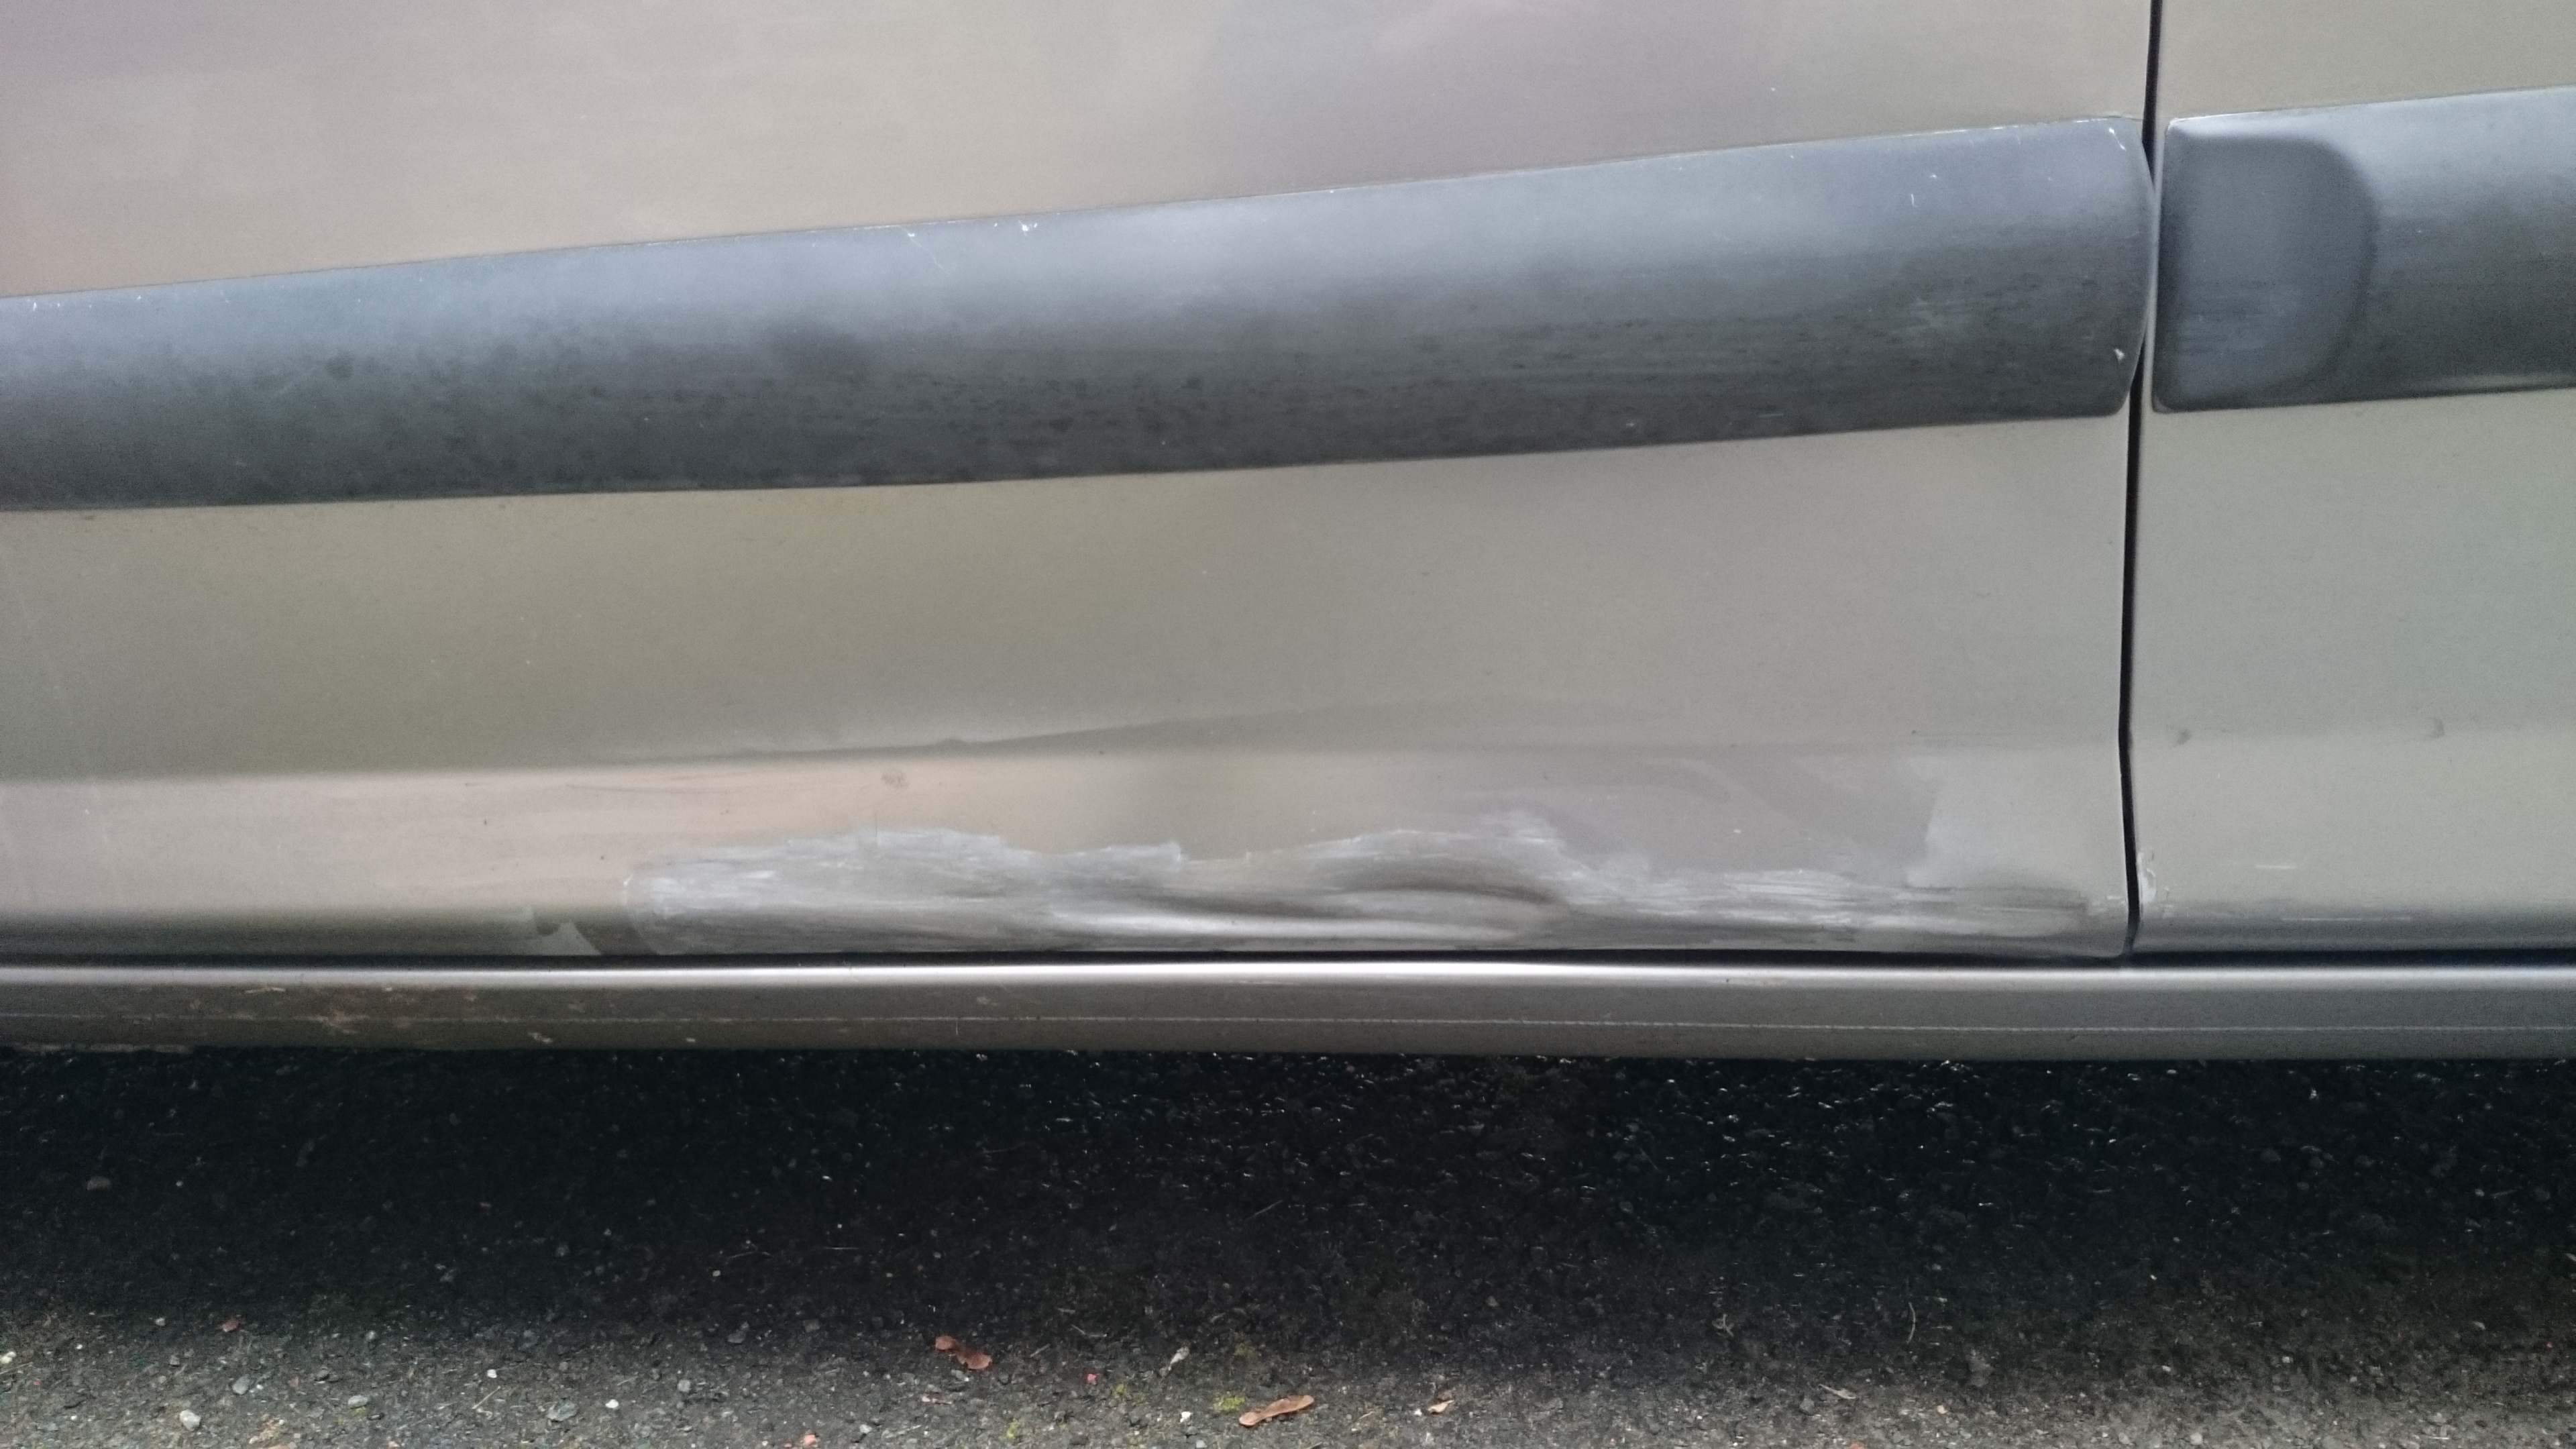
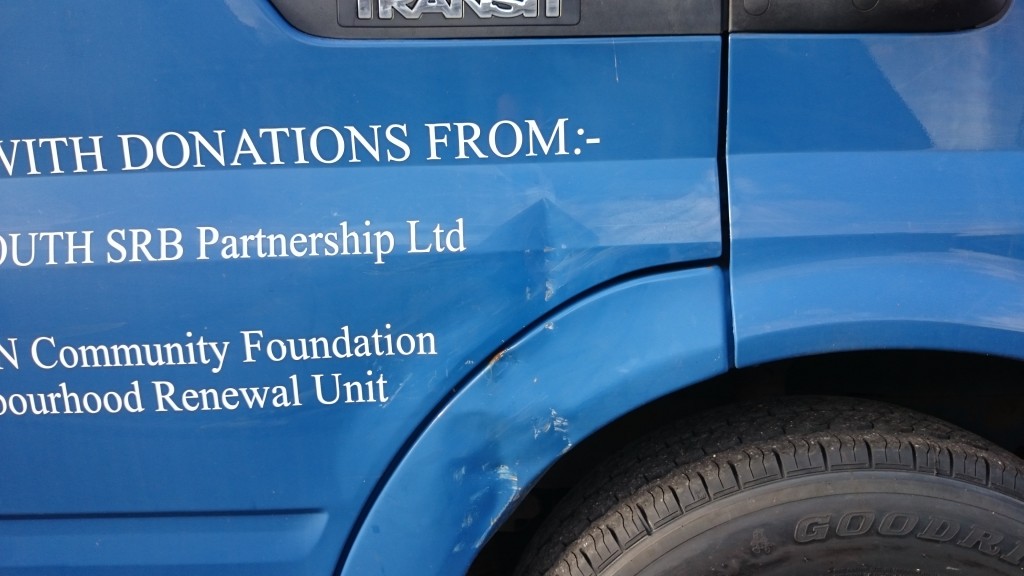
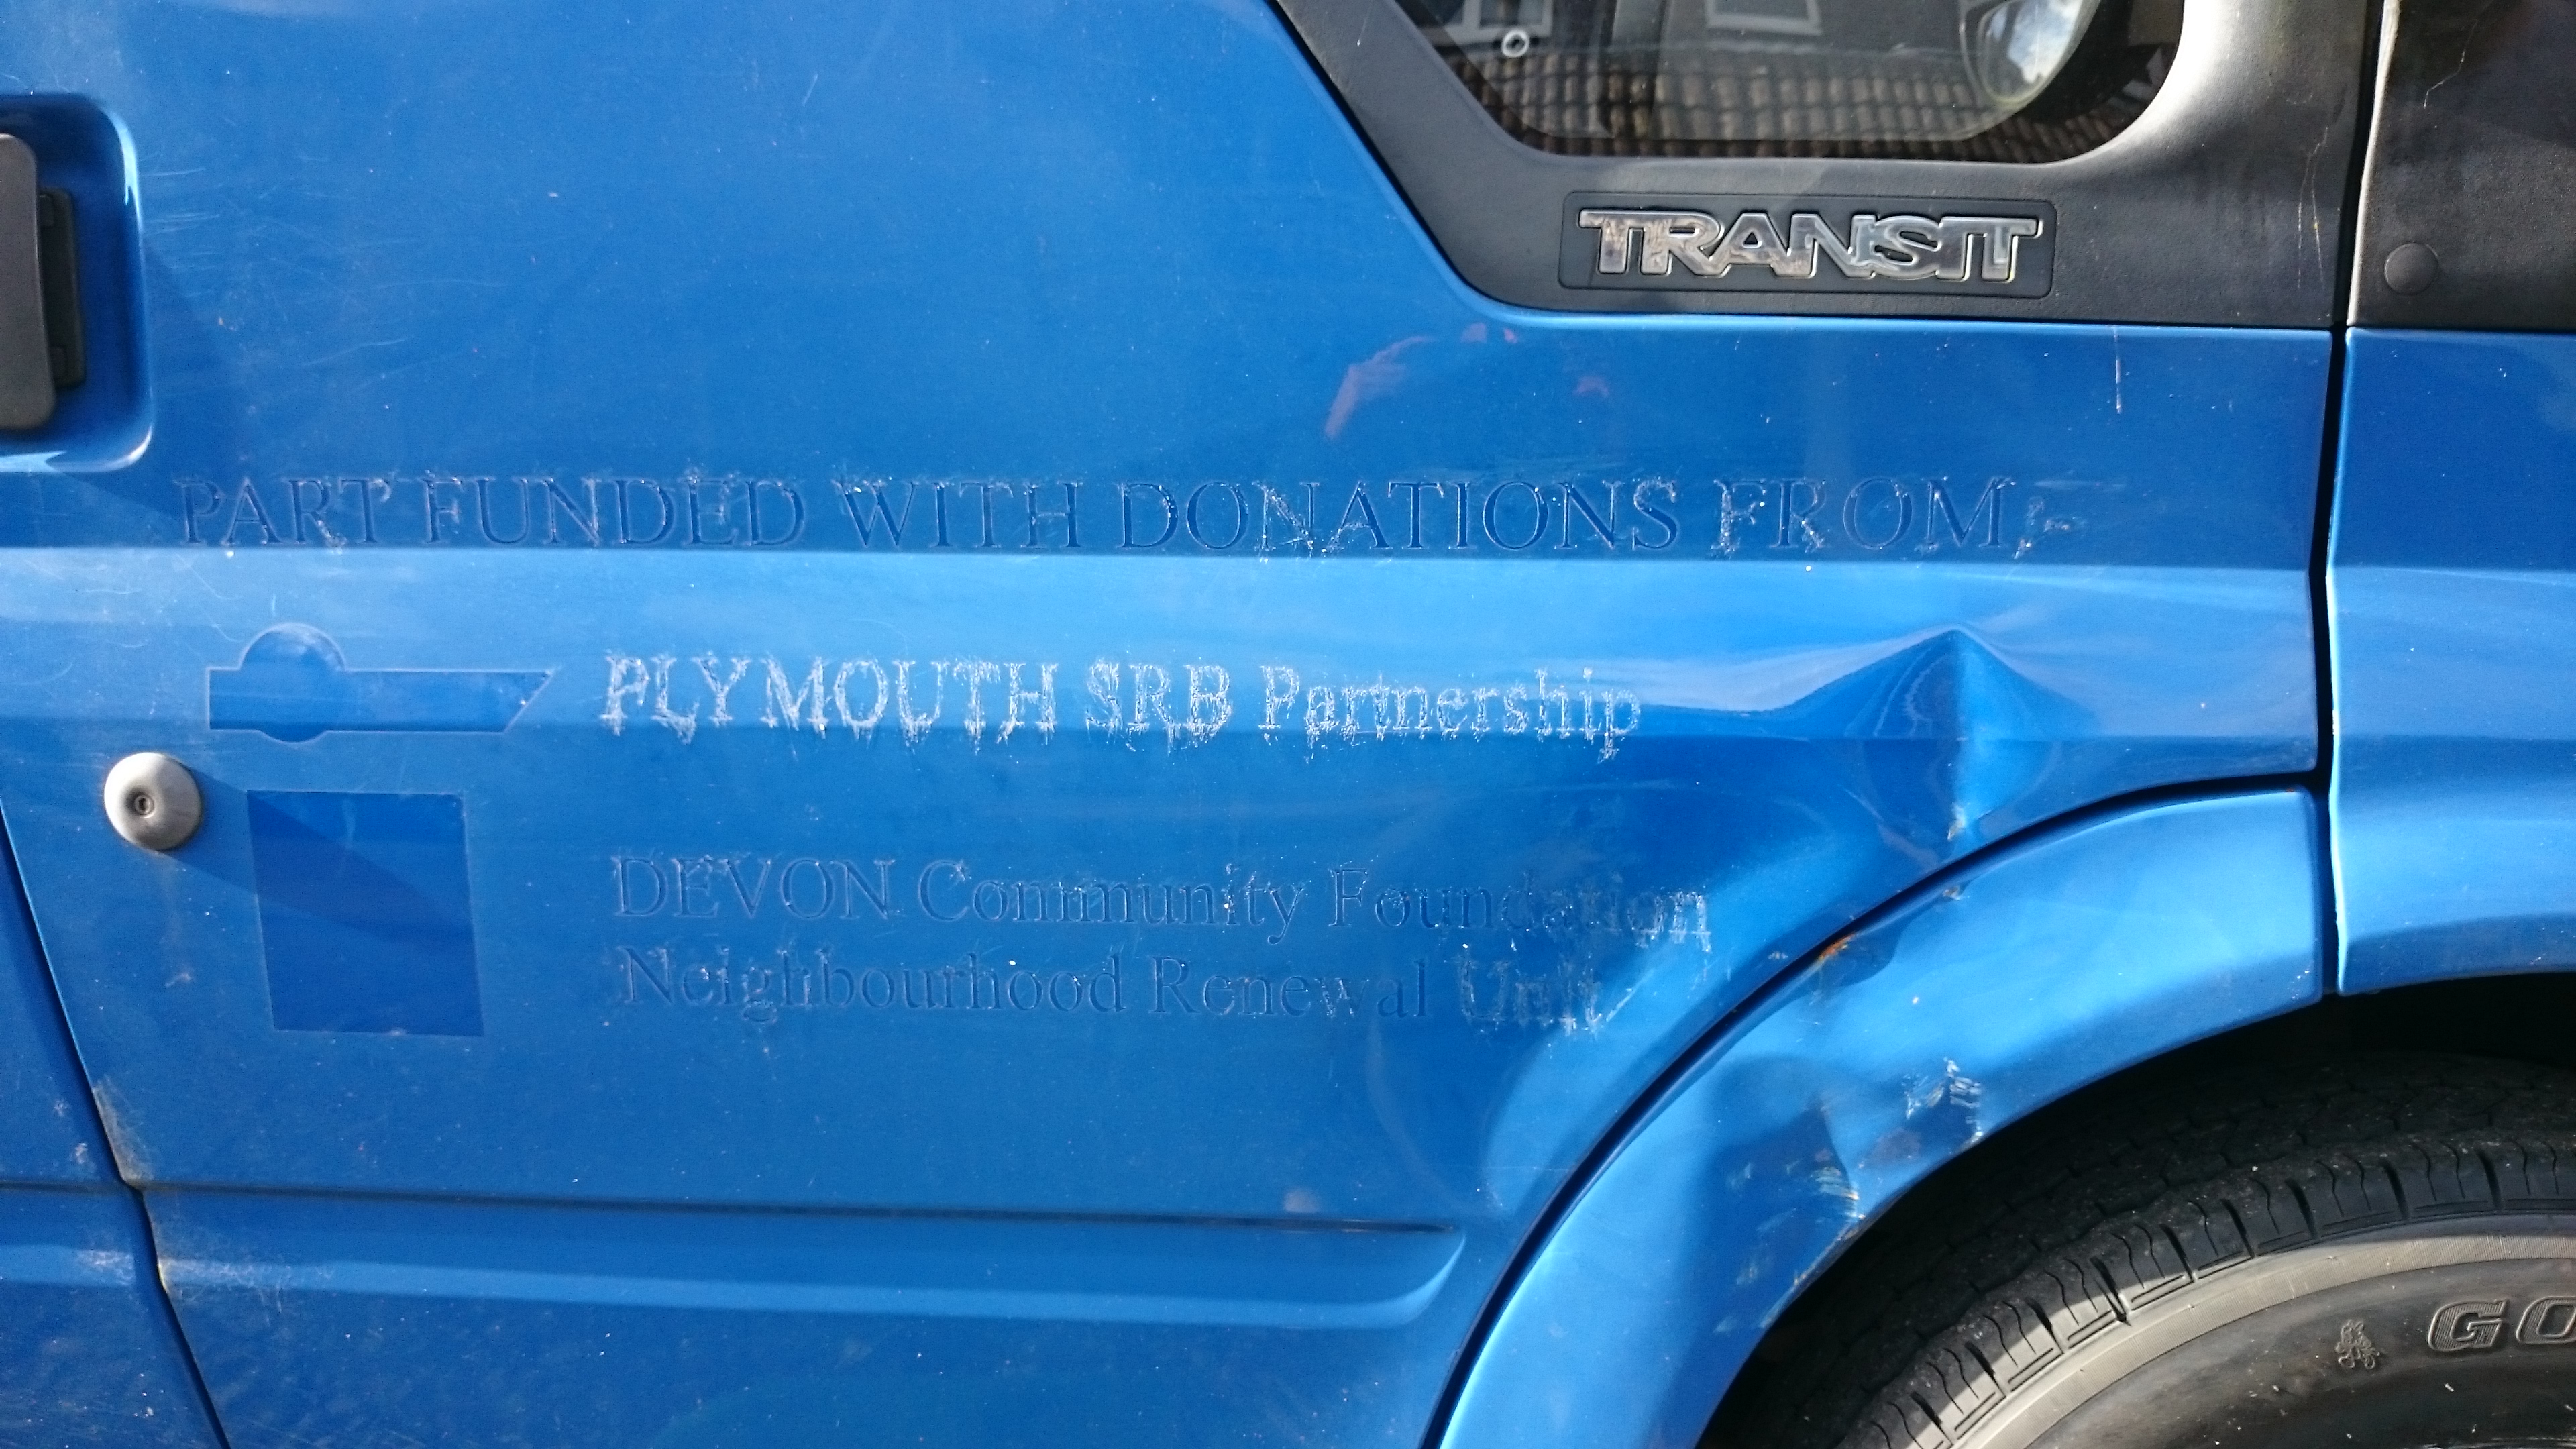
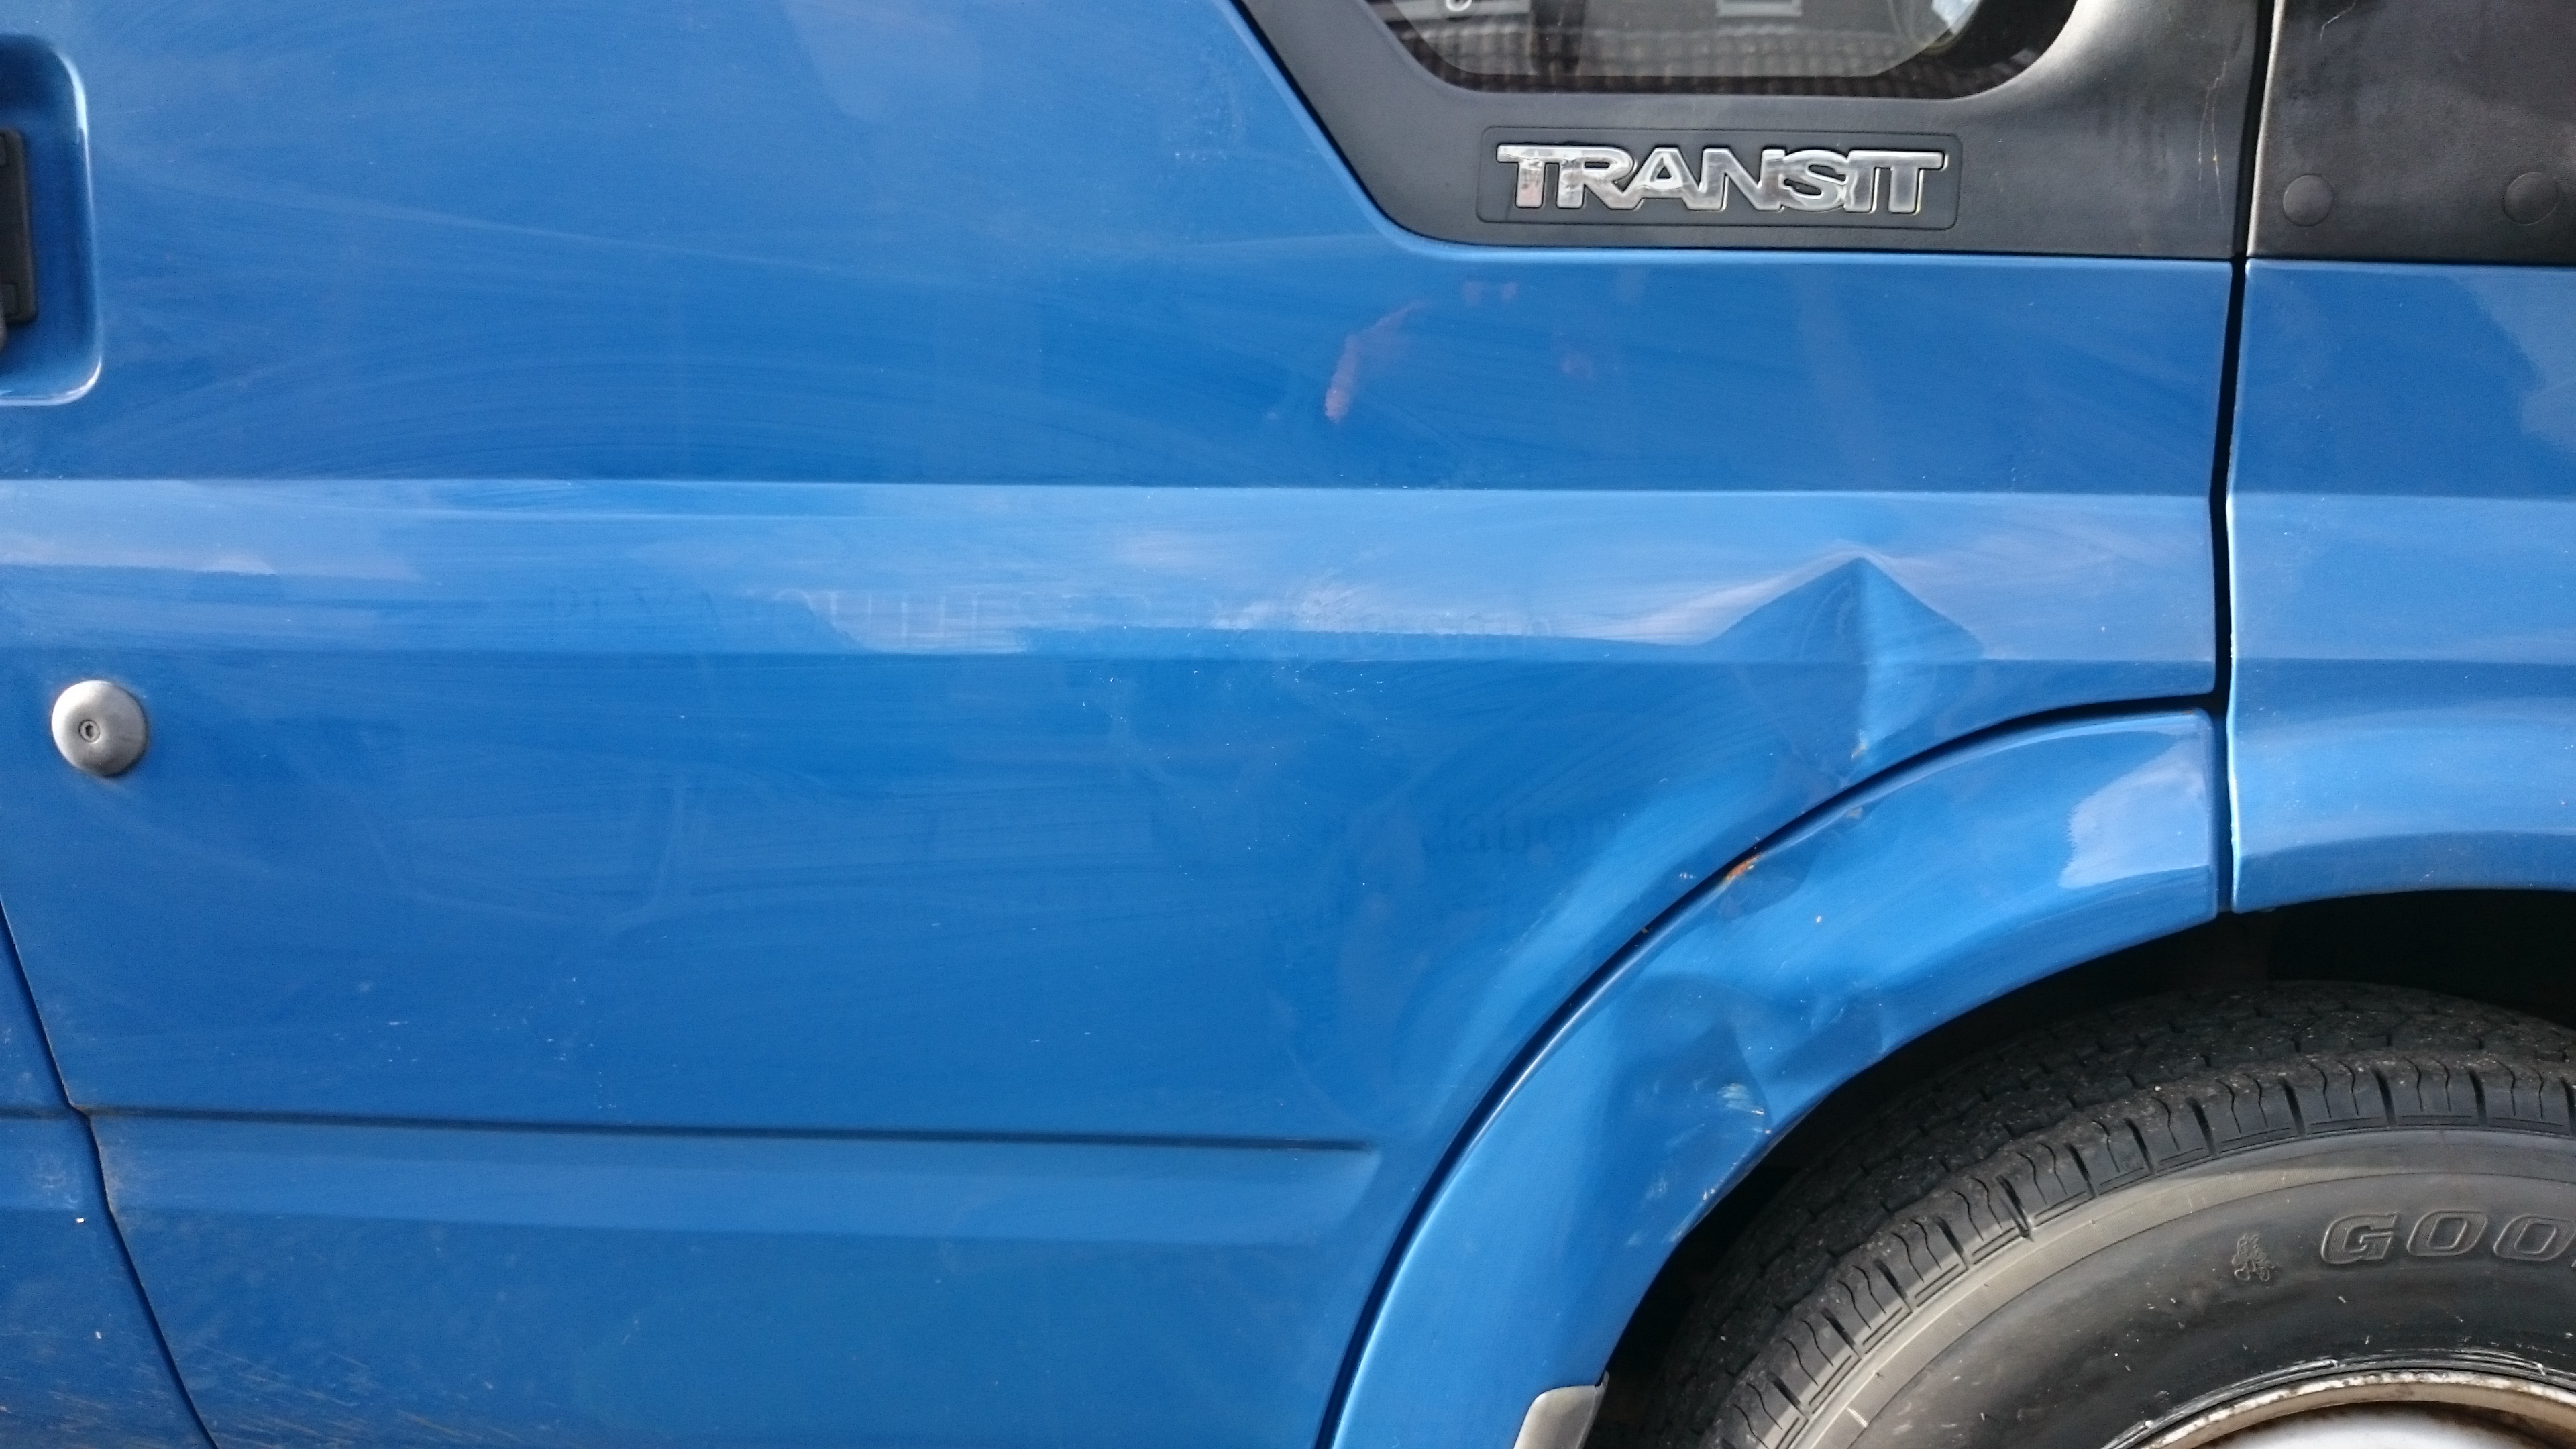
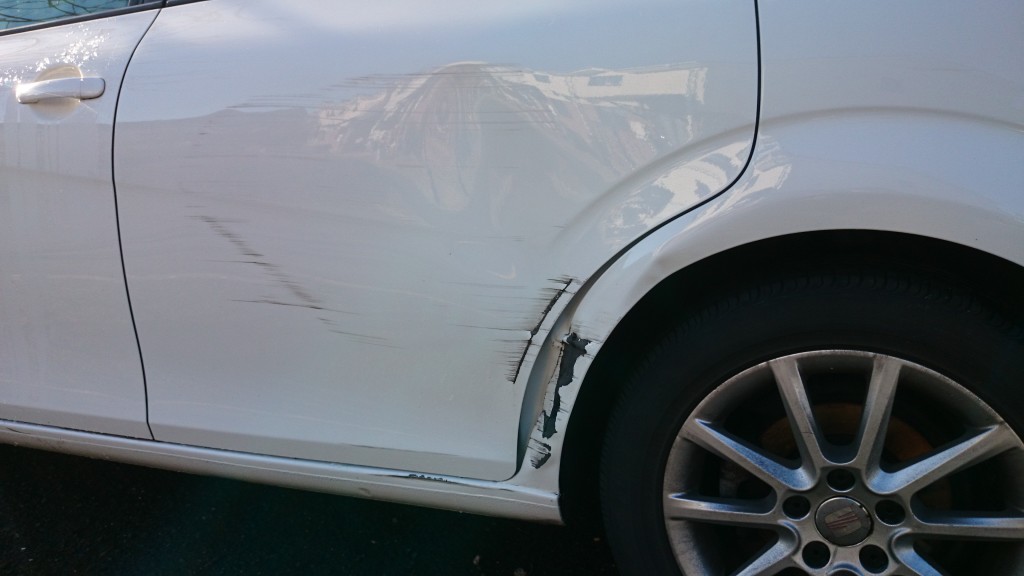
This was an interesting job to do as the van had damage on both the wheel arch and the door. Usually a door repair is outside the scope of SMART repair, but the damage was very much on the far right and not breaching into the middle of the door.

The first thing to do was to remove the sign-writing as spraying over or around this is not an option. Luckily the writing was due to be updated anyway, so it was not a problem for the customer to have it removed, if anything it was beneficial.

Blue Van Sticker Remove

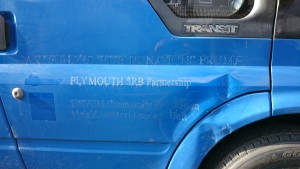
Once the stickers had been removed the panel is wiped down using solvents to remove the sticky residue left over from the sign-writing. As the van colour is a solid it was also important to machine polish the panels before being sprayed, this is to ensure the fading is brought back to the original colour as much as possible so fresh paint will match. The SMART system allows colour to be tweaked anyway, but its good to have as best a match as possible to begin with.

Blue Van Sticker Clean Up

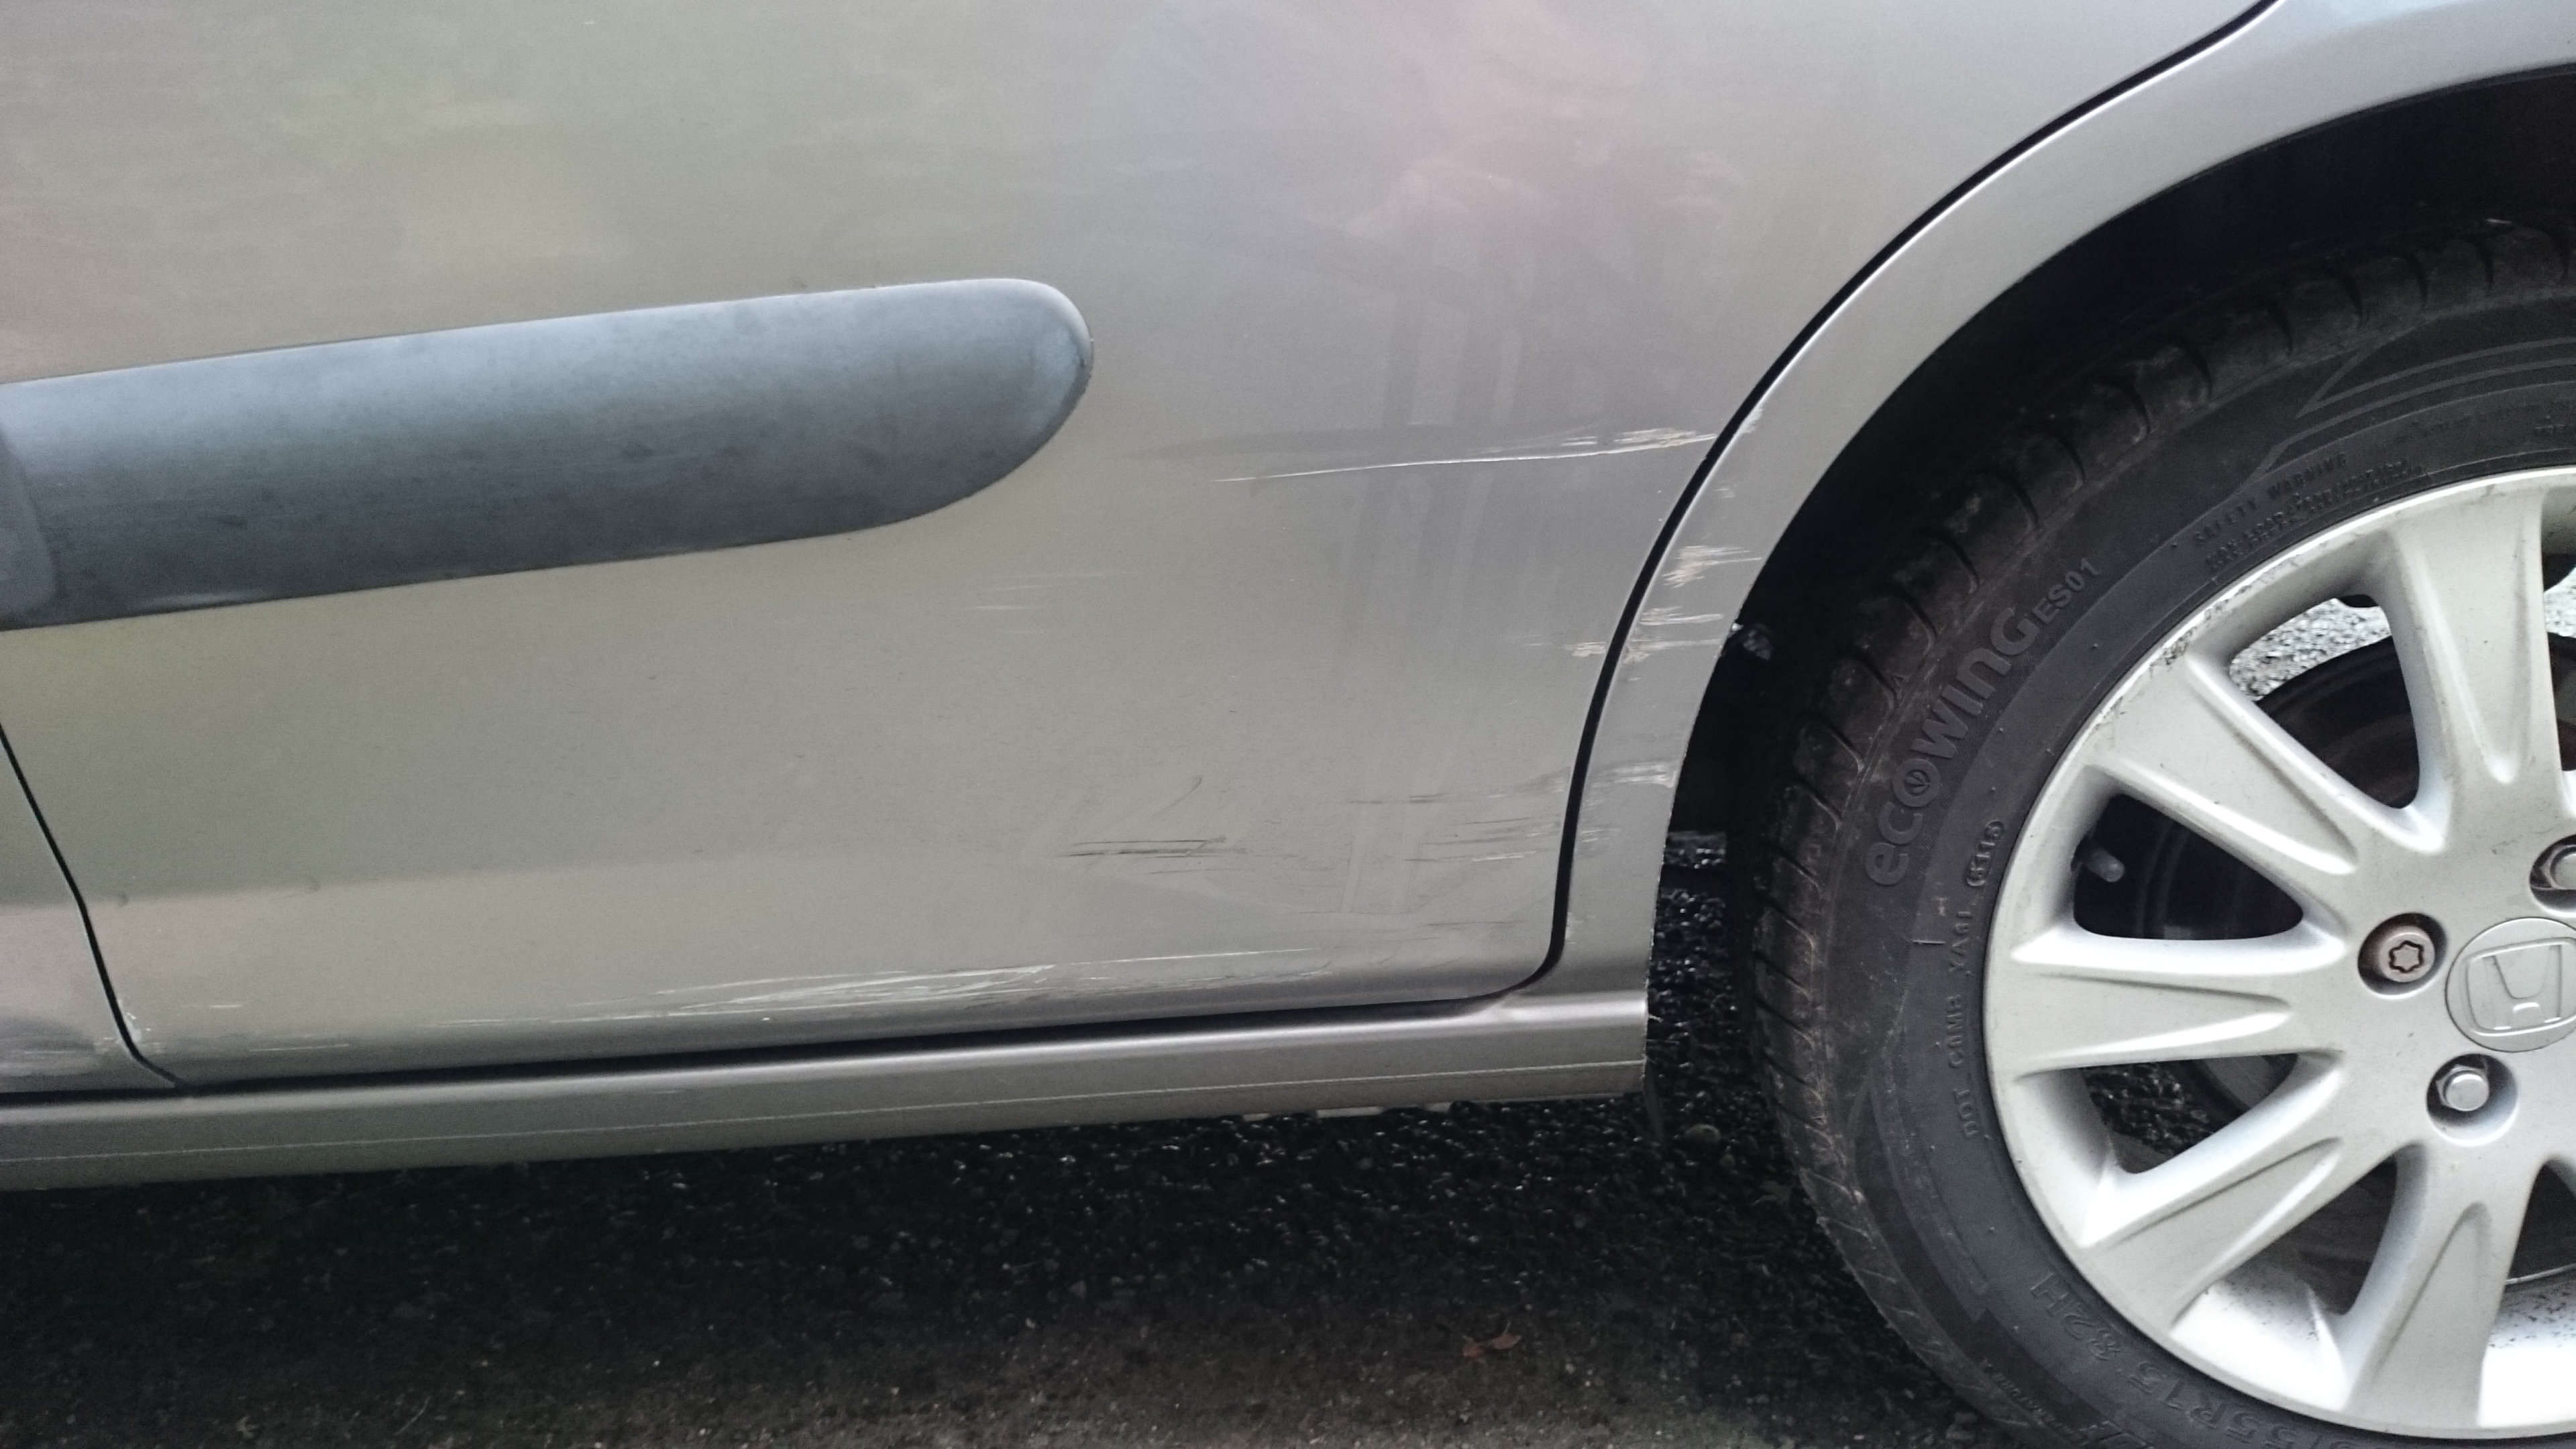
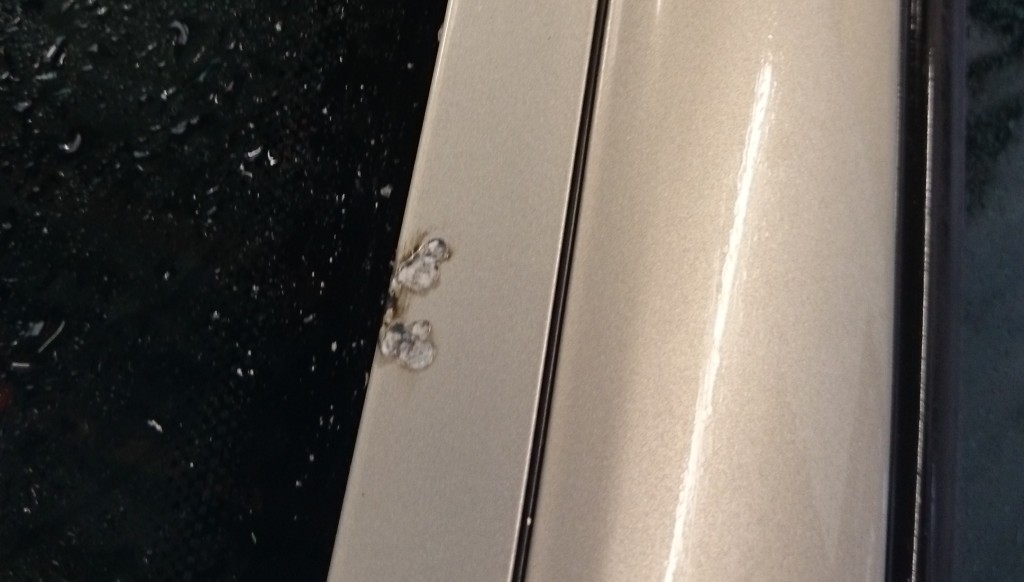
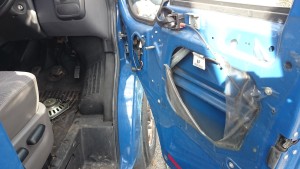
Repairing the damage to the wing with a variety of panel beating tools and flat edges was used to get the bent metal back into shape as much as possible. As for the door, this required the door card inside to be temporarily taken off so tools can be used to push dents back out from behind.

Blue Van Finished

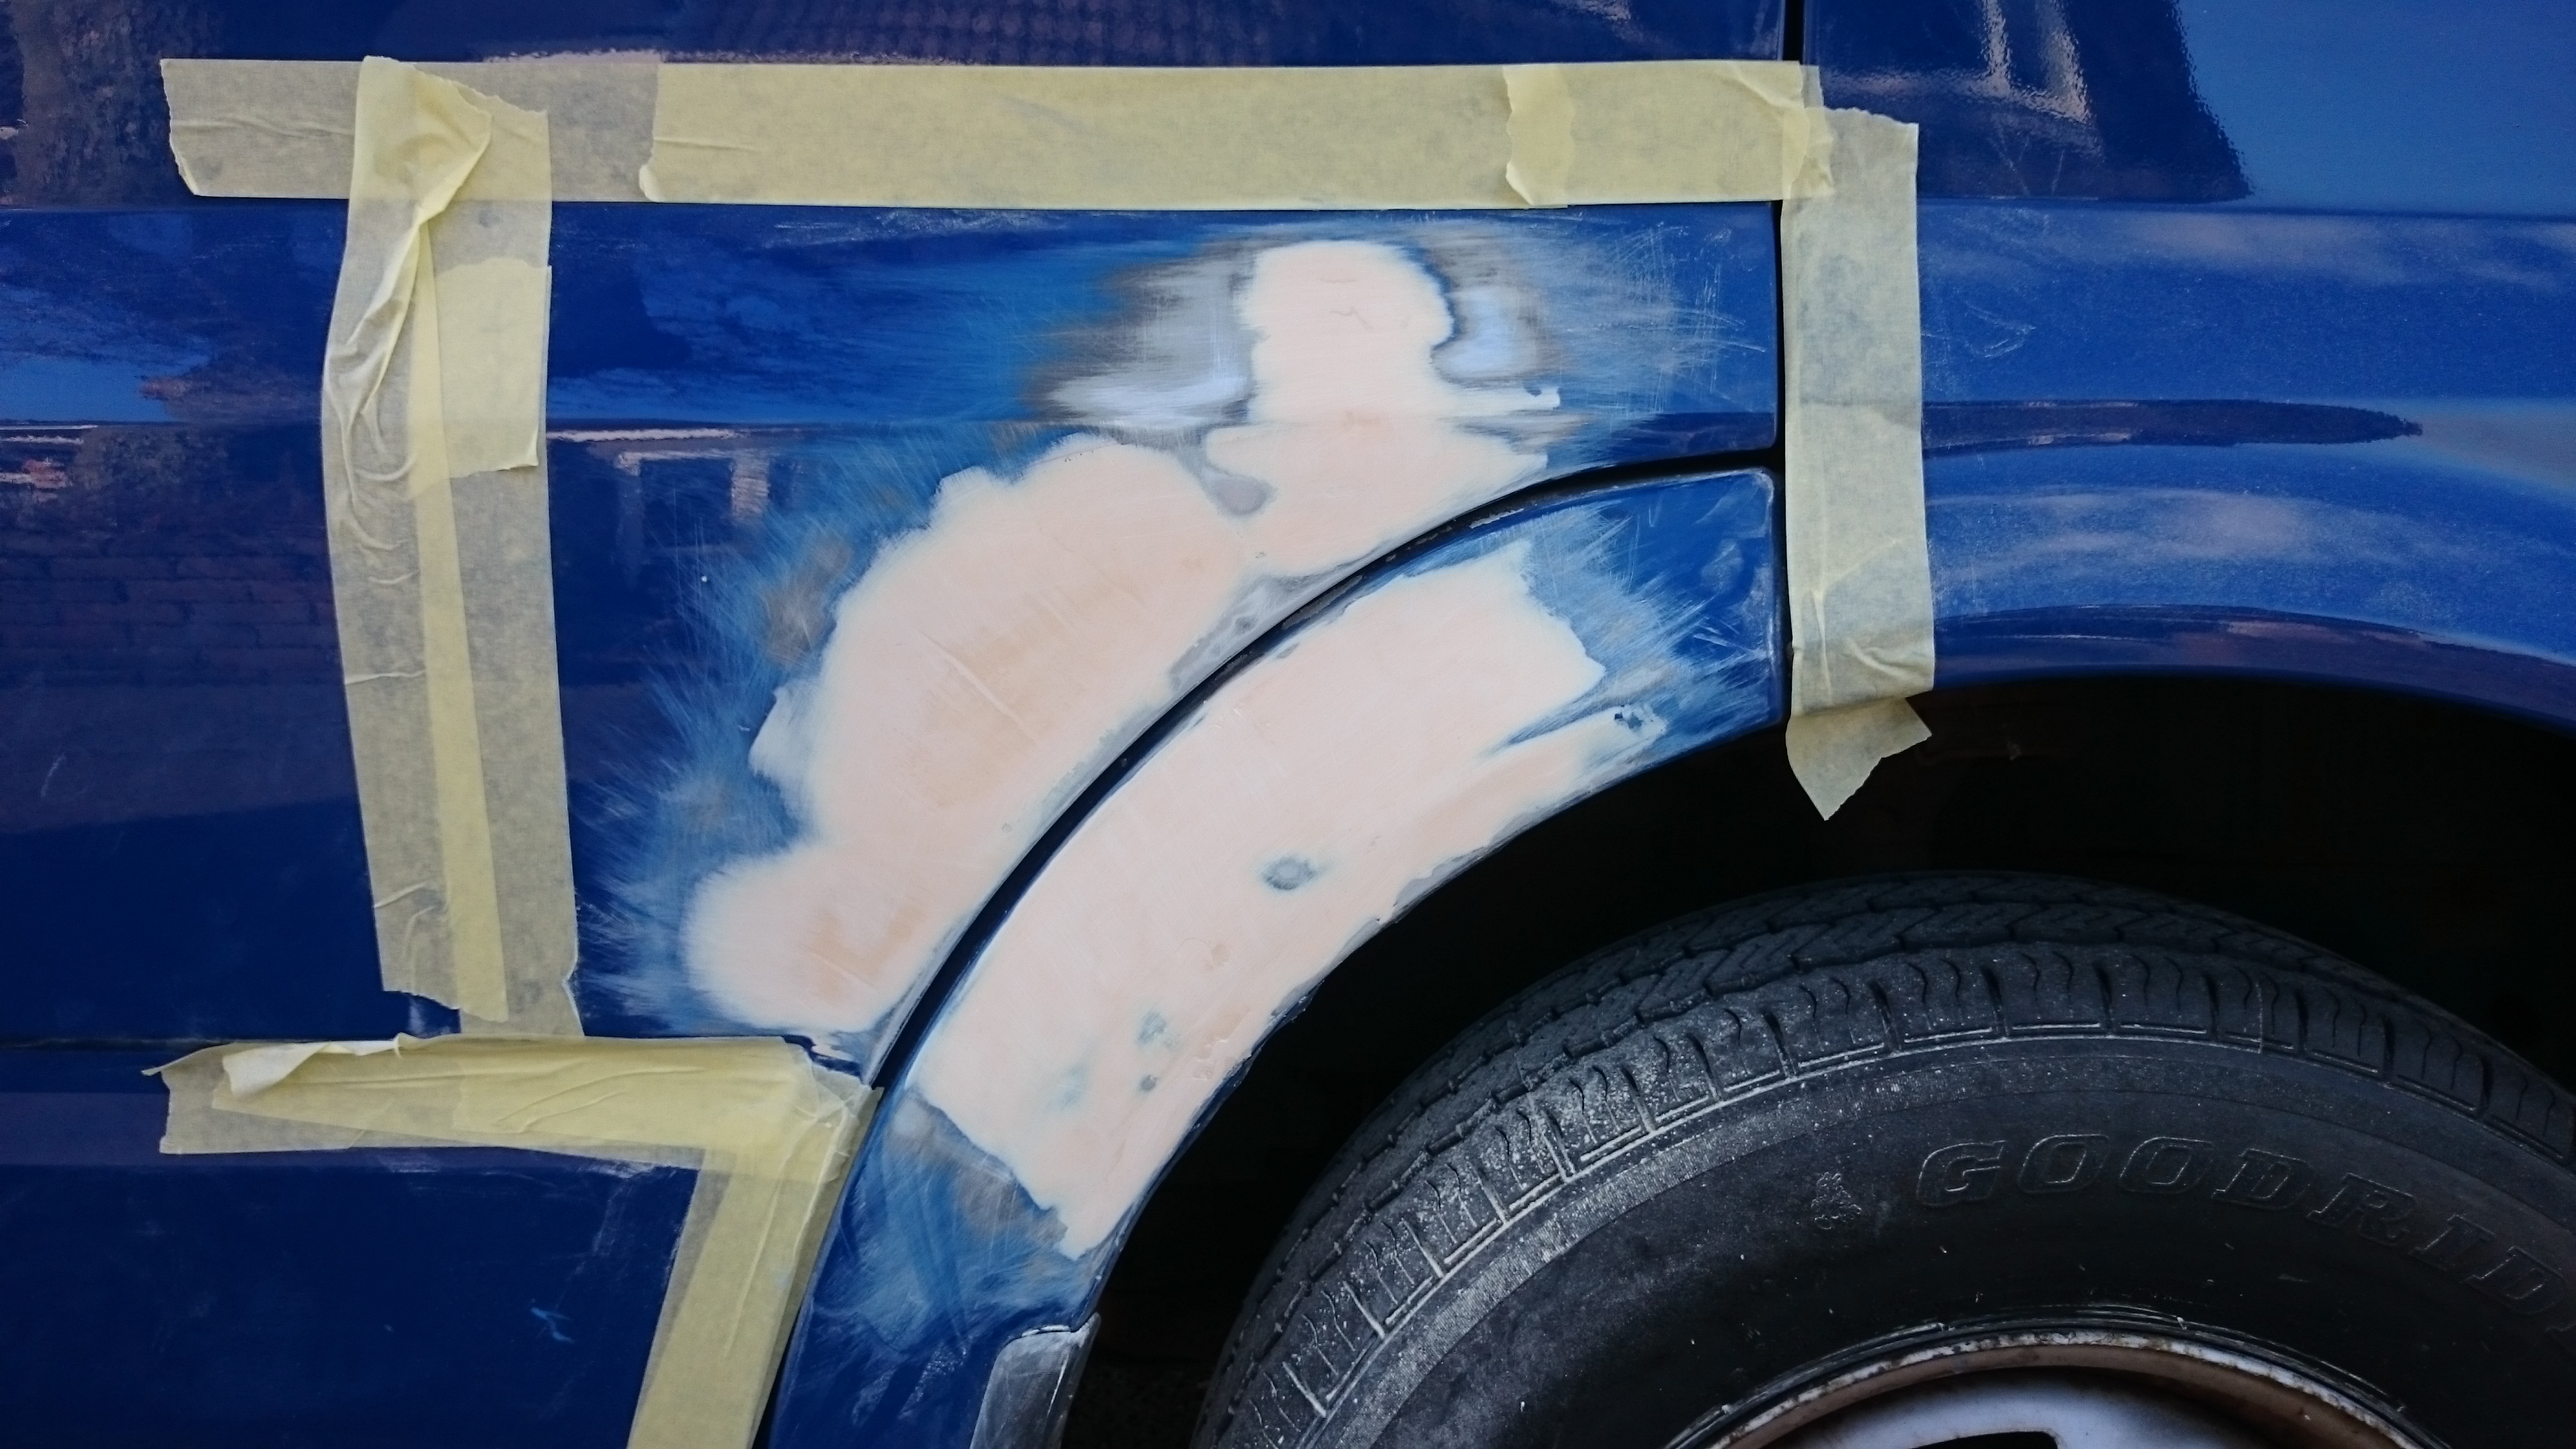
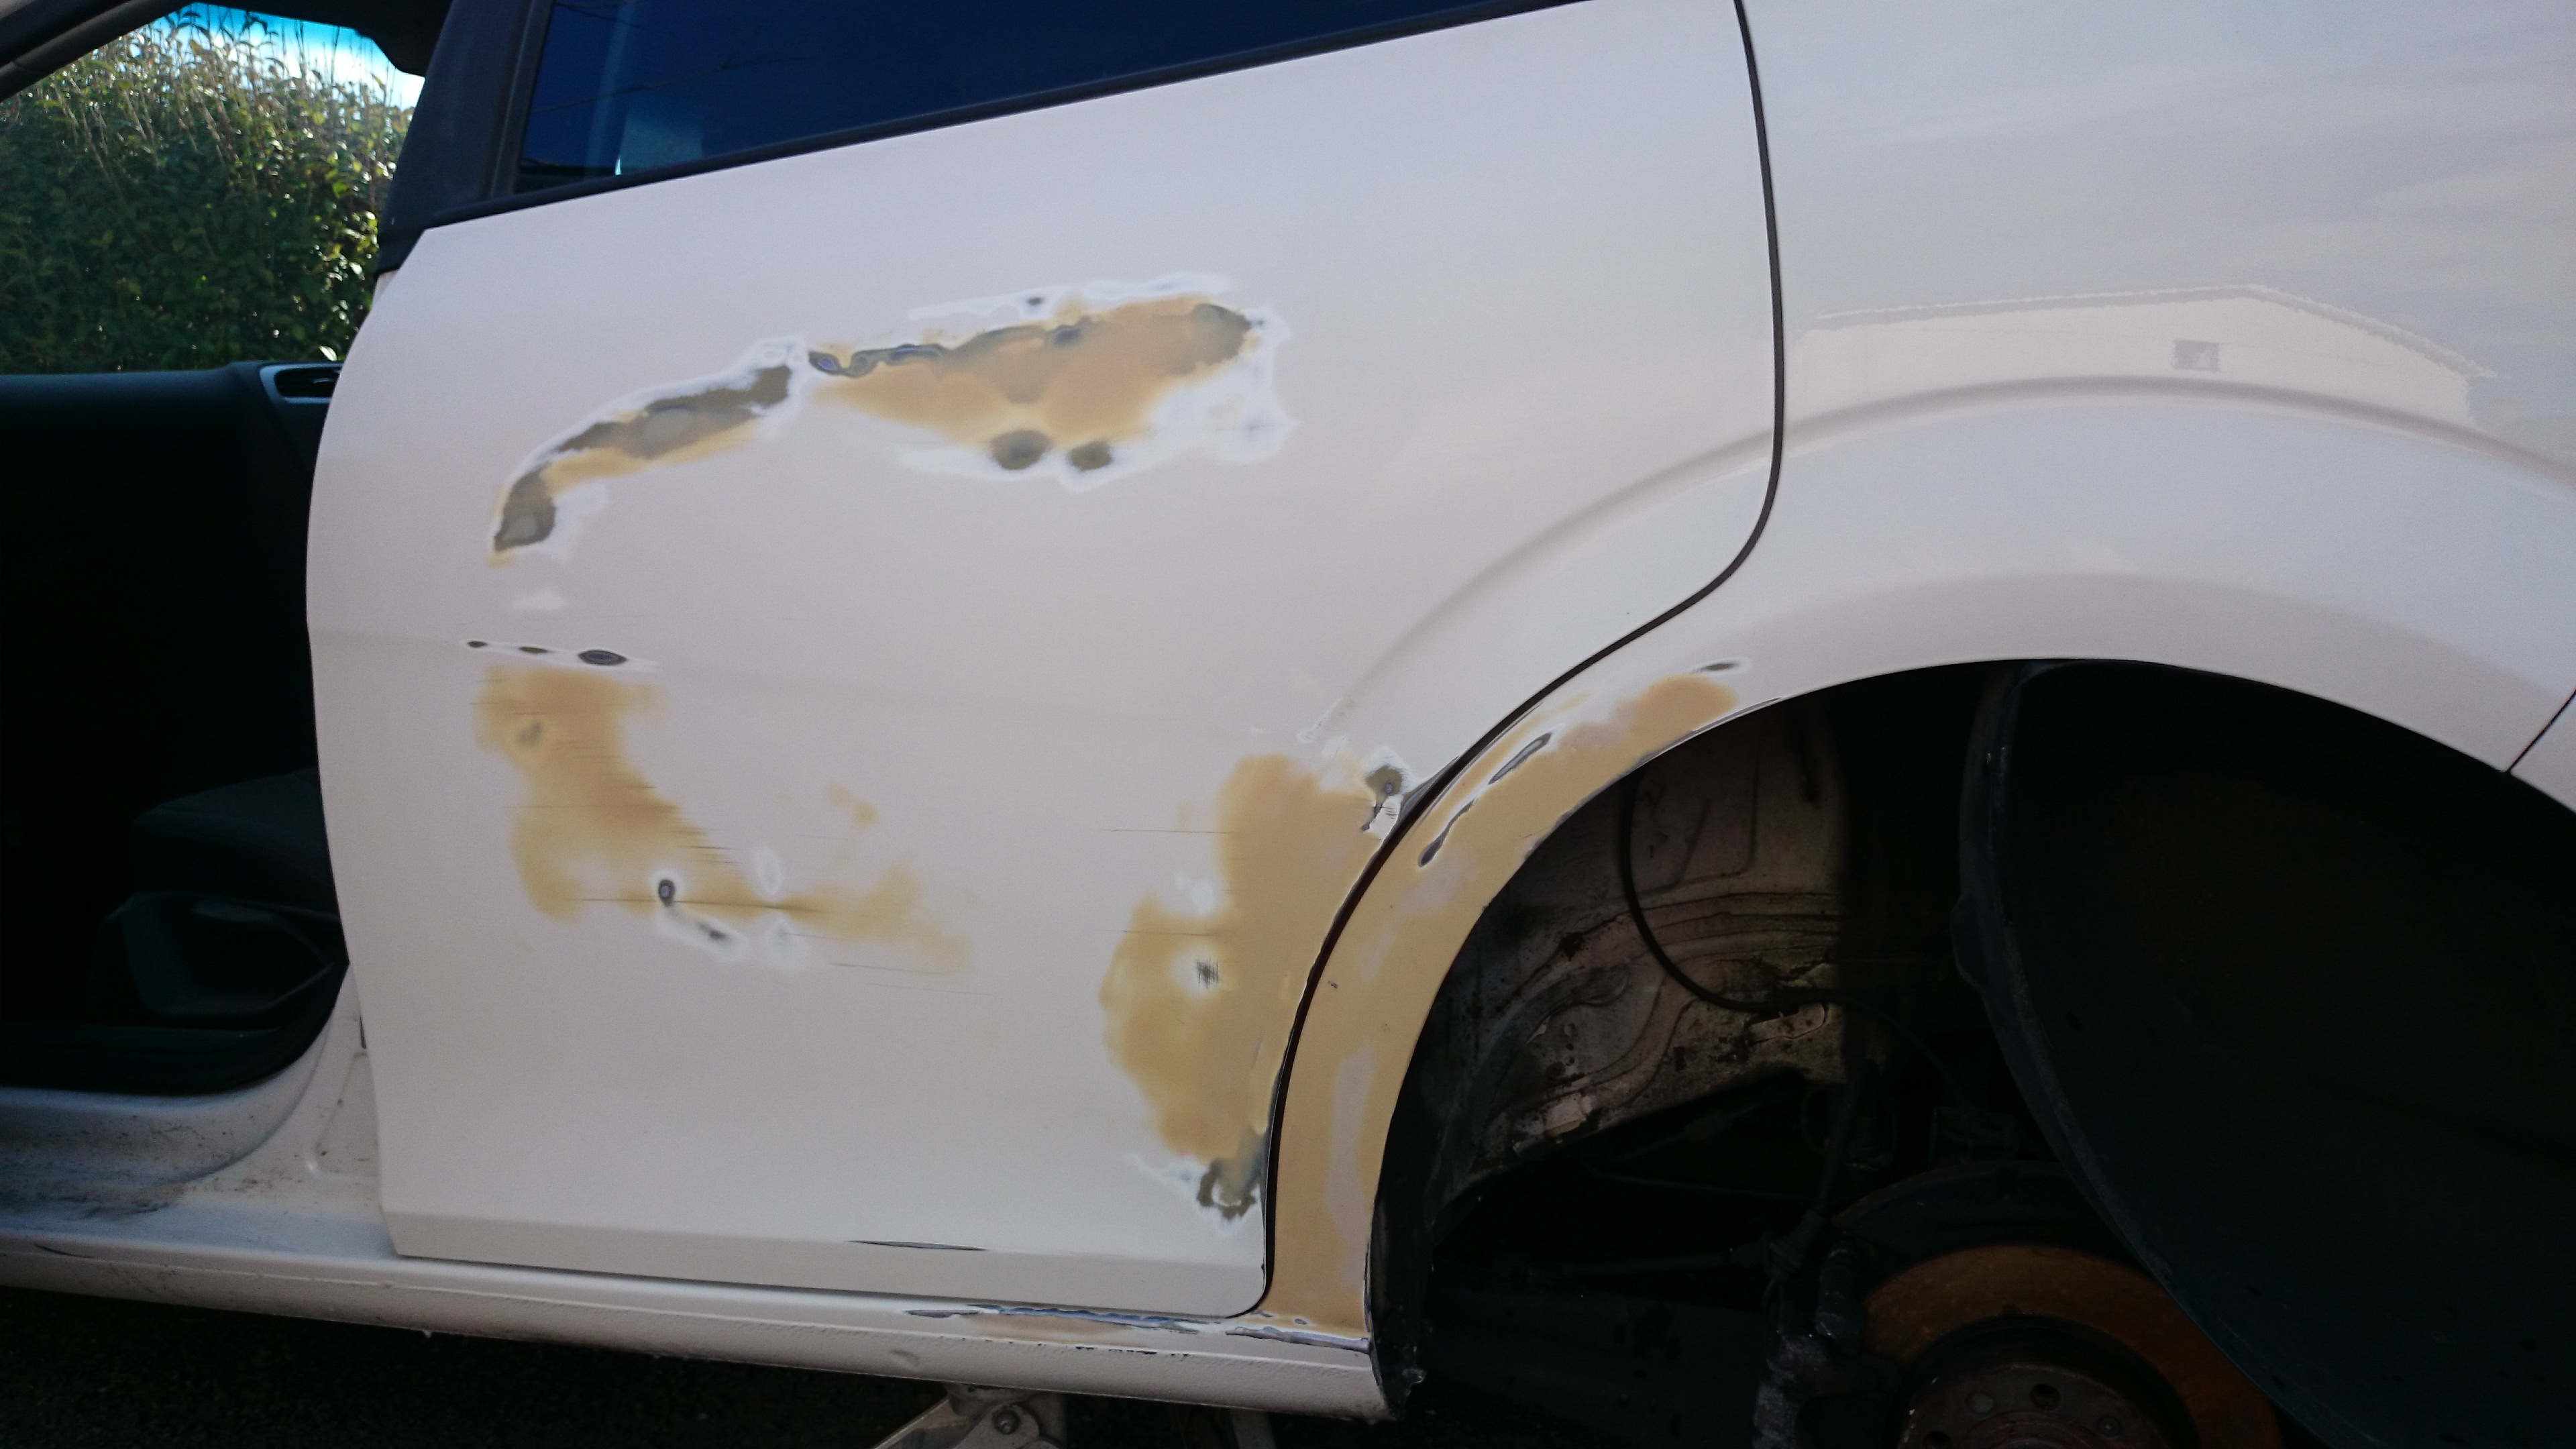
Filler is then used to fill in any dips and and regain some shape. This is rubbed down and filler reapplied a number of times until the shape is correct and the overall surface is smooth.

Blue Van Damage Repair

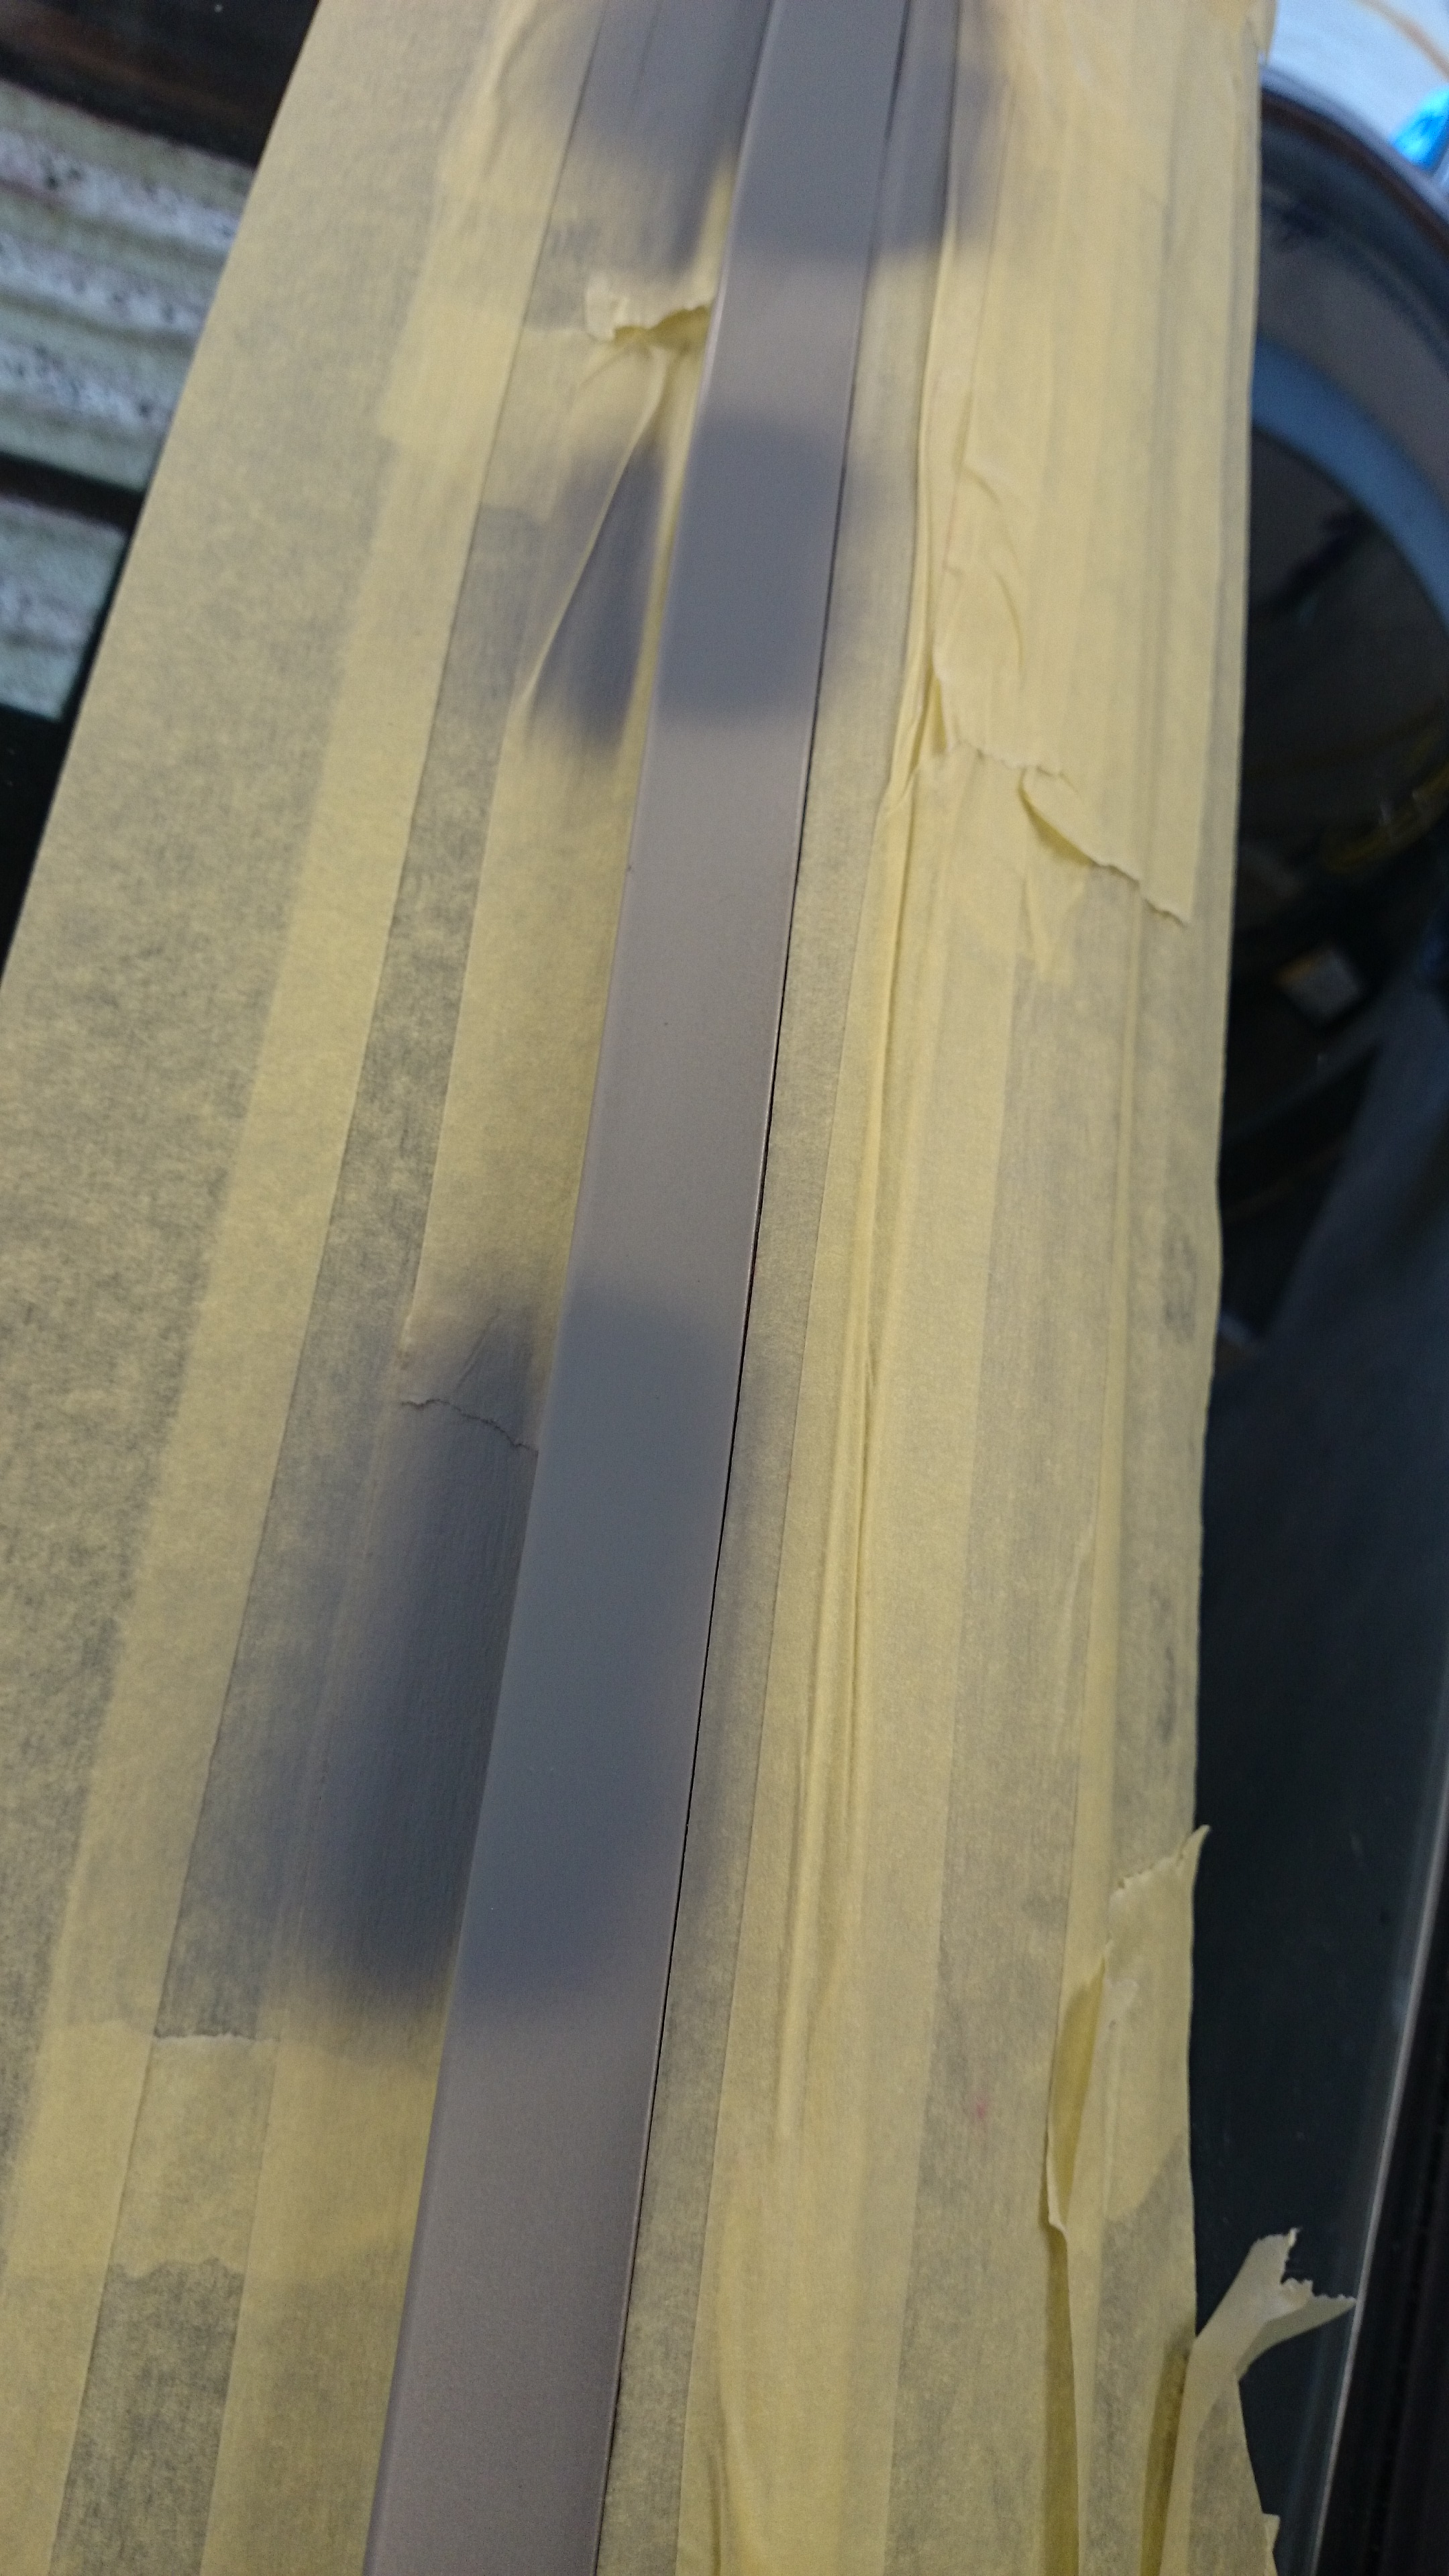
I used masking tape to contain the work area, this prevented any reduction paper from scratching areas further away from the actual damage causing the repair to creep into a larger area.

The door and wheel arch is then sprayed with undercoat and rubbed down with Wet & Dry  paper. Again, this process may be repeated a number of times until the area is smooth, scratch and blemish free.

Blue Van Damage Undercoat

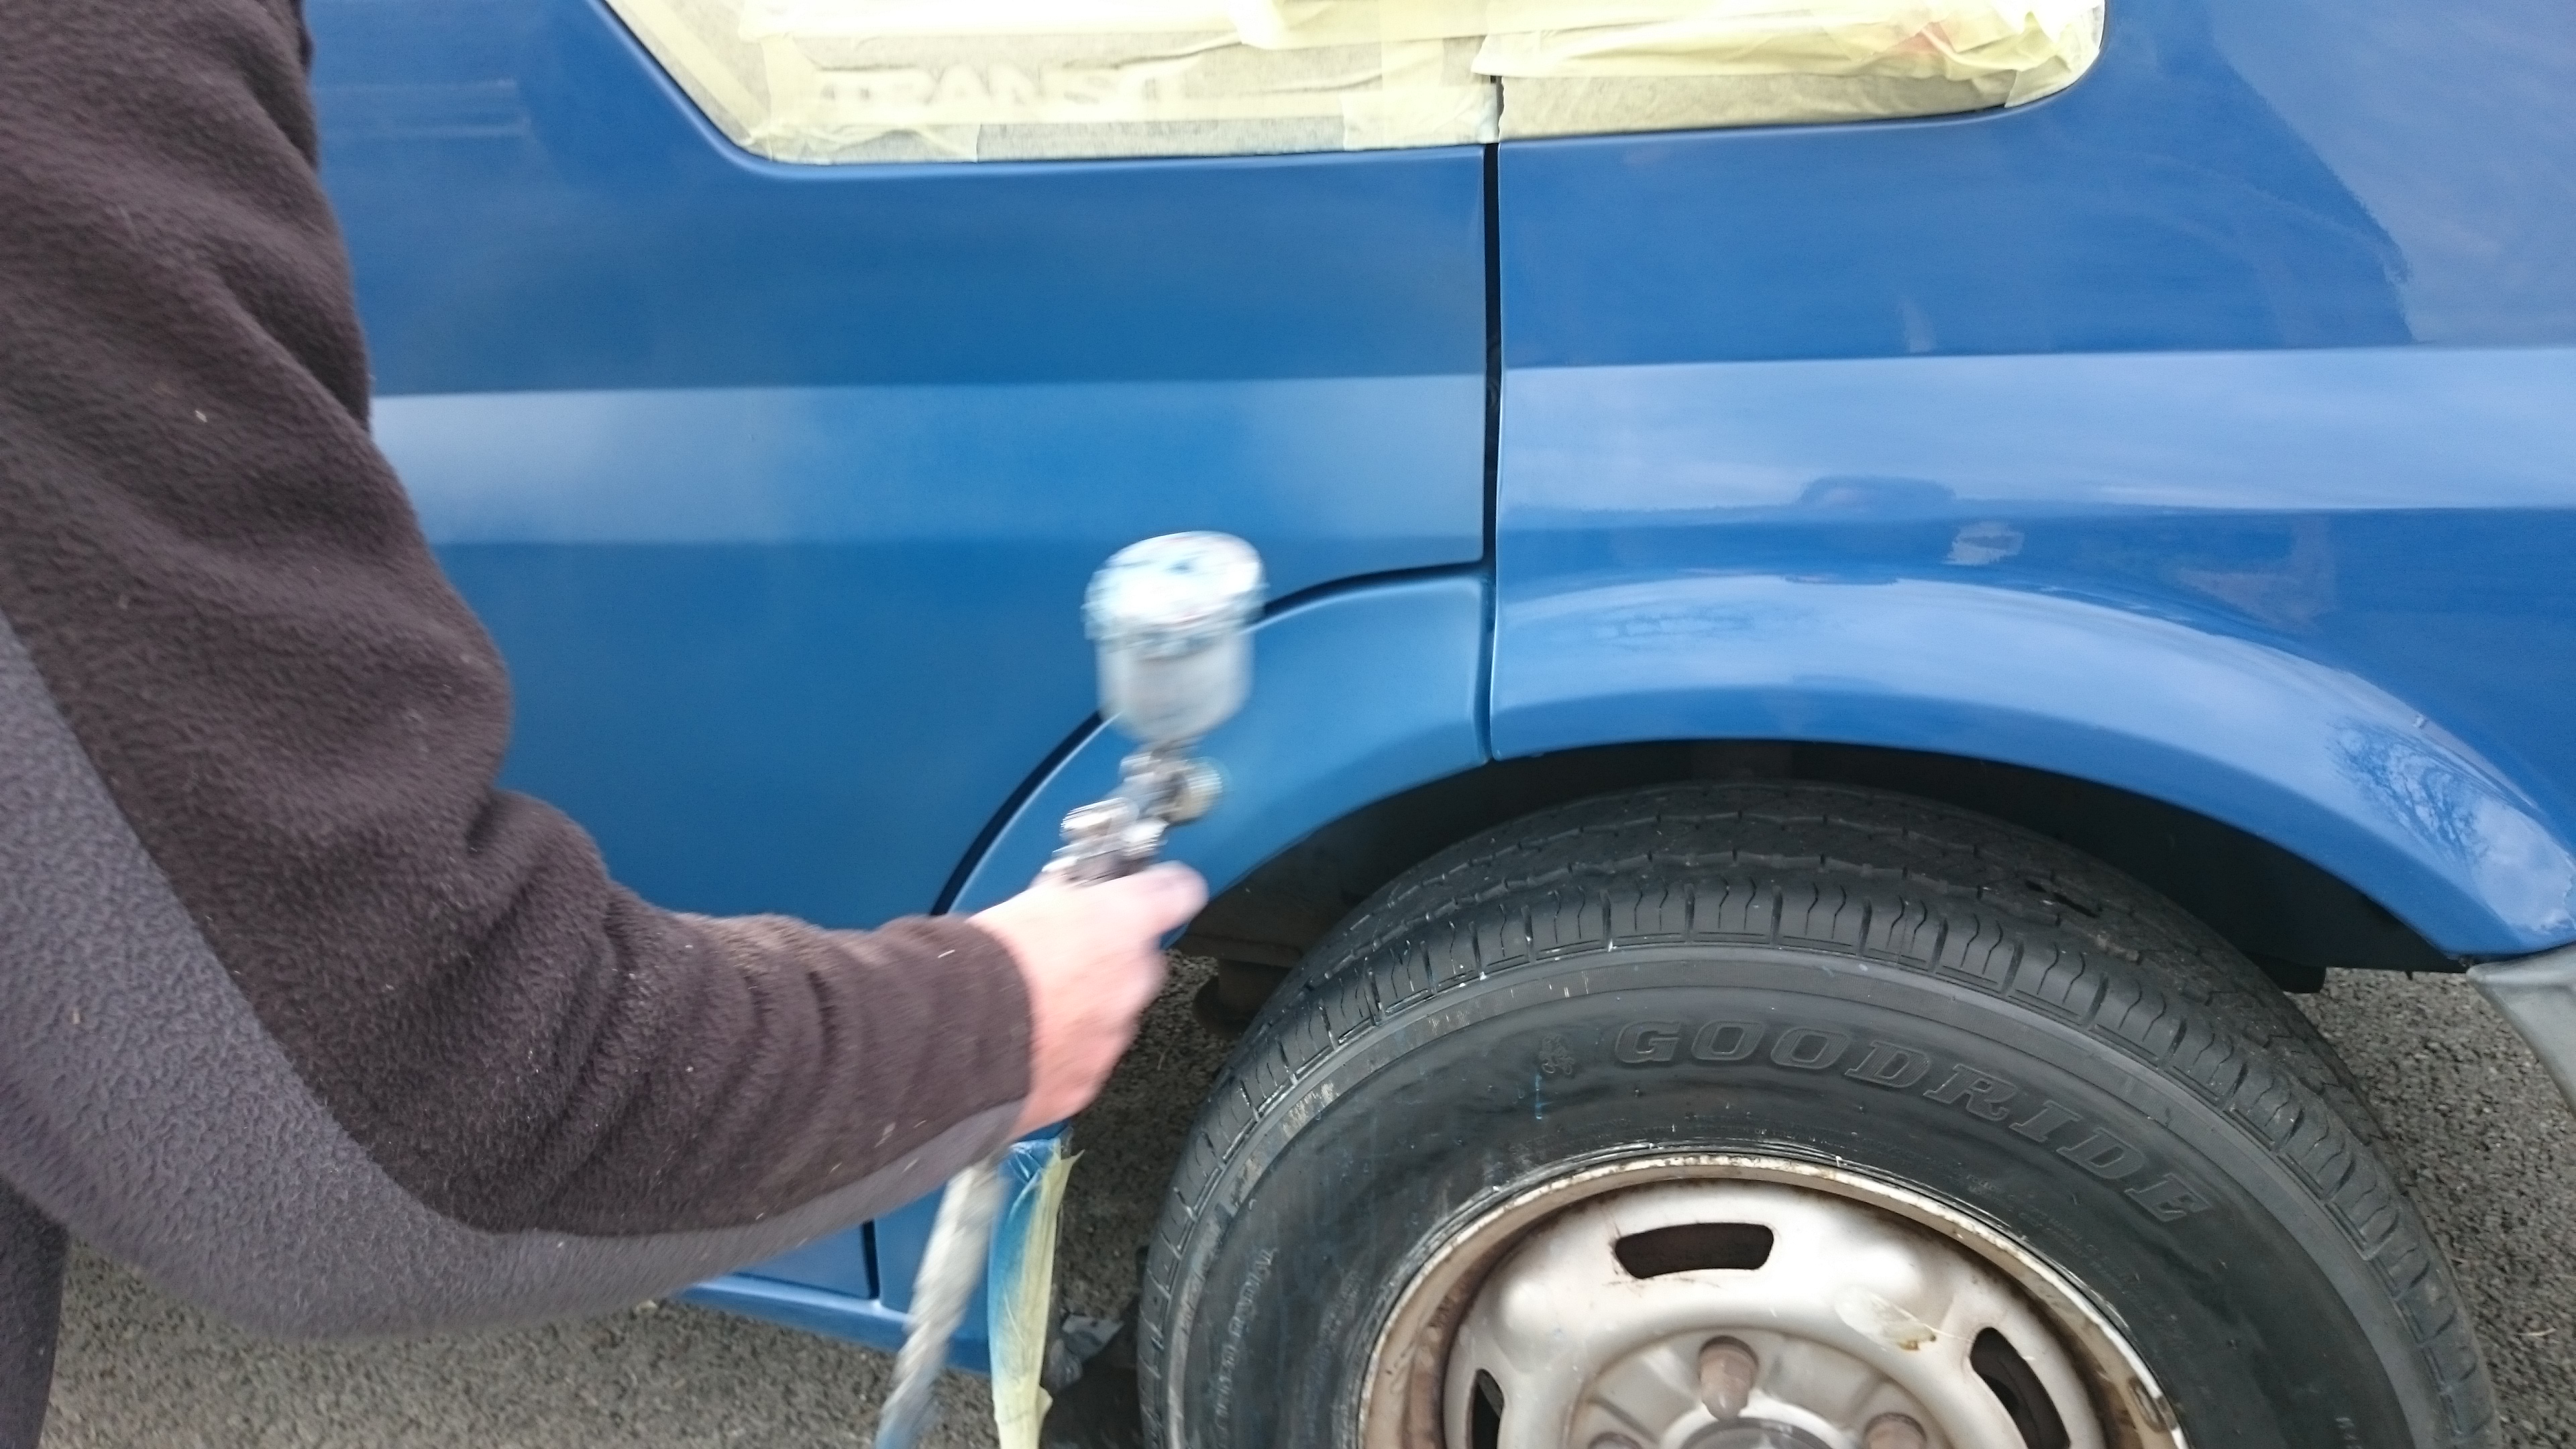
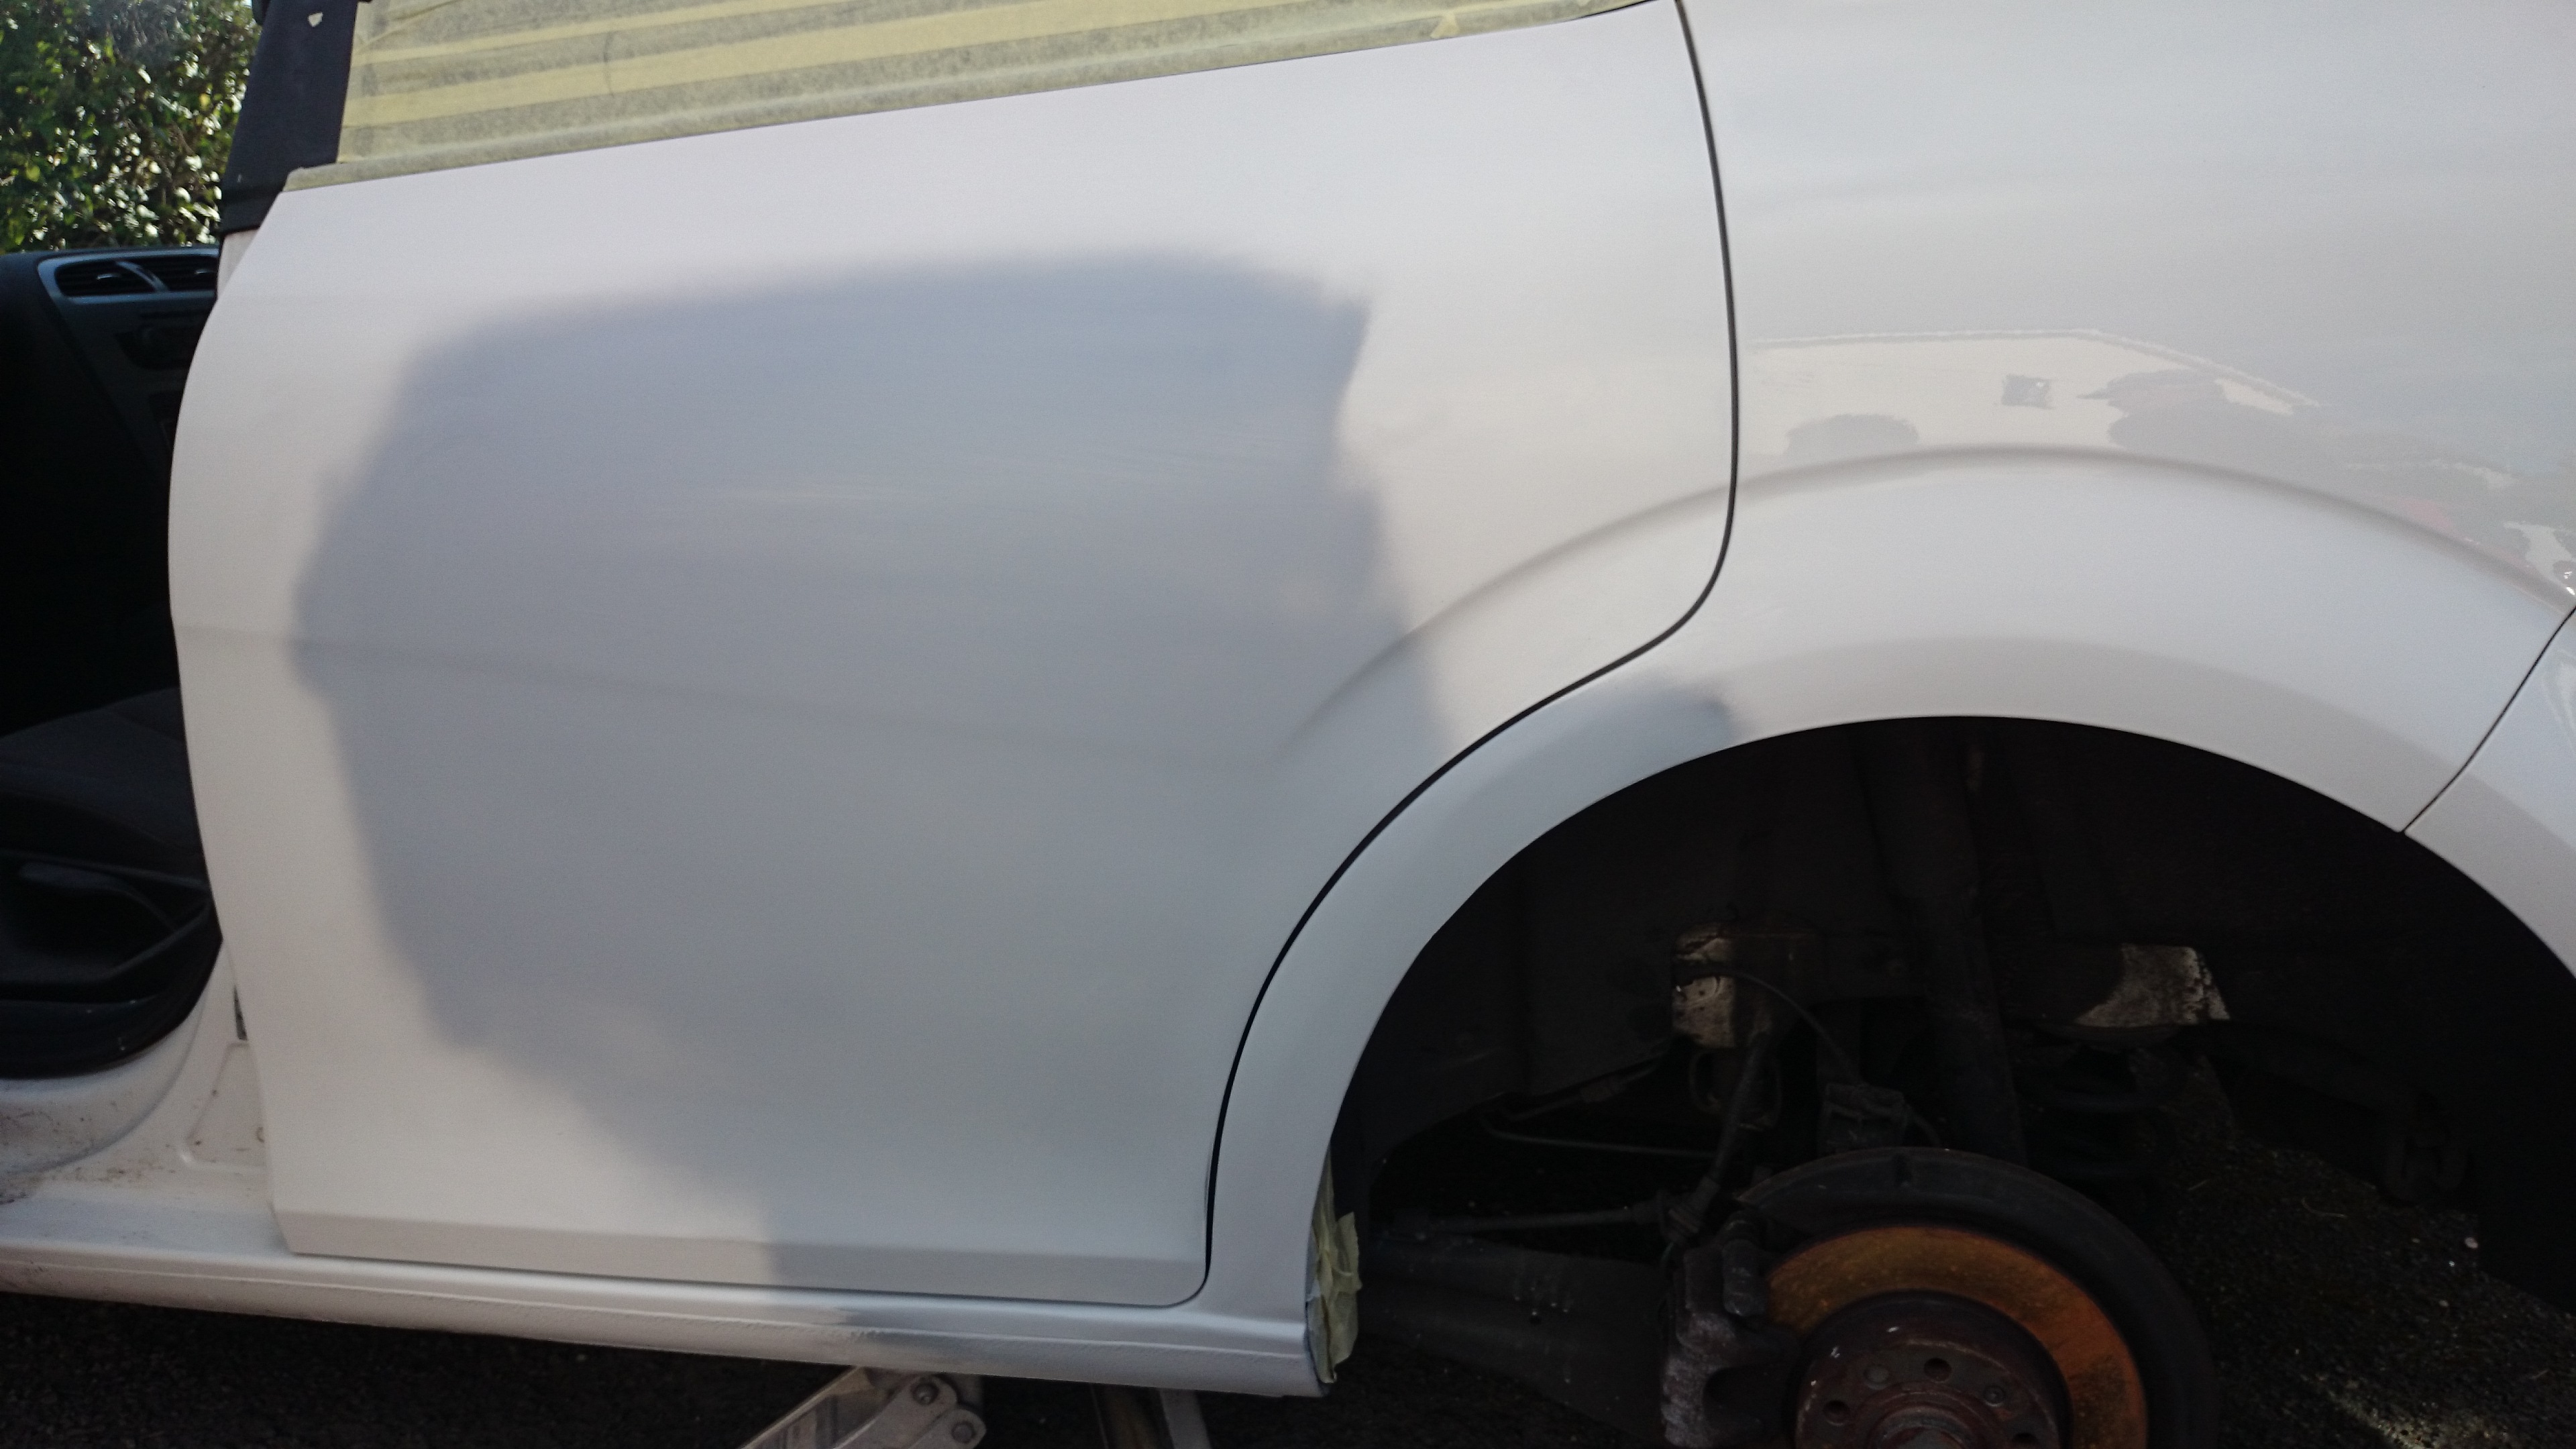
The final coat of primer I add blue, this helps the colour coat to cover better and require less paint.

Unfortunately on this  particular van I had some problems matching the colour. All the non-metallic blue’s Ford produced did not come close to the colour of this van! I finally concluded that the van was not a standard Ford colour and so must be an ex-fleet van. This can be a problem as there are so many fleet colours to choose from. However, it looked suspiciously like a British Gas blue colour and after mixing a little paint up and trying it, the match was perfect – ta da!


Blue Van Match colour


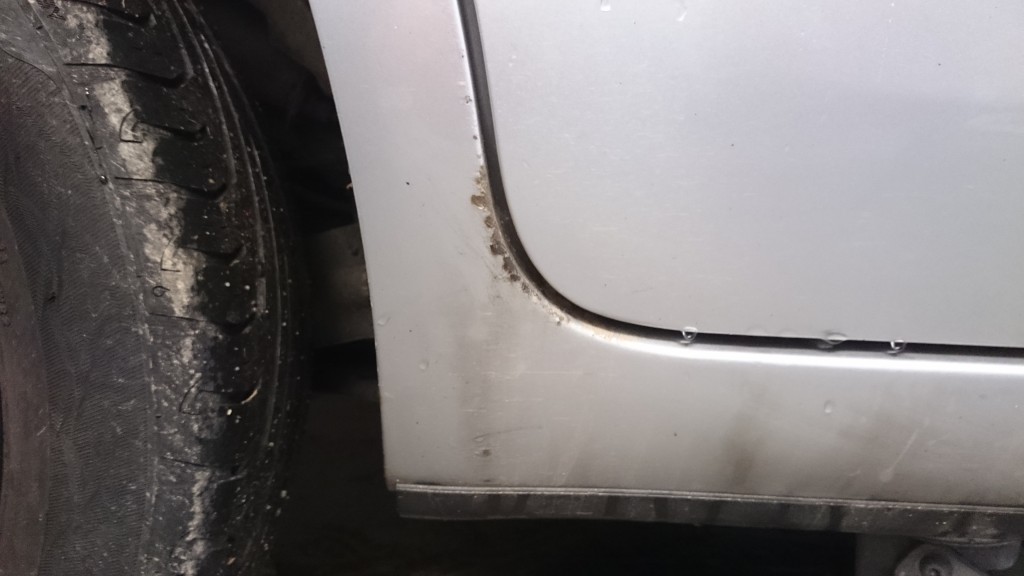
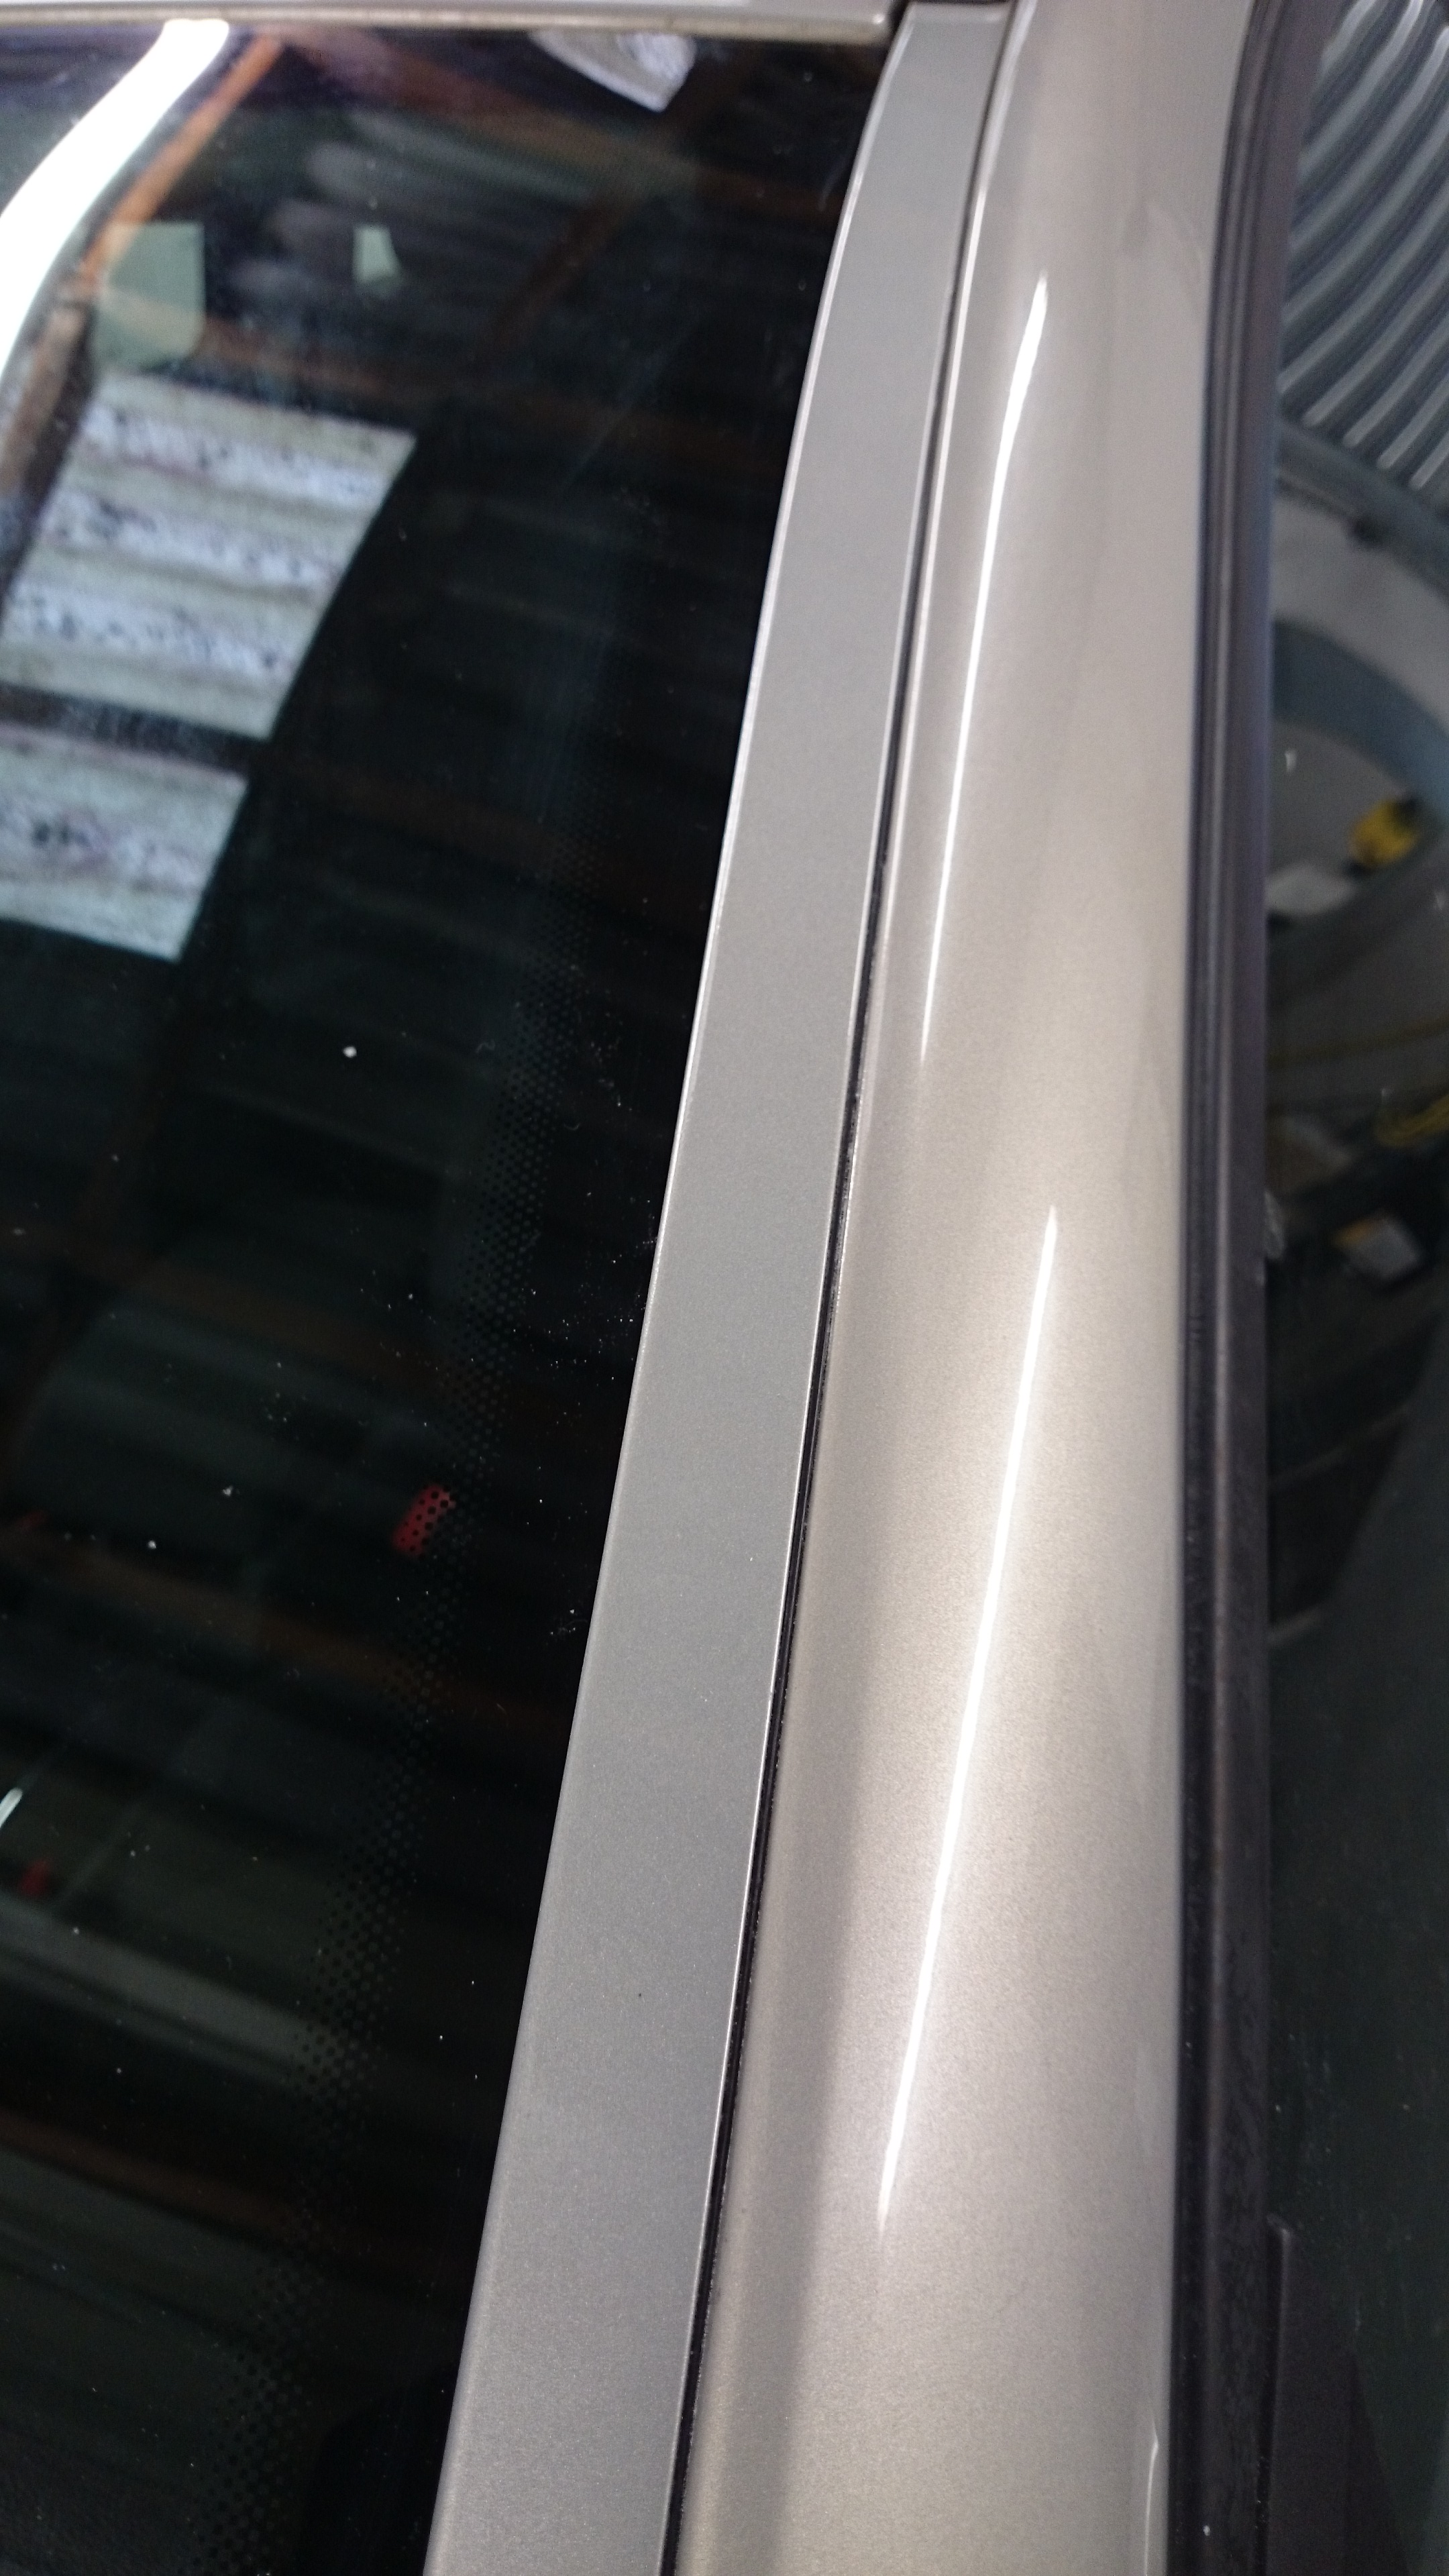
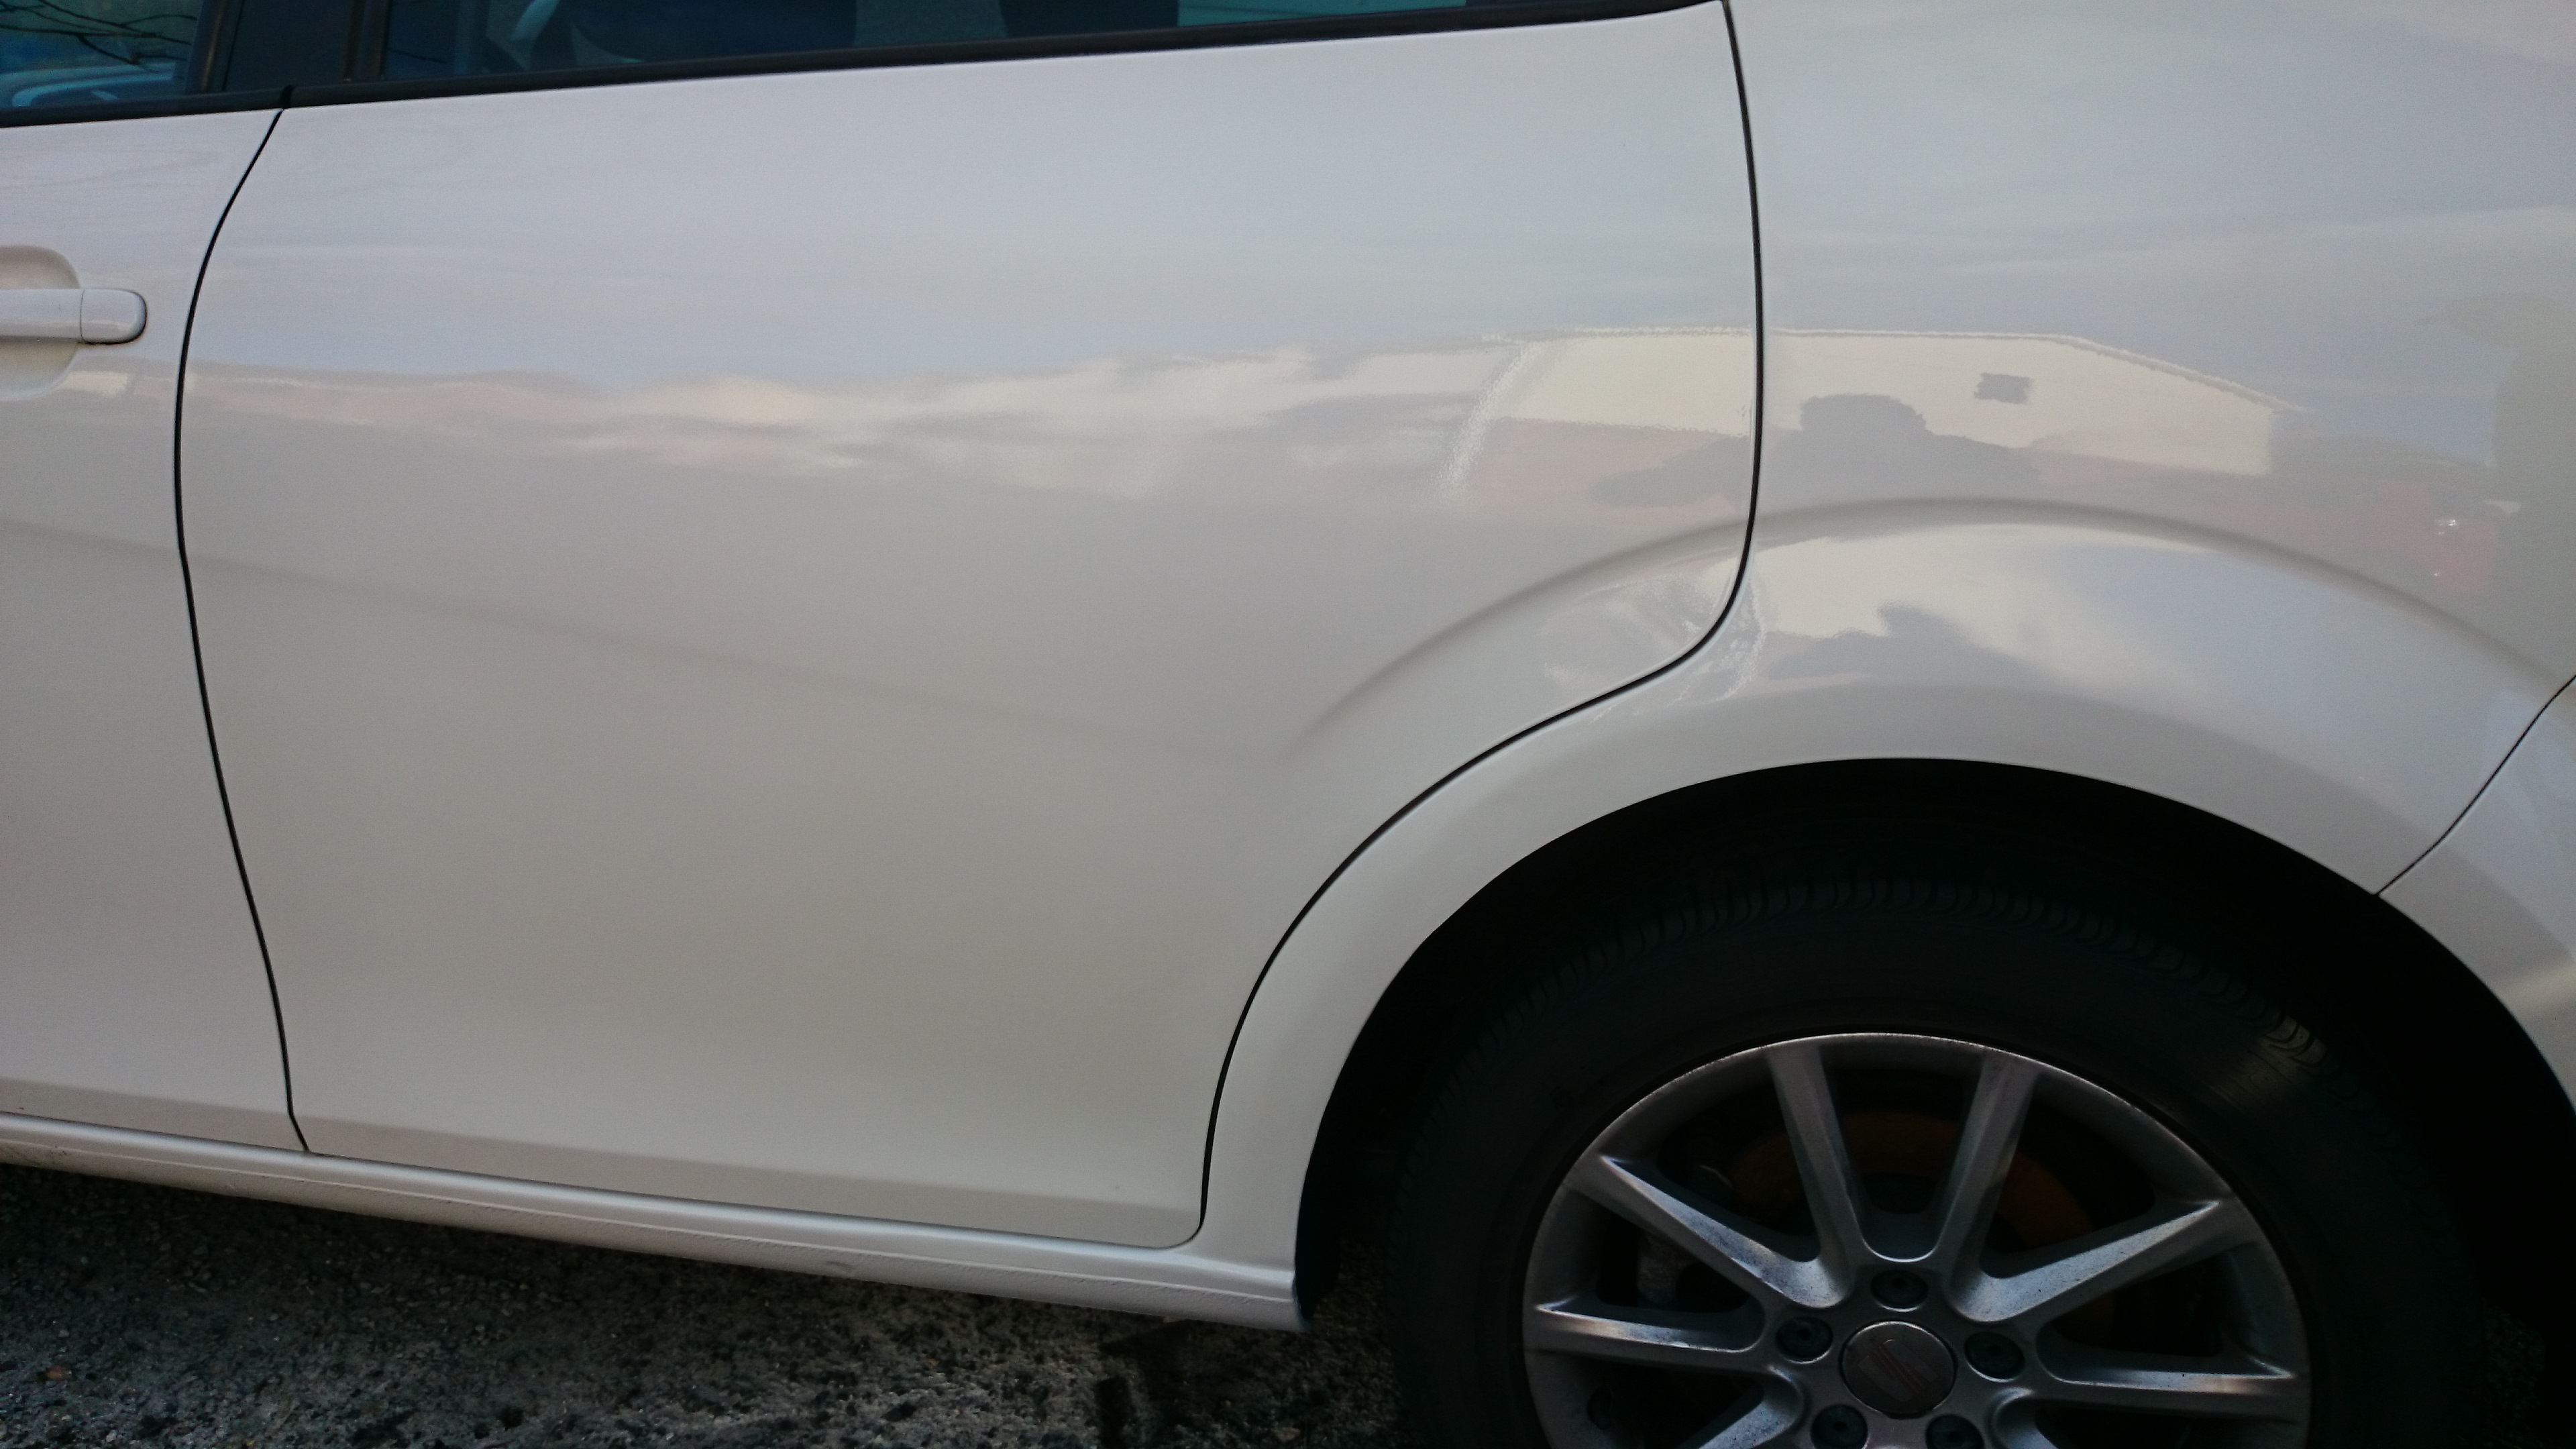
After spraying on a thin coat of British Gas blue, all that was left to do was spray on some lacquer, and blend out using special materials so no feather line is left.


Blue Van Finished


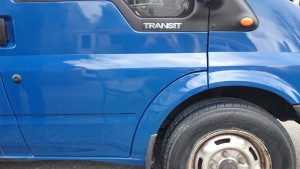
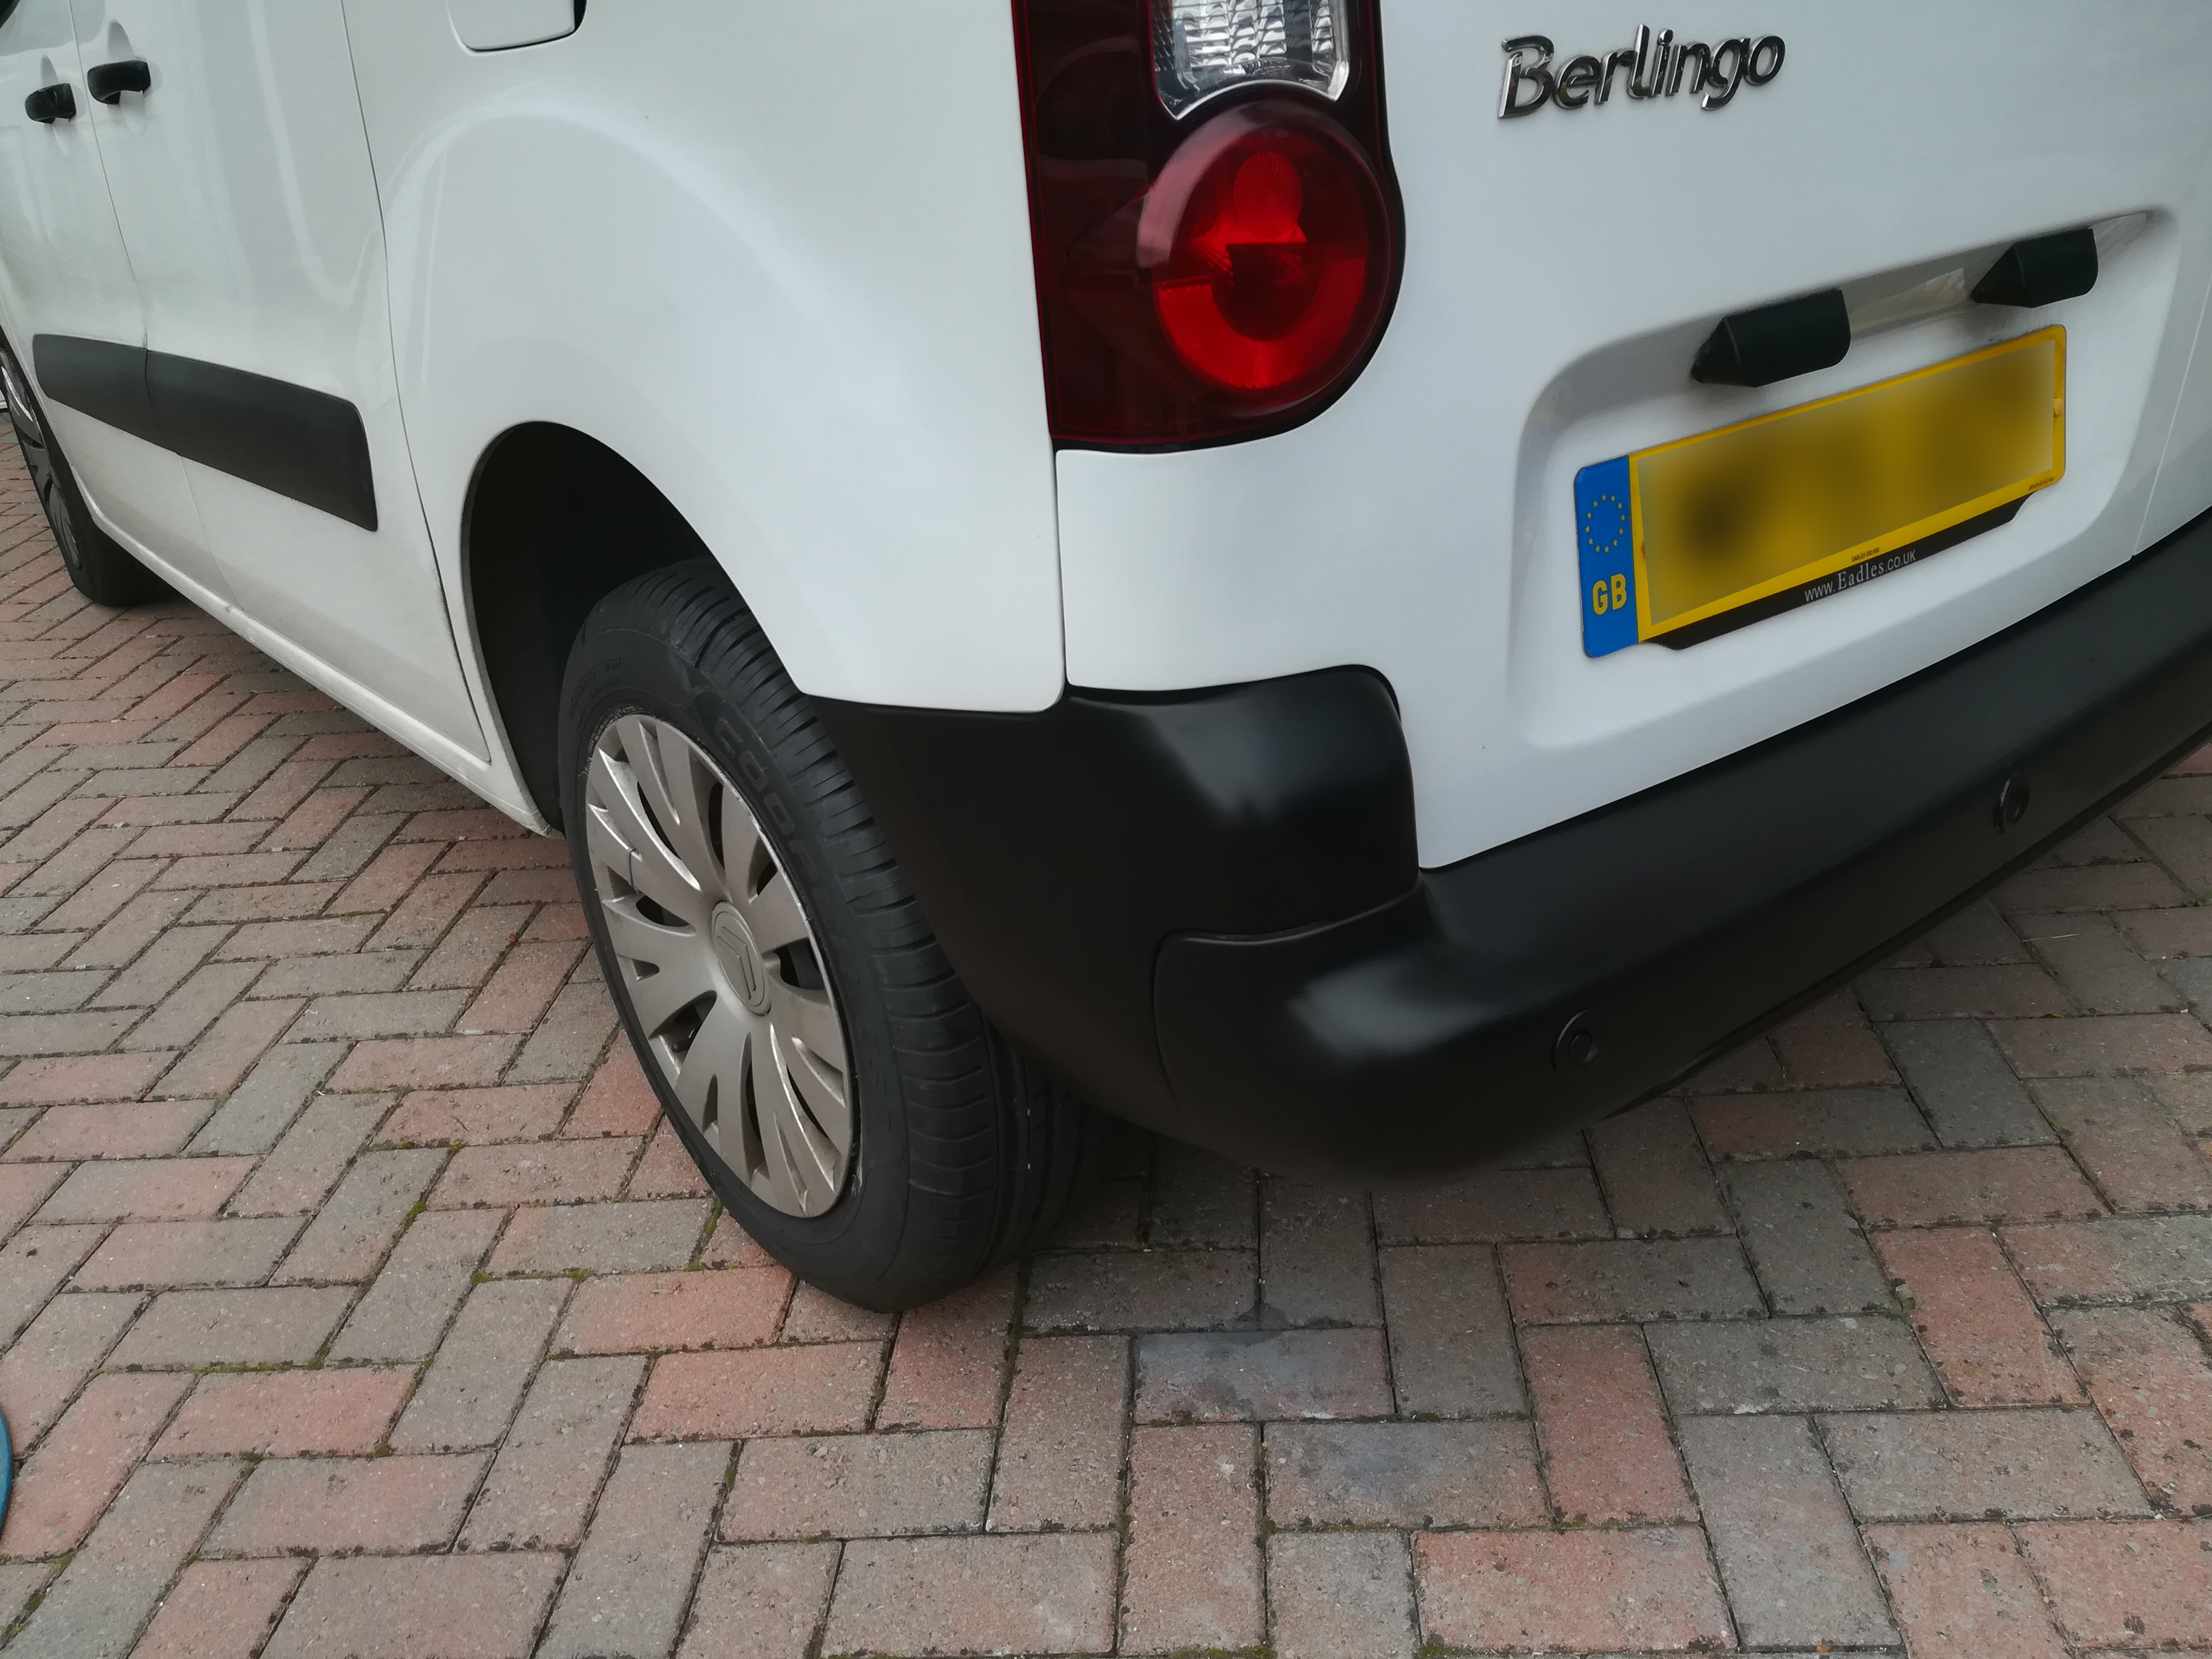
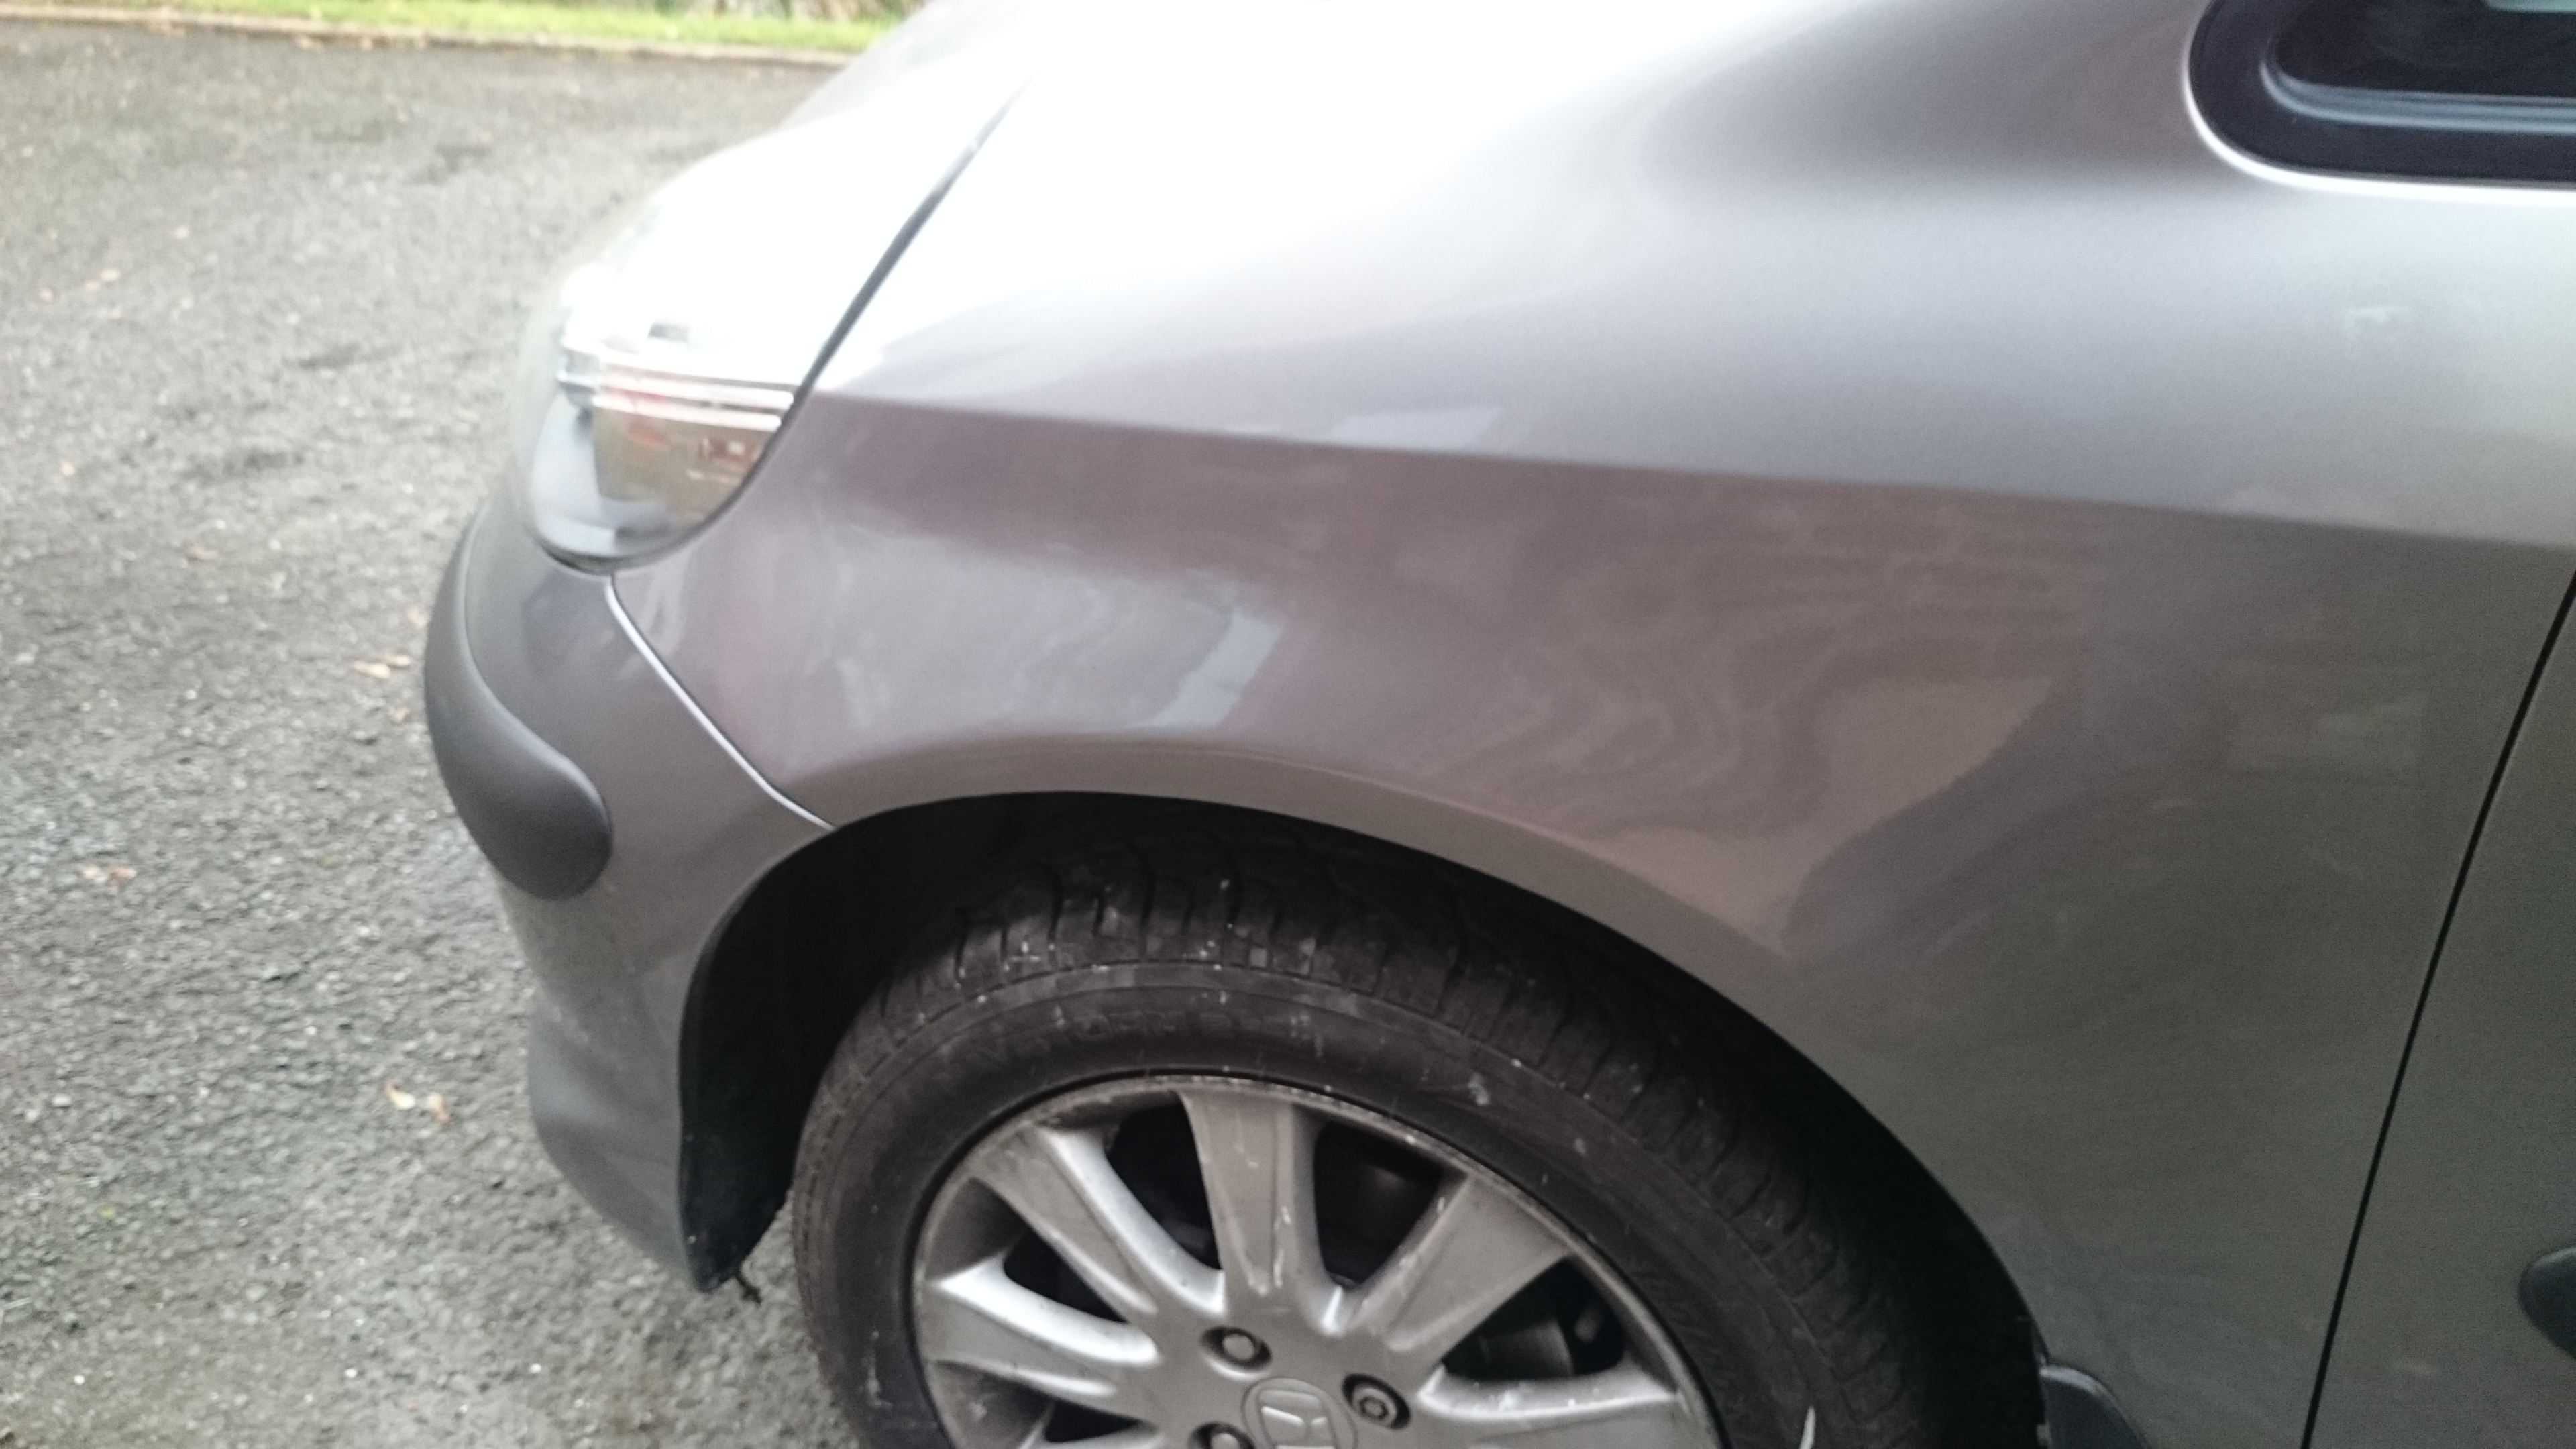
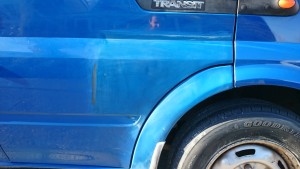
The final result was a perfect repair on a blue van that has been re-purposed for life outside British Gas. Its always good to see vans have a long busy life.


Headlight Polish

Plastic headlights are becoming the norm and unfortunately they are often forgotten about when cleaning cars.  UV light from the sun can often cause them to slowly fade and become yellow, giving a fog-like look. Eventually this will not only effect your night-time visibility from your lights, but can even fail its M.O.T. However these lights can often be buffed up with special compounds and polished to give a nice shiny surface again.

Head_Light_Polish

Door & Arch Damage

Some door damage can be fixed, but this greatly depends on location, colour and if the door has a trim. In this example the damage to the door is beyond what a SMART repair is, however, being white the door and arch was able to be repaired.

Door & Arch Repair

Door & Arch primer

Door & Arch Finish