Repair Example
Here is a repair example of a scuffed bumper. Unlike an expensive body repair bay SMART repairs has no need to remove bumpers, wings or mirrors, instead we use specialised techniques to repair the damage in place. Once the repair is complete the area is primed and rubbed down a number of times to ensure a smooth finish with no blemishes. Colour is then mixed up specifically for the car, taking into account colour fade and shades. The paint is applied in such a way that it will blend in perfectly. Finally a top coat is applied called lacquer, this gives it a deep shine and glossy finish, just like the original. Again special blending materials are used to ensure no tide marks are seen. The final look will be as if the damage had never happened.
Below is a step by step repair example of a damaged bumper being repaired though the different stages. This general technique is used on all repairs.
|
|
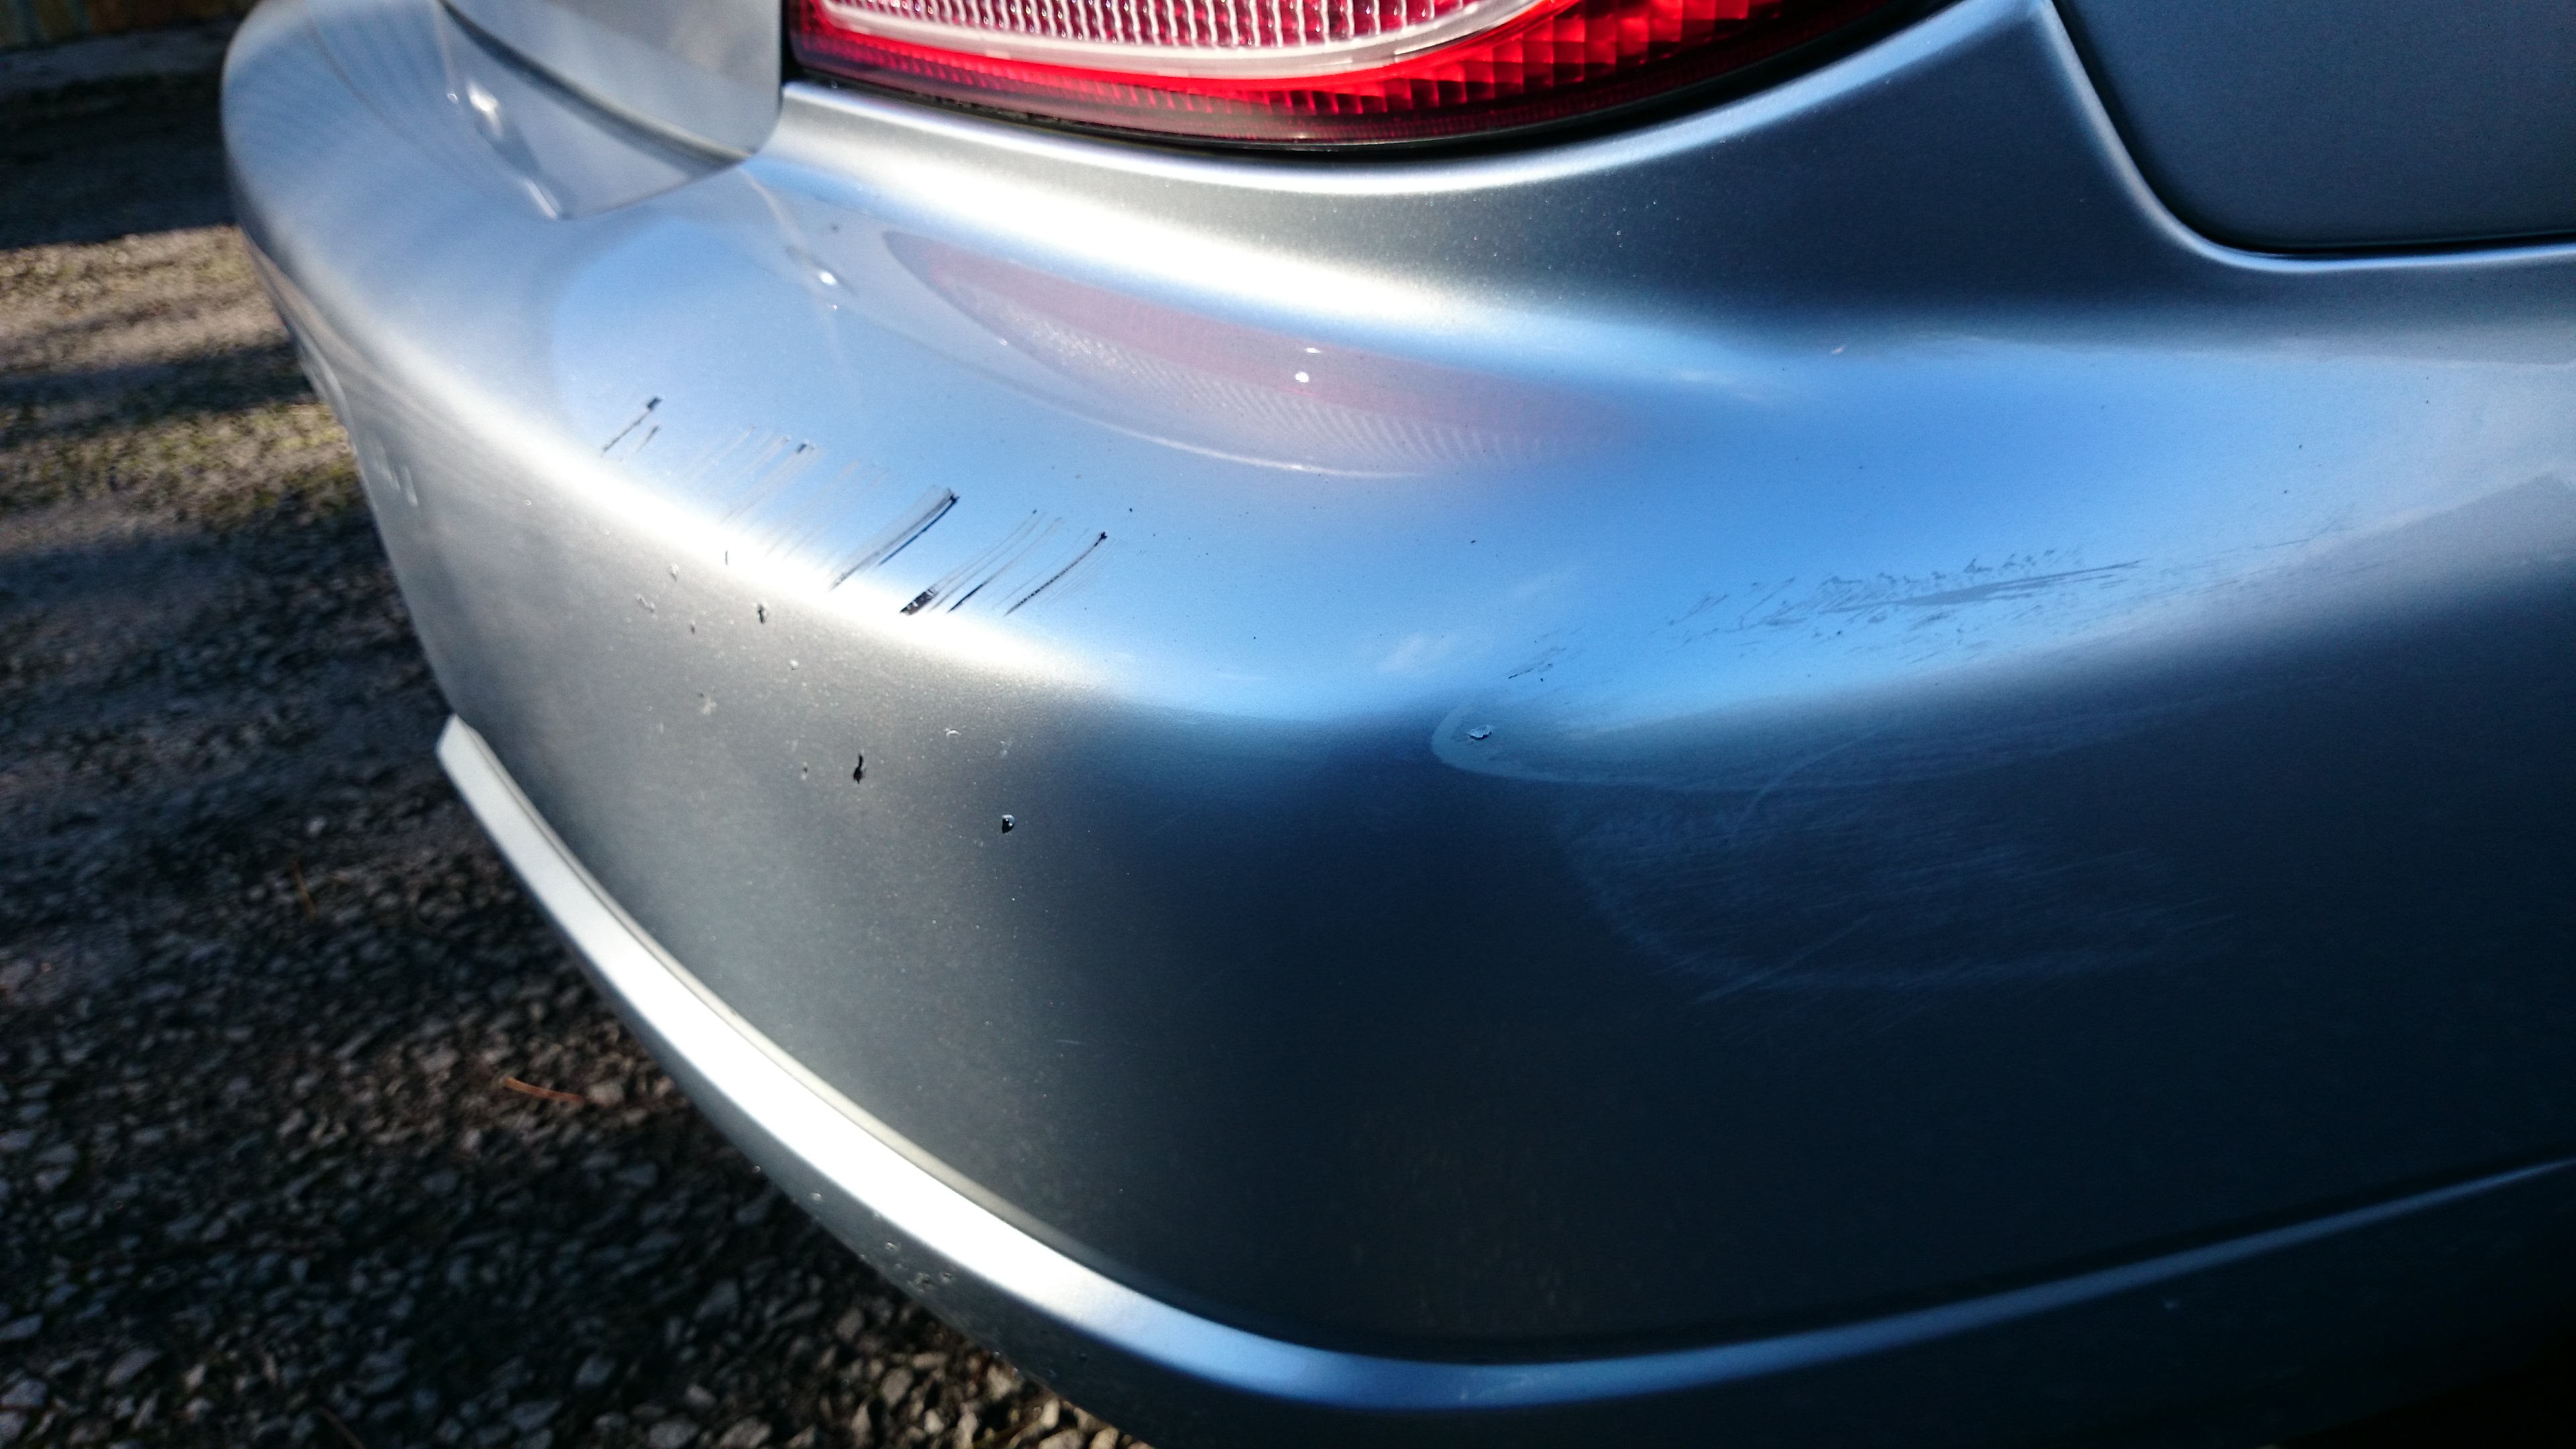
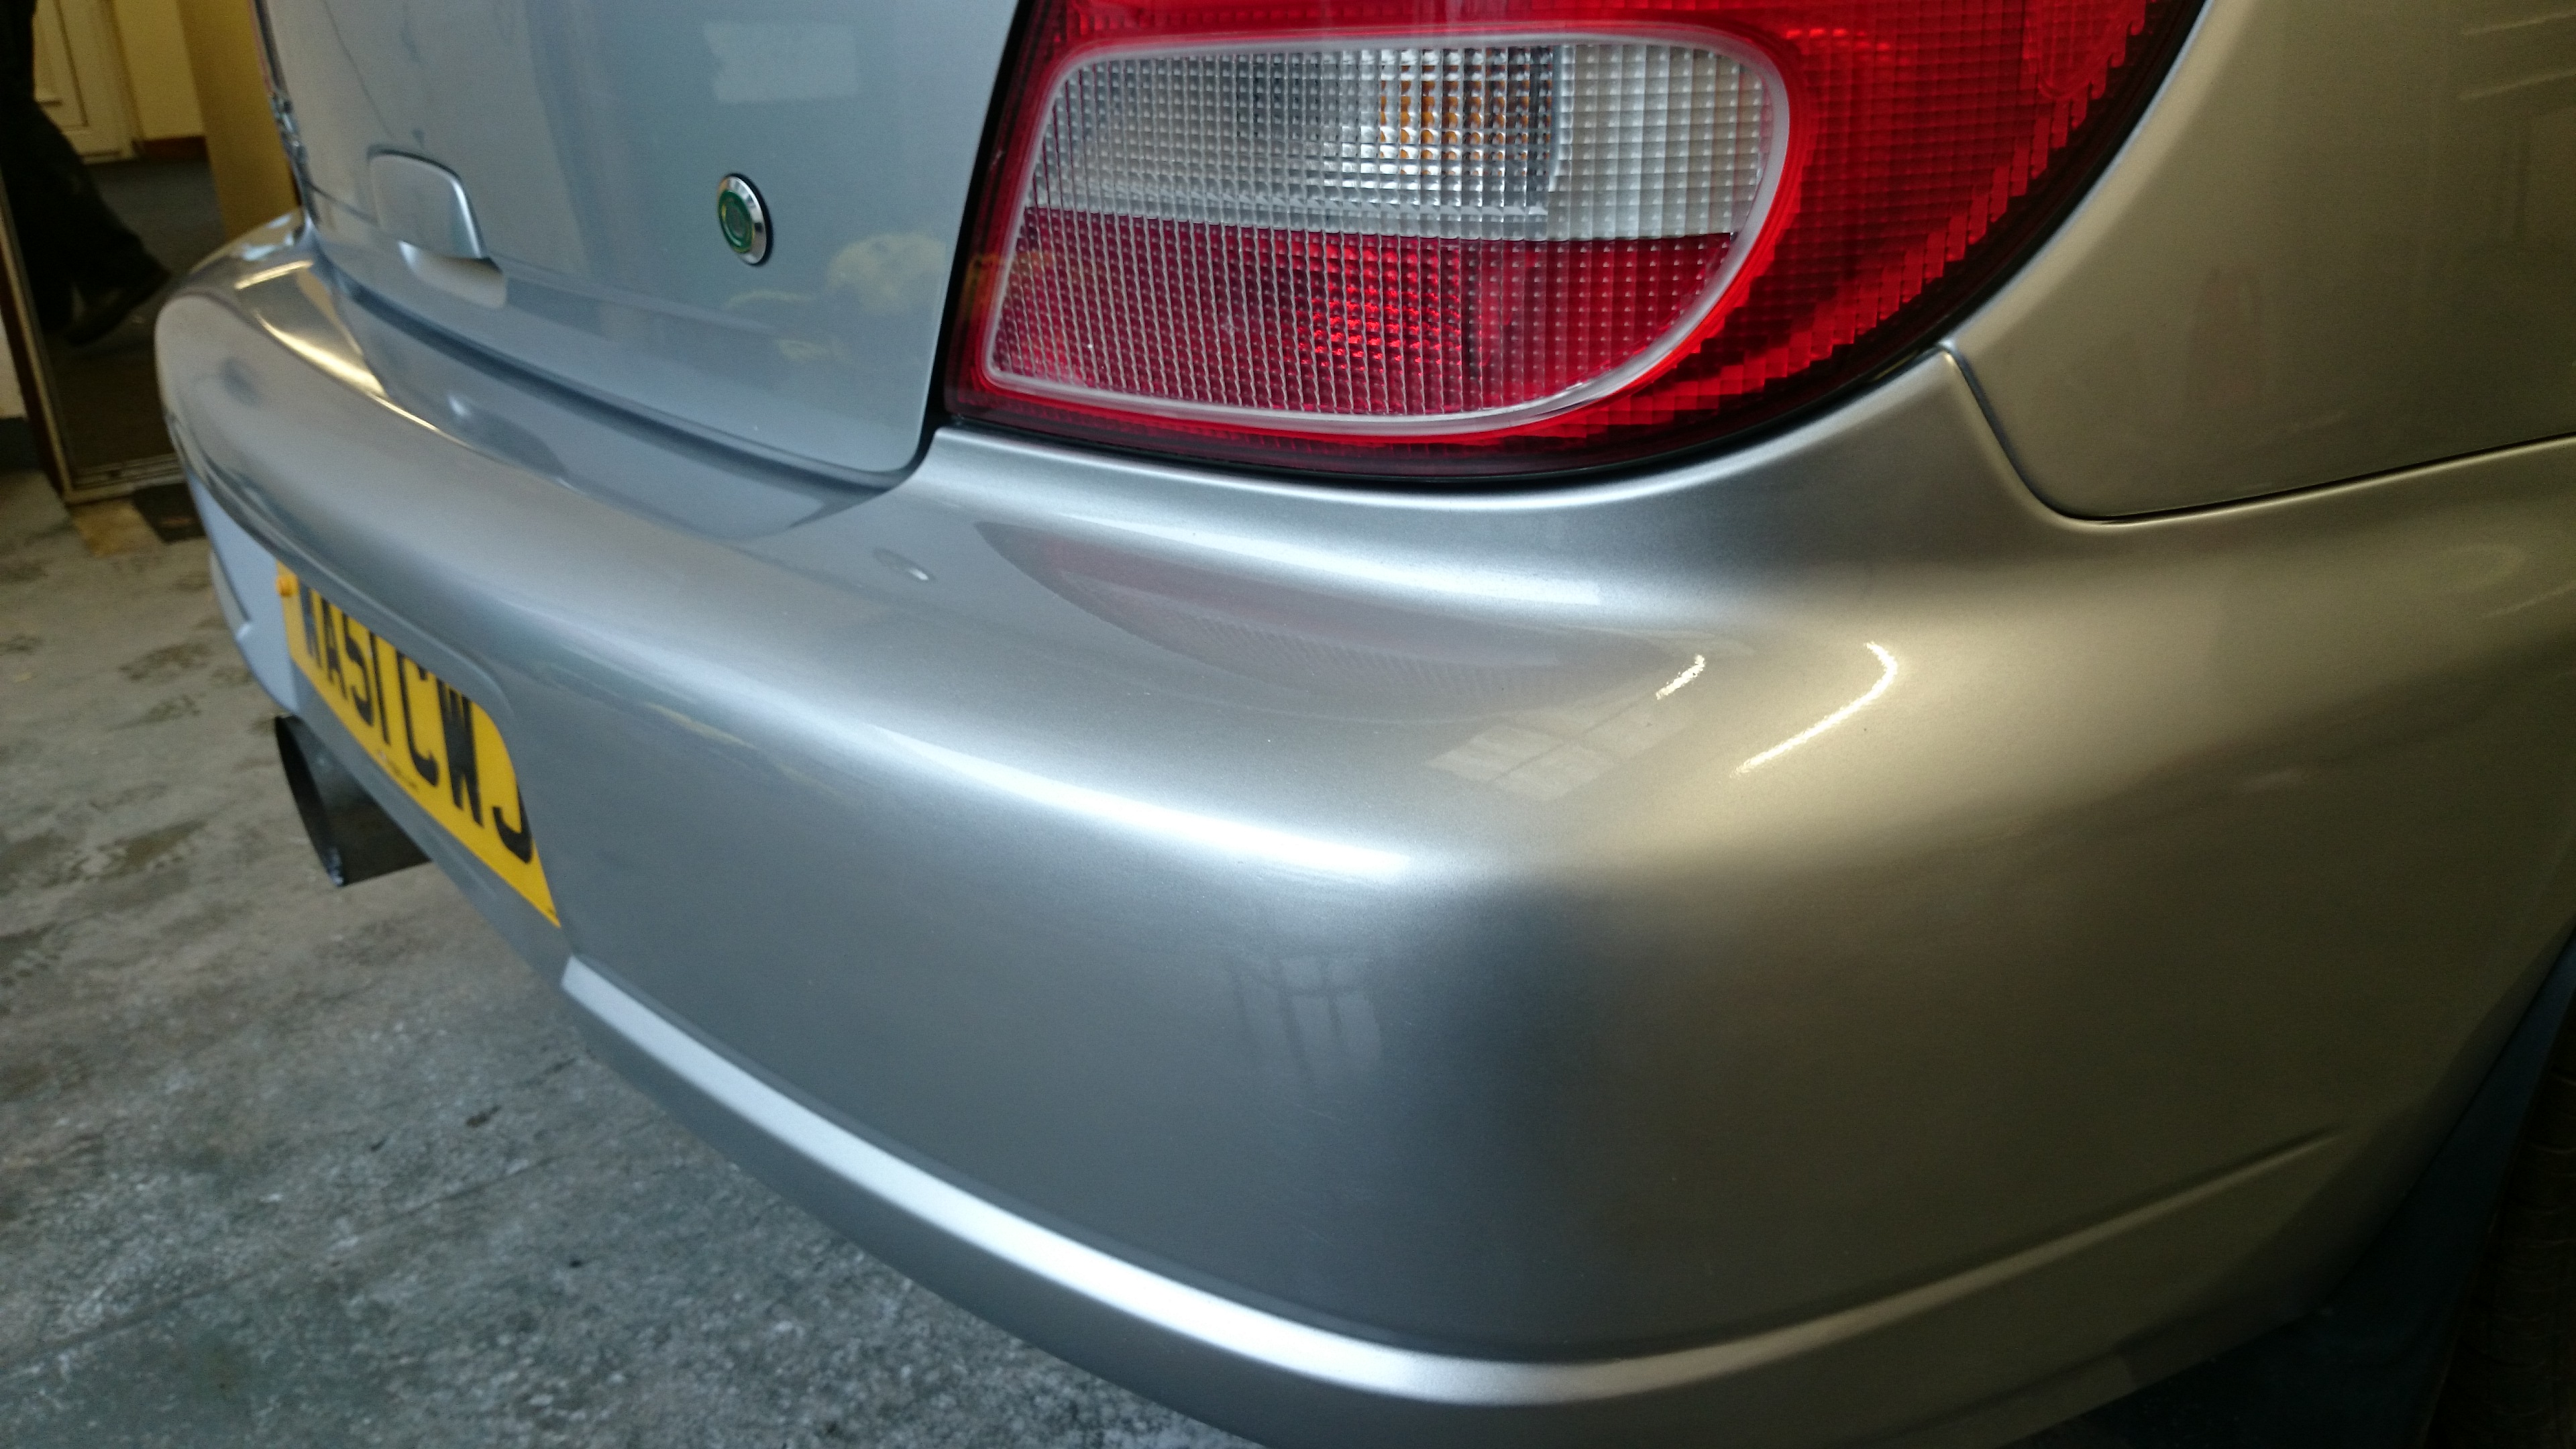
| Here is an example of some minor scuffs located on the back bumper. |
|
|
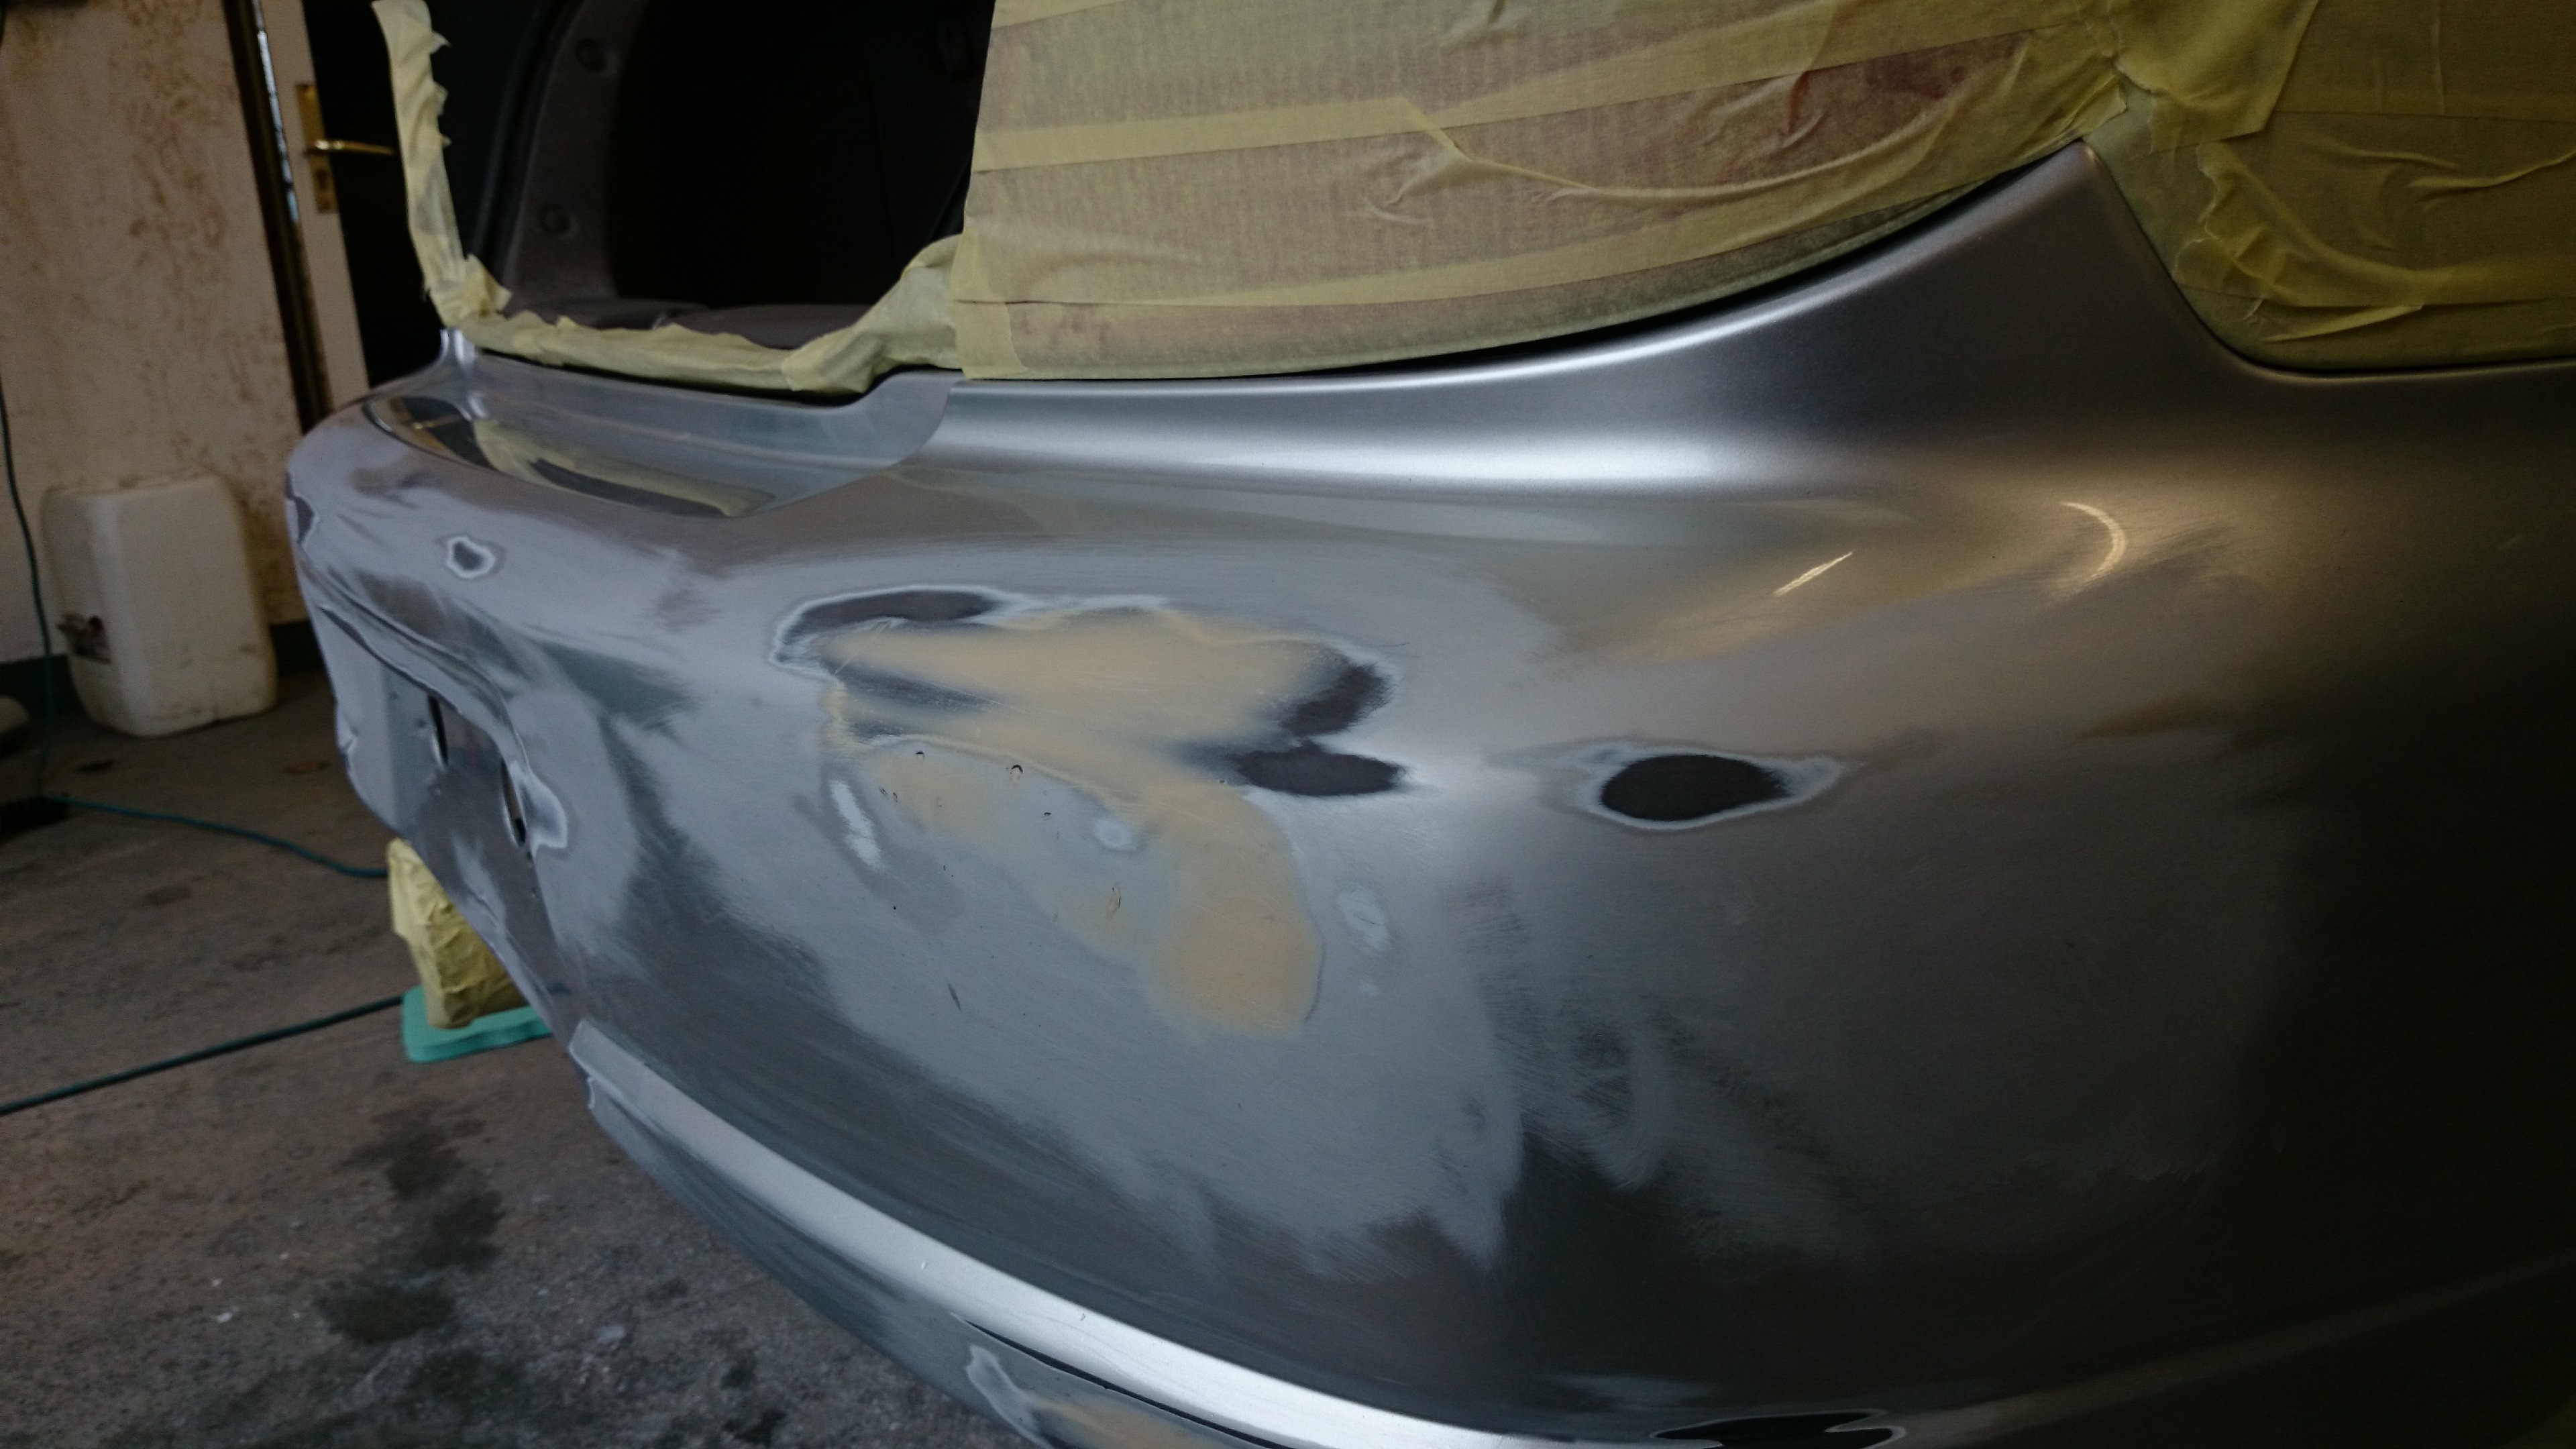
| We repair the damage and fill in any deep marks. |
|
|
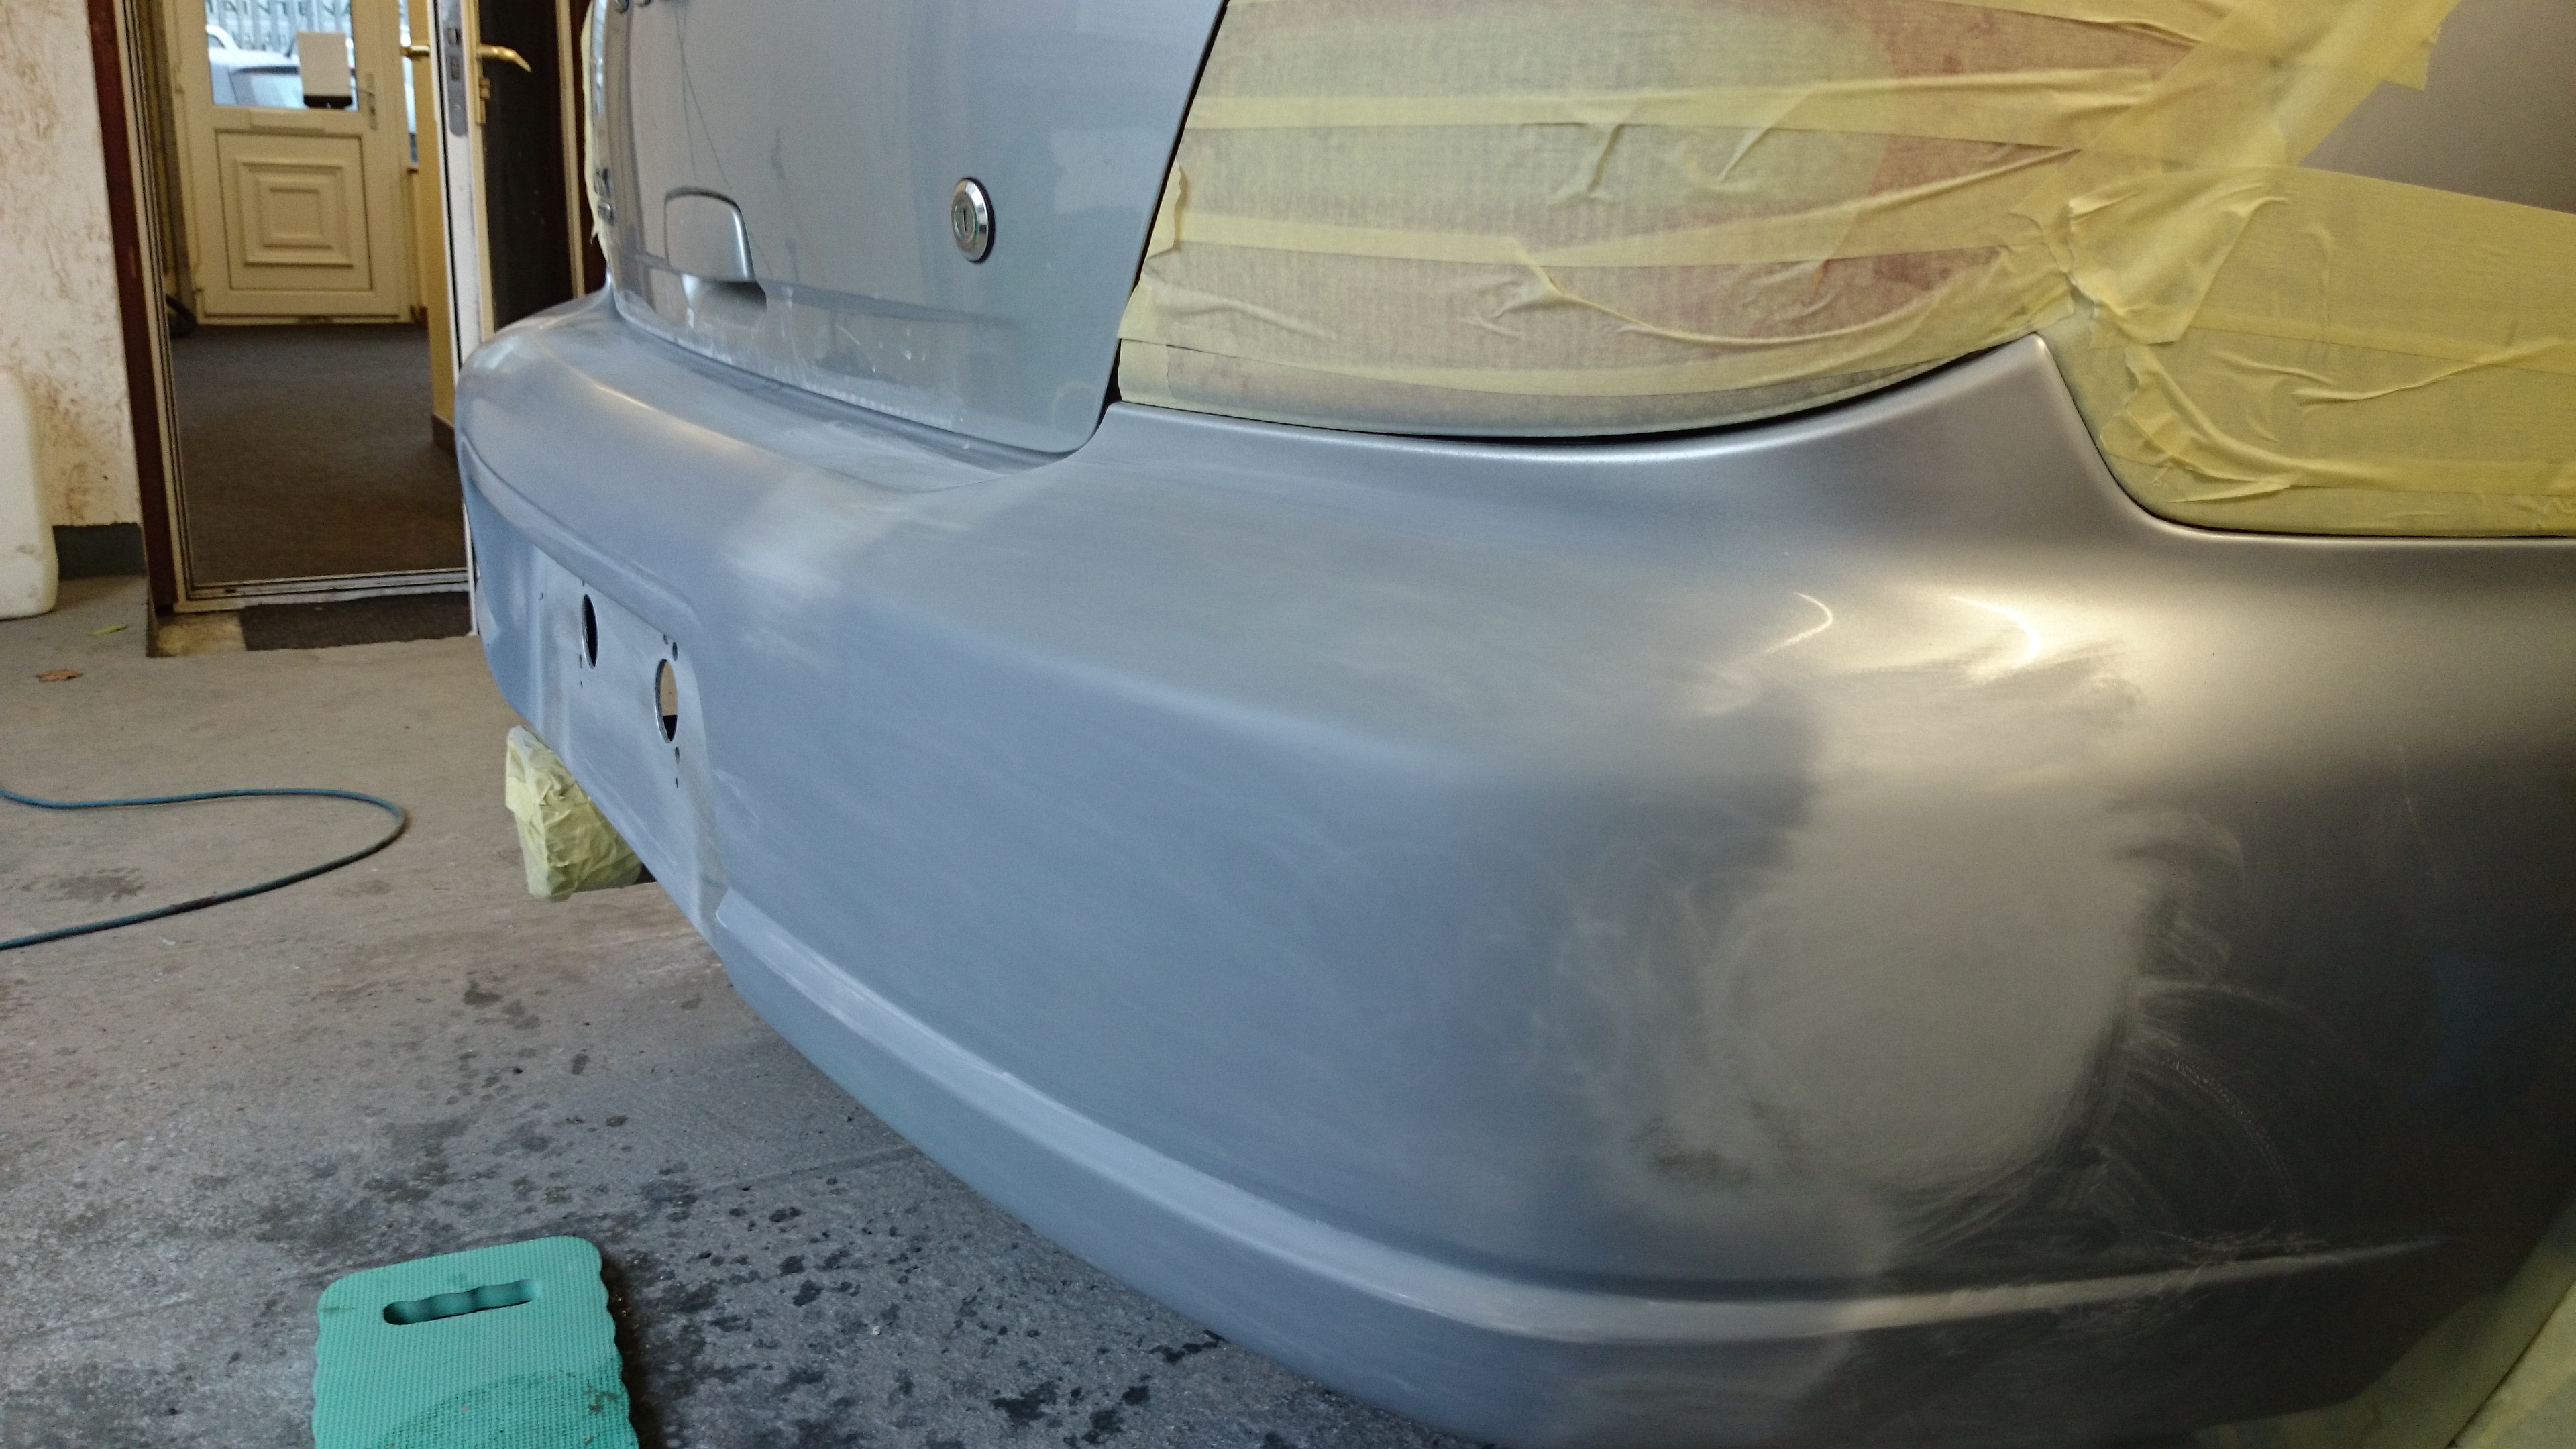
| We then spray on a primer and rub this down a few times to ensure a smooth blemish free surface. |
|
|
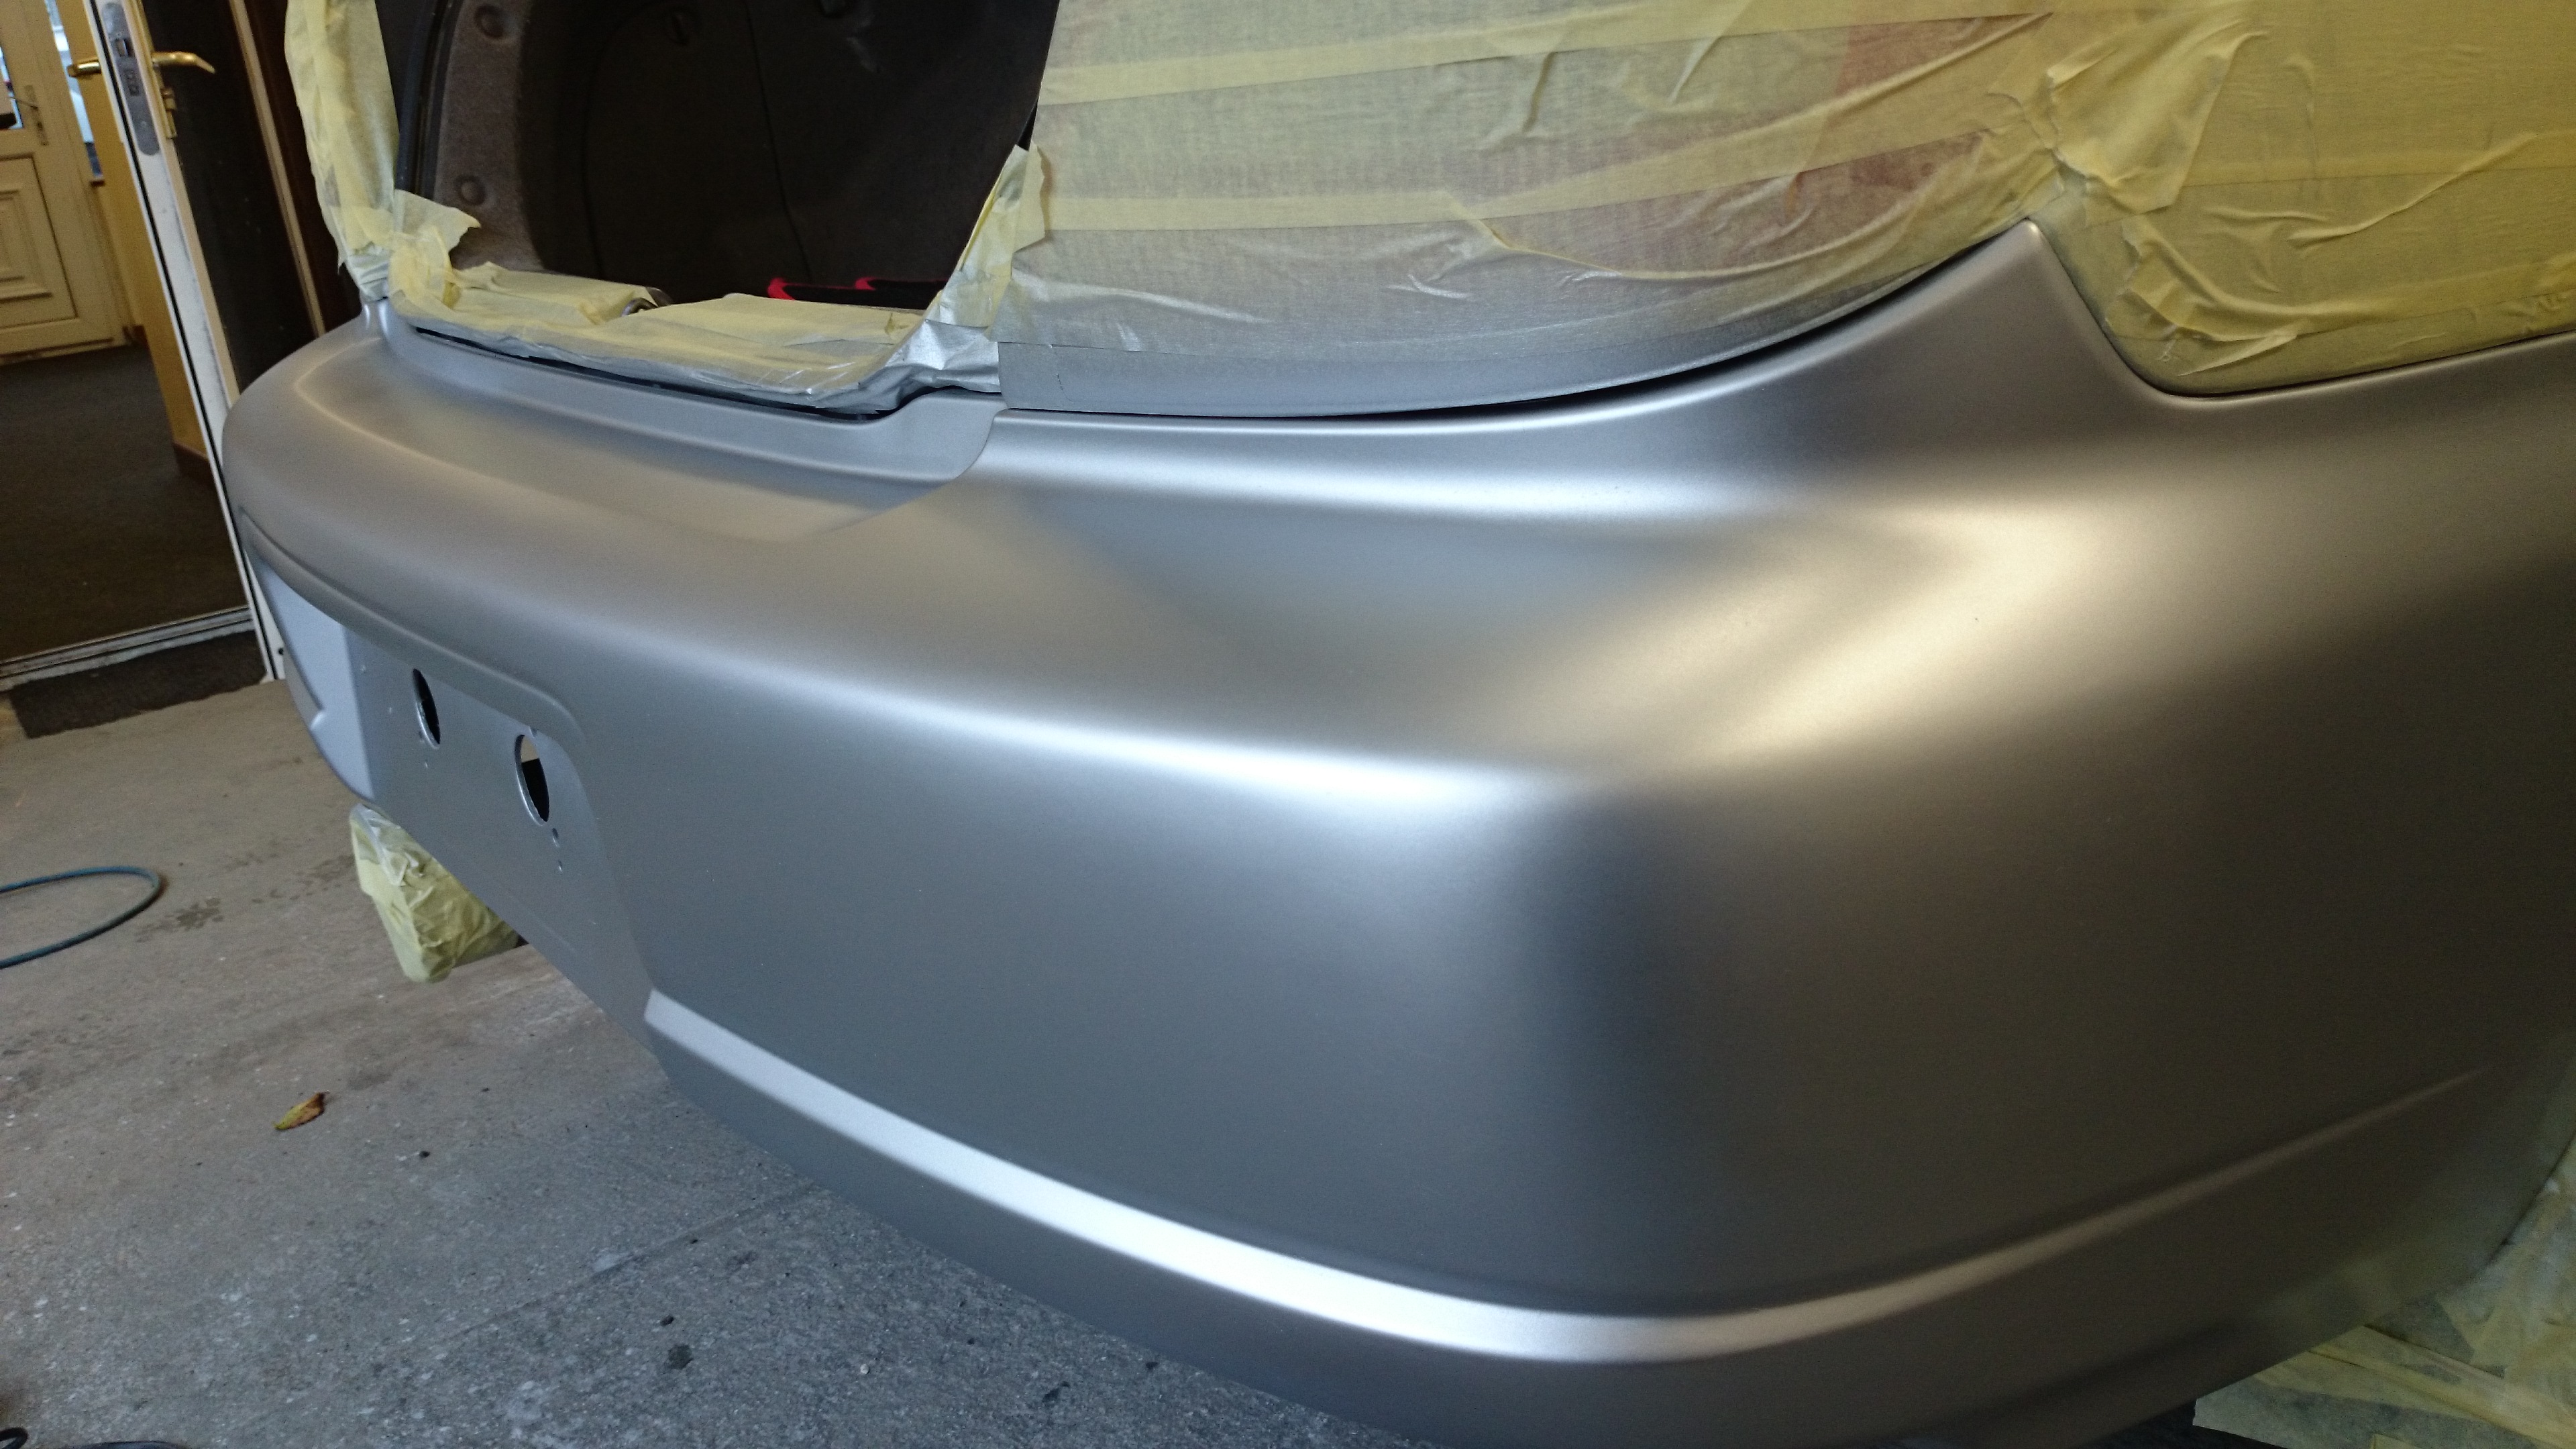
| Next we add colour, this is mixed up on the spot using the cars paint code. The colour can be tweaked to blend in if needed. |
|
|
| A high quality lacquer is sprayed on top, giving it a deep shine and a fantastic finish. |